• Skip to primary navigation
  • Skip to main content
  • Skip to primary sidebar

Fried Pies & Fireflies

  • Home
  • Recipes
    • Holiday
    • Appetizers
      • Salads
      • Soups
      • Dips
    • Breakfast
    • Desserts
    • Bread
    • Crockpot
    • Chicken
    • Beef
    • Pork
    • Beverages
    • Grilled
    • Vegetables
  • Catering
    • Holiday Catering Menu
  • About
  • Contact
  • Privacy Policy

Appetizer Recipes

Homemade Onion Dip Recipe

September 30, 2014 by Lisa Pinney

IMG_7885

I have ALWAYS loved onion dip and chips!

One of my earliest memories as a little girl is of me sitting on the kitchen counter top with some chips along with the onion dip that always came in a metal container….

and my brother asking me if I needed a little more dip on my chip–sarcastically, of course!

I think my ratio was 1 Tablespoon of dip to every chip!

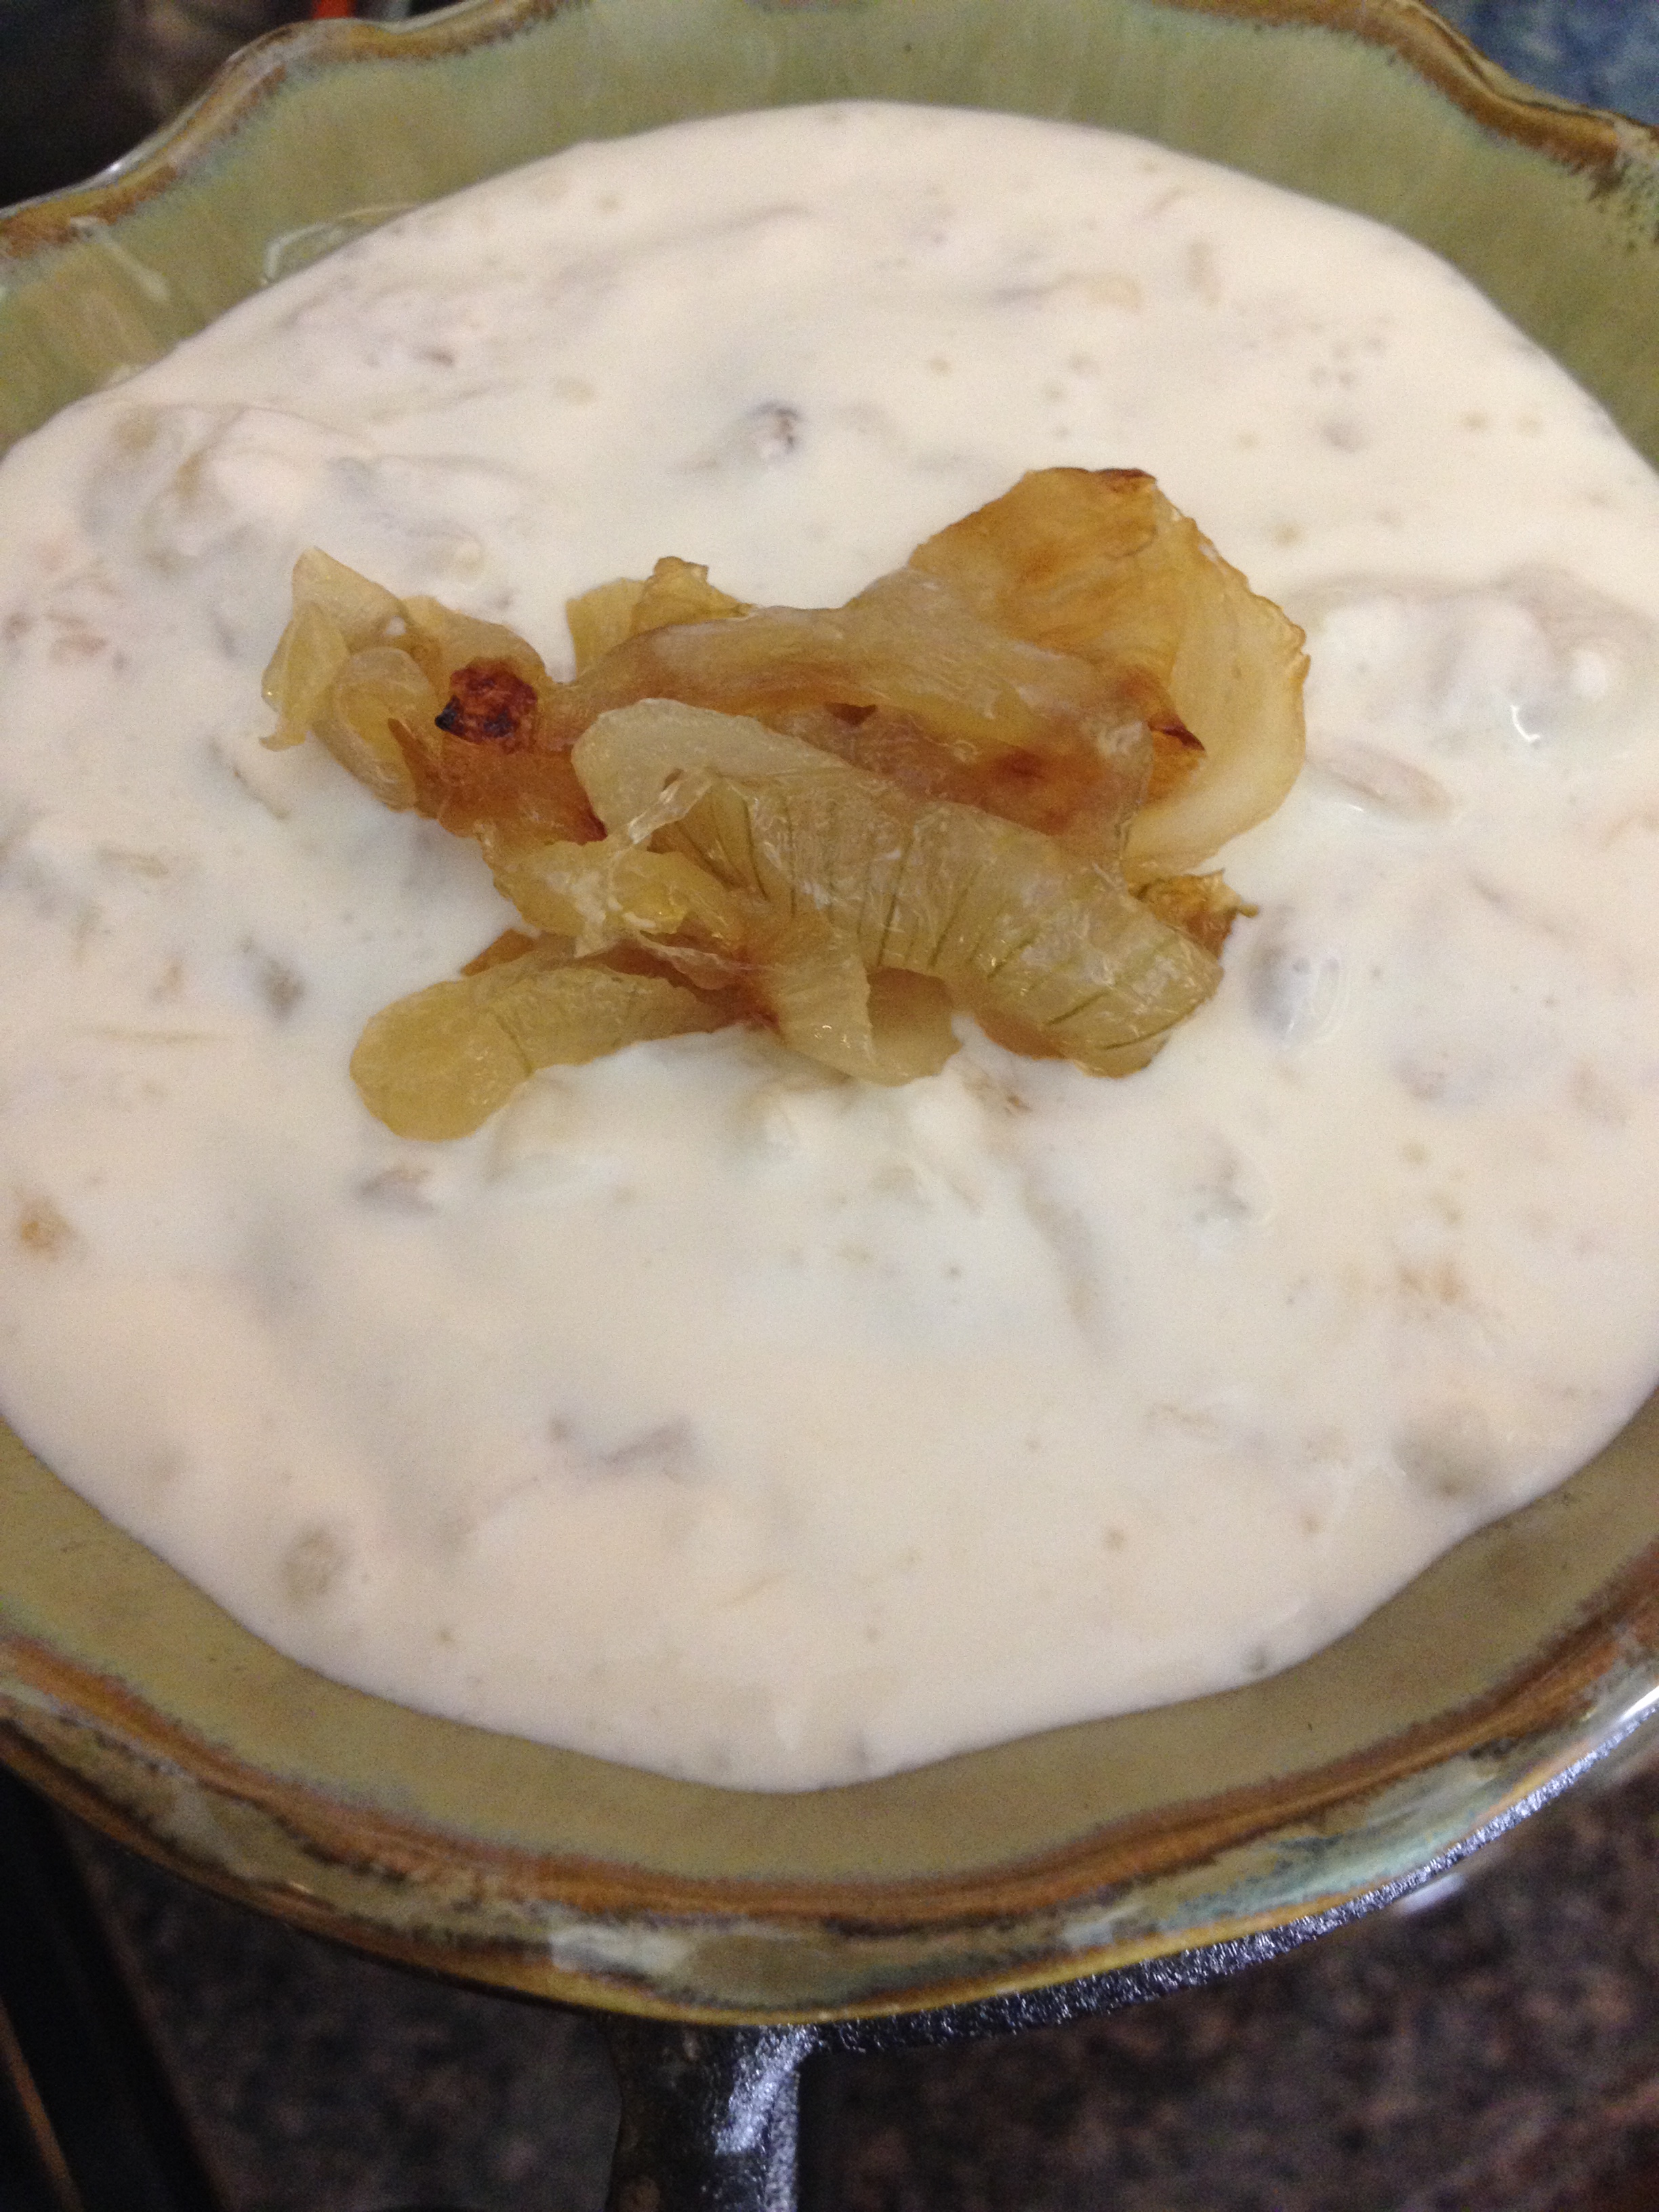
Well, I’ve never made my onion dip from scratch until now and WOW!!

I will never make it another way again…I bet you won’t either!

…

Read More

Filed Under: appetizers

Lisa’s Easy Mexican Layered Dip Recipe

August 10, 2014 by Lisa Pinney

 
Sometimes you just have to throw something together in a pinch!
I usually have all the ingredients on hand in the fridge
to make this most wonderful impromptu party dip!

…

Read More

Filed Under: appetizers

Lisa’s Amazing Parmesan Wings Recipe

July 25, 2014 by Lisa Pinney

 I love wings!  There are so many ways to enjoy them,
but these have got to be the easiest and tastiest way
I’ve ever made them at home.
Print

Lisa’s Amazing Parmesan Wings Recipe

  • Author: Lisa Pinney

Ingredients

Scale
  • 2 lb chicken wings
  • 1 cup shaved Parmesan cheese
  • 2 TBSP dried parsley
  • 1 TBSP Italian Seasoning
  • 2 tsp paprika
  • 1 1/2 tsp Morton Nature’s Seasoning
  • 1/2 cup butter, melted

Instructions

Preheat oven to 350°

I ran the shaved Parmesan through my food chopper to break down just a bit.

Combine the Parmesan cheese and the parsley, Italian Seasoning, paprika, and Morton Nature’s Seasoning in a bowl.

Line your baking pan with foil. If you’re using Pampered Chef baking stones, you don’t have to line with foil–they’ll clean up quick & easy!

Melt the butter in a shallow bowl. Dip each drumstick in butter, roll in the cheese and seasoning mixture and arrange in your baking pan.

Bake for 1 hour.

Did you make this recipe?

Share a photo and tag us — we can't wait to see what you've made!

 The delicious ingredients…
 
Mix the cheese and dry ingredients in a bowl…
Dip each wing in the melted butter…
Roll in the cheese coating…
Place all the wings in the baking pan…
After baking an hour on 350 degrees,
the wings will look incredible like this!
We enjoyed them with Ranch Dressing and
Smashed Baked Potatoes–recipe coming tomorrow!
Print

Lisa’s Amazing Parmesan Wings Recipe

  • Author: Lisa Pinney

Ingredients

Scale
  • 2 lb chicken wings
  • 1 cup shaved Parmesan cheese
  • 2 TBSP dried parsley
  • 1 TBSP Italian Seasoning
  • 2 tsp paprika
  • 1 1/2 tsp Morton Nature’s Seasoning
  • 1/2 cup butter, melted

Instructions

Preheat oven to 350°

I ran the shaved Parmesan through my food chopper to break down just a bit.

Combine the Parmesan cheese and the parsley, Italian Seasoning, paprika, and Morton Nature’s Seasoning in a bowl.

Line your baking pan with foil. If you’re using Pampered Chef baking stones, you don’t have to line with foil–they’ll clean up quick & easy!

Melt the butter in a shallow bowl. Dip each drumstick in butter, roll in the cheese and seasoning mixture and arrange in your baking pan.

Bake for 1 hour.

Did you make this recipe?

Share a photo and tag us — we can't wait to see what you've made!

Filed Under: Uncategorized

Appetizer Trio

May 29, 2014 by Lisa Pinney

When I prepared the food for 
my nephew’s wedding recently,
I was looking for some delicious little treats that would
hold up in the heat since it was an outside venue.  
These 3 light little appetizers maybe appreciated 
at some of your summer events.  


Caprese Appetizers

These tasty little Meat and Cheese rolls 
that I found at Sams Club
make the beginning of a wonderful little appetizer tray.  
I paired them with delicious little red and yellow 
sweet tomatoes and stuffed olives…
poured a wonderful basil vinaigrette marinade on top…
Heaven on a toothpick…a fancy toothpick that is!  🙂

Basil Vinaigrette
1/3 Cup Olive Oil
1 Tablespoon White Balsamic Vinegar
¼ teaspoon Garlic Powder
1 Scallion, finely minced
2 tsp dried basil
Pinch of salt
6 Grinds of Black Pepper
In a medium glass jar, add all of the above 
ingredients and shake well. 
 Let sit at least 30 minutes to let the flavors develop.


Assorted Cream Cheese Crescents

I love the little flavorful whipped cream cheese selections.  
Paired with crescents and cut into spirals…
they bake into a delicious little treat!

For this event I used the Jalapeno Cream Cheese 
and Smokey Chipotle.


Lisa’s Southwest Chicken Salad Tortilla Twirls

I created this chicken salad this past Christmas 
and it was an immediate hit!
Using assorted Flatout Bread or Tortillas helps 
make a scrumptious little tray.  

This time I used the Spinach Wraps and Jalapeno Wraps.  
I think they work better on the Flatbread 
because there is no waste…
When you use tortillas, you do loose about 
1/2 inch or so on each end.  
But either way, they’re a winner!


We usually place our chicken breasts in a roasting pan, 
season it with salt and pepper, cover it,  
and roast it at 425 degrees about 1 hour until done.
Because of time constraints this time, I put the chicken in the crockpot and left it there to roast about 6 hours.  
I used the food processor to shred it 
and it still turned out wonderful! 
Let cool before mixing in the remaining ingredients.
2 – 8 oz. packages cream cheese, softened
1 1/3 cup shredded Mexican blend cheese
3 cloves of garlic
1 1/2 TBSP chili powder
1 tsp cumin
1/2 tsp Cayenne pepper to taste
Salt to taste
1 lb chicken breast, roasted and shredded
1/2 bunch cilantro, chopped
4 green onions, chopped
1 pkg Sun-dried Tomato Flat-out Wraps
 
 
Mix cheeses together until well blended.
Add all remaining ingredients and mix well.
Cover and refrigerate for at least one hour.
Place one heaping spoonful onto tortilla.
Spread to edges using a metal spatula.
Roll, wrap and refrigerate about 30 minutes or so.  
Cut into slices and serve.


This is my very favorite picture from the wedding…
My Momma and Scott…
when I was a teenager, I can still remember him 
sitting at the bar watching my Momma cook 
and asking her to make “Bowanna Pudding”  … 🙂

Filed Under: Uncategorized

Roasted Peach Salsa Recipe

May 25, 2014 by Lisa Pinney


I love peaches!  

This new recipe incorporates them with fresh veggies 

in a delicious summery salsa that will be a hit 

at your next party!    


 Roasted Peach Salsa

2 LBS peaches

2 Vidalia Onions, minced

2 Jalapeno peppers, seeded and minced

4 TBSP lime juice

3 tomatoes, diced small

1/2 bunch of cilantro, chopped small

2 garlic cloves, minced

salt & pepper to taste

Preheat oven to 400 degrees.  

Peel and slices the peaches.  

Place them in an iron skillet sprayed with PAM.  

Add 1 TBSP of olive oil and give them a stir.   

Place the skillet in the oven and roast about 10- 12 minutes, giving them a stir about half way through.  

Remove from oven and drain in a colander.  

Place the peaches aside to cool completely.  

Chop all the veggies and place in a large bowl.  

Add the lime juice and garlic.  

Add the cooled peaches.  

Season with salt and pepper.  

Refrigerate overnight to cool completely 

and let the flavors develop.  

 **********

Place those beautiful peaches in the skillet

 with a little olive oil…


In a large bowl, add the diced onions…
The jalapenos…
the tomatoes and lime juice…
the garlic…
the peaches…
Just gorgeous!  
 
Enjoy with your favorite tortilla chips!
 
Print

Roasted Peach Salsa Recipe

  • Author: Lisa Pinney

Ingredients

Roasted Peach Salsa

2 LBS peaches

2 Vidalia Onions, minced

2 Jalapeno peppers, seeded and minced

4 TBSP lime juice

3 tomatoes, diced small

1/2 bunch of cilantro, chopped small

2 garlic cloves, minced

salt & pepper to taste

Instructions

Preheat oven to 400 degrees.

Peel and slices the peaches.

Place them in an iron skillet sprayed with PAM.

Add 1 TBSP of olive oil and give them a stir.

Place the skillet in the oven and roast about 10- 12 minutes, giving them a stir about half way through.

Remove from oven and drain in a colander.

Place the peaches aside to cool completely.

Chop all the veggies and place in a large bowl.

Add the lime juice and garlic.

Add the cooled peaches.

Season with salt and pepper.

Refrigerate overnight to cool completely

and let the flavors develop.

Did you make this recipe?

Share a photo and tag us — we can't wait to see what you've made!


Filed Under: Uncategorized

Baked Blackened Wings Recipe

May 12, 2014 by Lisa Pinney


This recipe was posted on a friends Facebook page…

it sounded way too good to be true….so I just had to try it!  
Here are the directions in her exact words:
Baked Blackened Wings
Super easy like super dooper easy! 
Go to your local grocer and buy Paul Prudhommes 
Blackened Dry Rub in the red cap bottle. 
It says for Redfish. You will have a confused look when you see it. But don’t worry that’s it!  
 Buy your wings/drummettes fresh or thawed. 
Sprinkle a generous amount all over 
and bake 375 degrees for 25-30 minutes. 
Broil off at the end to crisp them up. 
They are delish!!!! Enjoy!!

I had Zatarain’s so I didn’t have to search for Chef Paul’s 🙂


I generously covered each piece with the seasoning…


After baking they were amazingly delicious looking like this…


And they were as delicious as they looked!

Print

Baked Blackened Wings Recipe

  • Author: Lisa Pinney

Ingredients

Scale
Paul Prudhommes 
Blackened Dry Rub for Redfish
Zatarain’s Blackening Seasoning
or your favorite Blackening Seasoning
2 lbs chicken wings

Instructions

Sprinkle a generous amount of blackening seasoning all over the wings.
Bake on 375 degrees for 25-30 minutes. 
Broil off at the end to crisp them up. 

Did you make this recipe?

Share a photo and tag us — we can't wait to see what you've made!

Filed Under: Uncategorized

Quick Shrimp Scampi Recipe

February 19, 2014 by Lisa Pinney

This is one of our very favorite recipes!  
Living 2 minutes away from Publix and their seafood market 
makes it easy to have it often!  
It’s great with crusty garlic bread and a baked potato 
or side salad…enjoy!  
 Quick Shrimp Scampi 
1-2 lbs thawed shrimp, peeled and deveined
1 pkg dry Italian dressing mix
1 stick butter
Place your shrimp in a baking dish.  
Pour the dry Italian dressing on next.  
Slice the butter and place over the shrimp. 
Bake on 400 degrees for 12-15 minutes until 
the shrimp are pink and done through.  
Squeeze fresh lemon over them and enjoy.   
**********
The simple ingredients…


Pour on the seasoning and dot the butter all over the shrimp…


Bake at 400 degrees for 15-20 minutes…
until they are deliciously pink…


Yum! 


Print

Quick Shrimp Scampi Recipe

  • Author: Lisa Pinney

Ingredients

Scale
1-2 lbs thawed shrimp, peeled and deveined
1 pkg dry Italian dressing mix
1 stick butter
Place your shrimp in a baking dish.  
Pour the dry Italian dressing on next.  
Slice the butter and place over the shrimp. 
Bake on 400 degrees for 12-15 minutes until 
the shrimp are pink and done through.  
Squeeze fresh lemon over them and enjoy.   

Instructions

Bake on 400 degrees for 12-15 minutes until 
the shrimp are pink and done through.  
Squeeze fresh lemon over them and enjoy.   

Did you make this recipe?

Share a photo and tag us — we can't wait to see what you've made!

Filed Under: Uncategorized

Fried Pies & Fireflies Signature Southwest Chicken Salad Twirls

December 31, 2012 by Lisa Pinney

Thought I’d take the time this morning to share a most 
delicious recipe we created over the Christmas holidays.  
It would be great to serve at your 
New Year’s Eve party tonight!  🙂   
 
We love Chicken Salad, but wanted a twist on our 
original one we serve sandwich style.  
 
This turned out to be our most favorite recipe this season!  
 
Of course, some of the pictures are out in 
“No–man’s cyberland” somewhere…
sheesh…
 
One day I may just get it all together…
maybe…
 
But, most of the important ones are here…we hope you enjoy!
*******************************************************
Fried Pies & Fireflies Signature 
Southwest Chicken Salad Twirls
2 – 8 oz. packages cream cheese, softened
1 1/3 cup shredded Mexican blend cheese
3 cloves of garlic
1 1/2 TBSP chili powder
1 tsp cumin
1/2 tsp Cayenne pepper to taste
Salt to taste
1 lb chicken breast, roasted and shredded
1/2 bunch cilantro, chopped
4 green onions, chopped
1 pkg Sun-dried Tomato Flat-out Wraps
 
Mix cheeses together until well blended.
Add all remaining ingredients and mix well.
Cover and refrigerate for at least one hour.
Place one heaping spoonful onto tortilla.
Spread to edges using a metal spatula.
Roll, wrap and refrigerate about 30 minutes or so.  
Cut into slices and serve.
My boys really loved it topped with chopped Jalapeno.  
Apparently, the “putting it all together pictures” 
are the missing ones…so picture this..
We placed our chicken breasts in a roasting pan, 
seasoned it with salt and pepper, covered it,  
and roasted it at 425 degrees about 1 hour until done.  
We wanted our chicken finely chopped, 
so we used our food processor to shred it.   
Set it aside to cool a bit.  
Take those wonderful packages of cream cheese and the shredded cheese and mix it together with your mixer until blended.  
Add the spices, garlic, cilantro, green onions 
and chicken and blend until creamy.  
Put in in a container and refrigerate about 1 hour.  
Ok, here’s the pictures that made it!
 
Take the container out of the refrigerator 
and get that lovely Flat-out Bread ready…
 
 
Spread a good but thin amount to the edges of the wrap…
 
 
Roll up…
 
 
We then wrapped them and refrigerated them again 
about 30 minutes or so…
This makes them a little easier to slice…
 
Important Note:  
Those raggedy end pieces that aren’t so pretty…
YOU can eat them!  
Yes, YOU!
while you are cutting the rest of the roll
 into the pretty slices to display!  
Life is good! 
 
 
This is a weird, sideways picture of them…I don’t know why…


Ahhh….the finished platter…isn’t it pretty?  🙂
 
 
My boys enjoyed them topped with Jalapenos…it was delicious!


Filed Under: Uncategorized

Savory Chicken Taco Cheesecake Recipe

September 17, 2012 by Lisa Pinney

 
This is just part of my collection of 
soft, 
warm and 
oh, so fuzzy socks….
 
Makes my heart go pitter pat…
 
 
My Mom and all my girls know that in their Christmas stocking, their Easter Basket and maybe on any other occasion I see fit, 
they will also receive soft, fuzzy socks….
 
I feel as if every girl needs them….just saying…
 
When I’m tired, stressed, cold or just need a wonderful feeling…
my fuzzy socks seem to do the trick 🙂
 
I’m in a new department at work now.  
I love my new duties and my coworkers are wonderful.  
 
One of them told us last week that she was being “promoted’ to one of our branches in Rhode Island….
“Hon, what did you do that was so bad that you are being exiled to Rhode Island at the beginning of winter?”  I inquired. 
“Oh, no, Ms. Lisa!” she said, 
“I really want to go to our Rhode Island branch!”  
Blink, blink…
Florida…Rhode Island
Florida…Rhode Island 
 
Ok, if she’s too embarrassed to tell me…whatever…
but we sent her away with a Mexican feast 
and a basket of things she might need….
a warm hat, gloves, a knitted scarf, galoshes….
and of course, 
a few pairs of fuzzy socks… 🙂  
I have a feeling she’s gonna need them all!
My new coworkers thought I was a little “odd” when I signed up for our Mexican feast and announced that I was making a  
Savory Chicken Taco Cheesecake.  
One of them said afterwards that he was not sure why anyone would put chicken in a cheesecake…
really now…
they just need to really calm down and trust me…
if I want to put chicken in my cheesecake, 
it really will be ok…honestly!  
Who’s the food blogger…just saying…geeze…
 
Anyway, after a bite, with some lovely Salsa Wheat Thins, 
the new coworkers were hooked…
they would never be frightened again…
maybe…
I’ll keep you posted!
Savory Chicken Taco Cheesecake
The Crust:
 
1 3/4 c crushed tortilla chips
1/3 cup butter, melted
 
The Filling:
 
2 chicken breasts, roasted and chopped fine
3 pkg cream cheese (room temperature)
1/2 c mayo
1 envelope Taco seasoning
2 TBSP all purpose flour
4 eggs
1 1/2 cups shredded Mexican cheese, divided (save the 1/2 cup for the cheesecake topping)
The Topping:
1 cup sour cream
1/2 cup shredded Mexican cheese
3 Roma tomatoes, diced
1/2 cup chopped green onions
1 small can sliced black olives, drained
Combined the melted butter with the tortilla chips.  
Press in the bottom and up a little on the sides 
of your spring-form pan.  
 
In mixing bowl, beat the cream cheese and mayo until smooth.  Add the flour and taco seasoning.  
Add the eggs one at a time and beat on low until just combines.  Stir in chicken and 1 cup of the shredded cheese.  
Pour over crust.  
Place pan on baking sheet and bake 325 degrees 60-70 minutes.  


Cool in pan for 10 minutes.  
Carefully run a knife around the edge of pan to loosen.  
Cool an hour longer.  
Refrigerate for 8 hours.   
 
Before serving, remove sides of pan 
and add the topping ingredients–
sour cream, tomatoes, shredded cheese and green onions.  
Slice and serve with crackers or chips.  
Enjoy!
Mmmm….the ingredients…
 
 
I roasted 2 chicken breasts and seasoned them with Morton’s Nature Seasoning…my favorite on about anything…
 
 
Smells wonderful!!
 
 
I cooled the chicken breasts and then sent them 
through the food processor…


Next, I got my spring-form pan ready….
I’ve been having issues with everything sticking lately 
even when I spray my pans, 
so I decided to try to line my pan with parchment paper…
it worked wonderfully and it is my new best friend now…
 
 
I have a special tortilla chip crusher…
Isn’t she lovely!  
My sweet Momma!
 
 
See how easy it was when you have one of these kitchen gadgets!
 
 
Melt the butter…
 
 
Add it to the crushed chips…
 
 
Pour it in the spring-form pan…
 
 
Spread them out and press down and up the sides a little…
 
 
Cream the cream cheese and mayo until soft and smooth…
 
 
Add the flour…
 
 
Rachel Ray says we should be making our own taco seasoning…
apparently I don’t have the assistants that Ms. Ray does, 
so today we’ll just have to rely on Taco Bell…
just saying….
 
 
Made it a lovely light orange color…
 
 
Next add the eggs one at a time and beat well…
 
 
Last stir in the chicken and the shredded cheese….
 
 
Pour in the spring-form pan and bake ______
 
 
Oh, lovely!!
 
 
When cool, spread with the sour cream…
 
 
Yummy!!


Top with the remaining shredded cheese…


Dice the tomatoes and add next 
along with the sliced olives and green onions 
that I forgot to take a picture of…
sigh…


Turned out so pretty and was delicious to boot!!


Put on a best pair of your fuzzy socks, 

prop your feet up 
and enjoy a slice of Mexican heaven!


Filed Under: Uncategorized

Lumpia Recipe

August 30, 2012 by Lisa Pinney


Sometimes the smallest things take up 
the most room in your heart.
–Winnie the Pooh


Winne the Pooh is such a wise old bear!!  
I have missed my sweet grand babies this week!  
I’ve started a new supervisor position at work and I’m finally on days!  My big girl has also started a new position at Preschool–
(I’m sure she’s a supervisor there also, being a Pinney and all 🙂
so it’s going to be a new adjustment to find our way 
to spend that precious time together.  

I love that all my children love to cook and that my sweet Kaia enjoys cooking with Grandma when we get together!  


She’s soooo serious!!


Noah is learning to love it too–or is it just 
“that taste testing part” he’s interested in?  

Hmm??


No matter what’s going on this week, find one of the little things in your life that makes you happy and take the time to make 
a sweet memory…


 We really love Lumpia!  
I think I could eat it every day…all day…multiple times…with the Sweet Chili Dipping Sauce…just saying…

I’m getting pretty good at making it, but if you’re attempting it for the first time, it will take some trial and error and much patience.

The lumpia rolls might not look perfect to start with–
maybe not even–not small enough–but when you fry them, 
it really won’t matter!!  
Frying something covers a multitude of sins–
didn’t you know this??  

I also need to take a day a month to roll a whole bunch of them and freeze them for Lumpia emergencies…Oh, I have had a Lumpia emergency–believe you me!!  

They freeze really well and you can just pop a few in the fryer if you need a quick snack or appetizer.  

Warning:  They’re like potato chips, though–you can’t eat just one!
Lumpia
1 lb ground pork
Lumpia Wrappers
2 carrots, shredded
6 green onions, chopped
5 cloves of garlic, chopped or minced
1 egg
4 TBSP soy sauce
2 tsp Morton’s Nature Seasoning
 
 
The awesome ingredients:


Start with the ground pork…


Chop the green onions…


Add the green onions to the pork….

Shred the carrots and add to the pork mixture…

Chop or mince the garlic cloves…


Add the egg…


Add the soy sauce…


Add the seasoning next…
 
Mix all the ingredients well…
 I get my lumpia wrappers at an Asian Grocery store and they’ve just started carrying the ones that are individually separated…
what a wonderful invention….
it has replaced many a tear in my kitchen…just saying… 
 
if you’ve ever tried to separate the ones that are not already separated, you’ll understand…

Whisk some water with an egg white…
this will be your glue that seals the lumpia before frying…
so that none of that wonderful filling escapes…
 

Start with a wrapper…


Put a very thin roll of the sausage mixture along one end of the lumpia wrapper…

Start rolling it really tightly….but carefully, not to tear the dough..but don’t stress out…it will really be ok…once everything is sealed and fried…I promise…


About halfway, fold the sides over…


Continue rolling up…
I don’t know why my letters are orange now…
it won’t change the outcome of the recipe, though…
these things “just happen” to me on the computer..
 my daughter just laughs…. 
 
 
Use the egg white to seal the wrapper…

You’ll end up with a plate full of these wonderful yummy creations!


Ok, I’ve used the deep fryer again…
Just once more…
this week…
I promise it will be ok…
 
Deliciousness served with  lo mein and a side of the 
Sweet Chili dipping sauce. 
I get this at the little Asian Grocery store too!  It is lovely!! 


Filed Under: Uncategorized

  • « Go to Previous Page
  • Go to page 1
  • Go to page 2
  • Go to page 3

Primary Sidebar

Welcome, Y’all!

Fried Pies & Fireflies started in 2011 as a way for southern cook, Lisa Cook, to share her recipes with family and friends. Let's dig deeper →

Feature Your Favorites

Chocolate Chip Cookie Dough Cheesecake Bars Recipe

Chocolate Chip Cookie Dough Cheesecake Bars Recipe

Apple Dumplings Recipe

Apple Dumplings Recipe

Iron Skillet Pineapple Upside Down Cake Recipe

Iron Skillet Pineapple Upside Down Cake Recipe

Sweet Tea Pie Recipe

Sweet Tea Pie Recipe

Give Me "Samoa" Cake Recipe

Gimme “Samoa” Cake Recipe

Fried Pies & Fireflies Signature Poundcake Recipe

Fried Pies & Fireflies Signature Poundcake Recipe

Cookie Fruit Pizza Recipe

Cookie Fruit Pizza Recipe

Copyright © 2023 · Foodie Pro Theme on Genesis Framework · WordPress · Log in