Sharing a quick, easy and delicious pie recipe today.
It’s a good one to take to a dinner or deliver to
someone in need of a “pick me up” dessert!
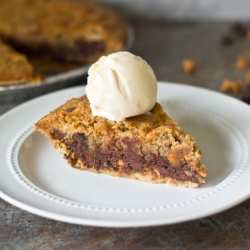
It’s great warm, just out of the oven 🙂
*******************************************************
Lisa’s Double Chocolate Chip Pie
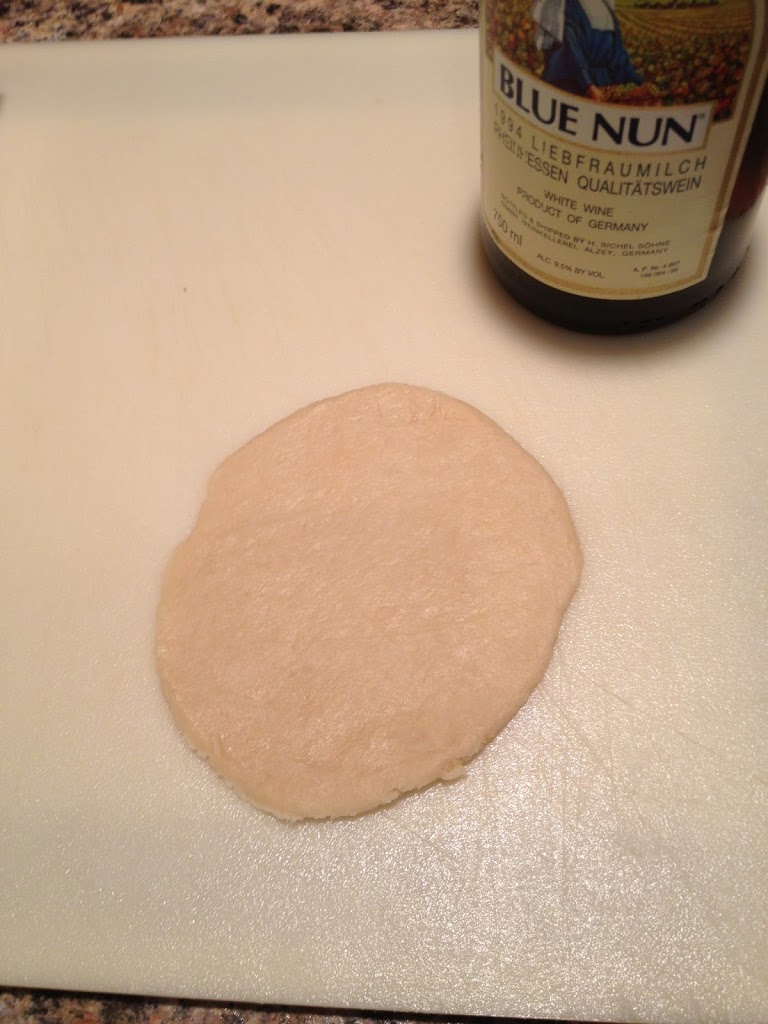
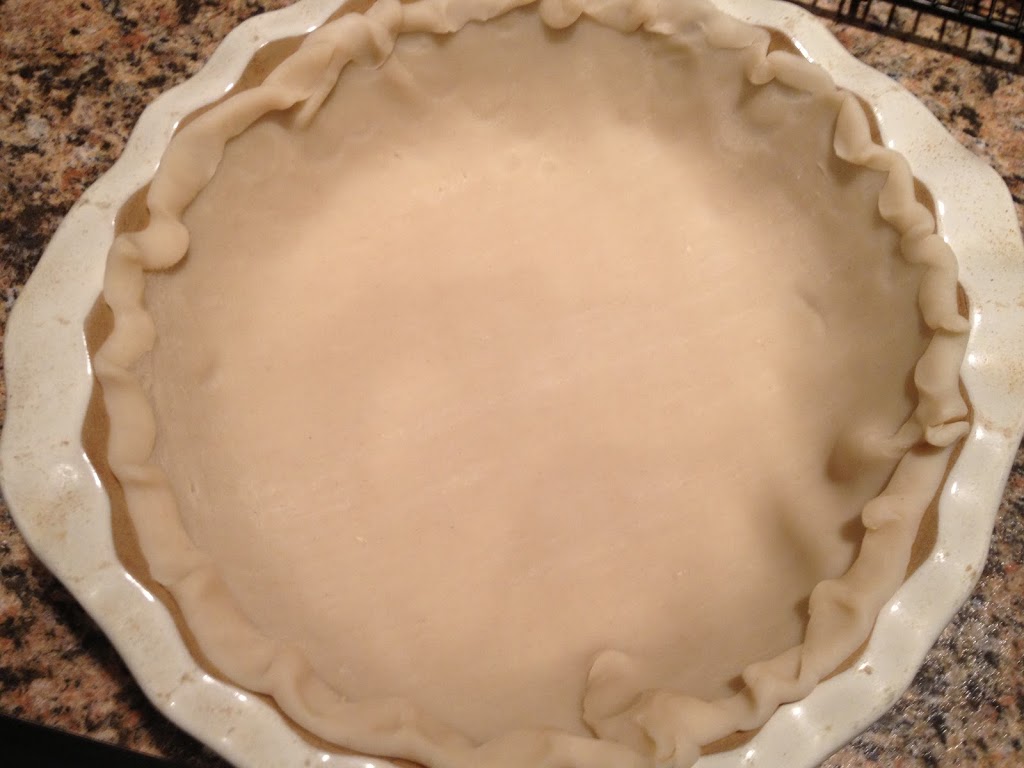
1 Pillsbury Pie Crust
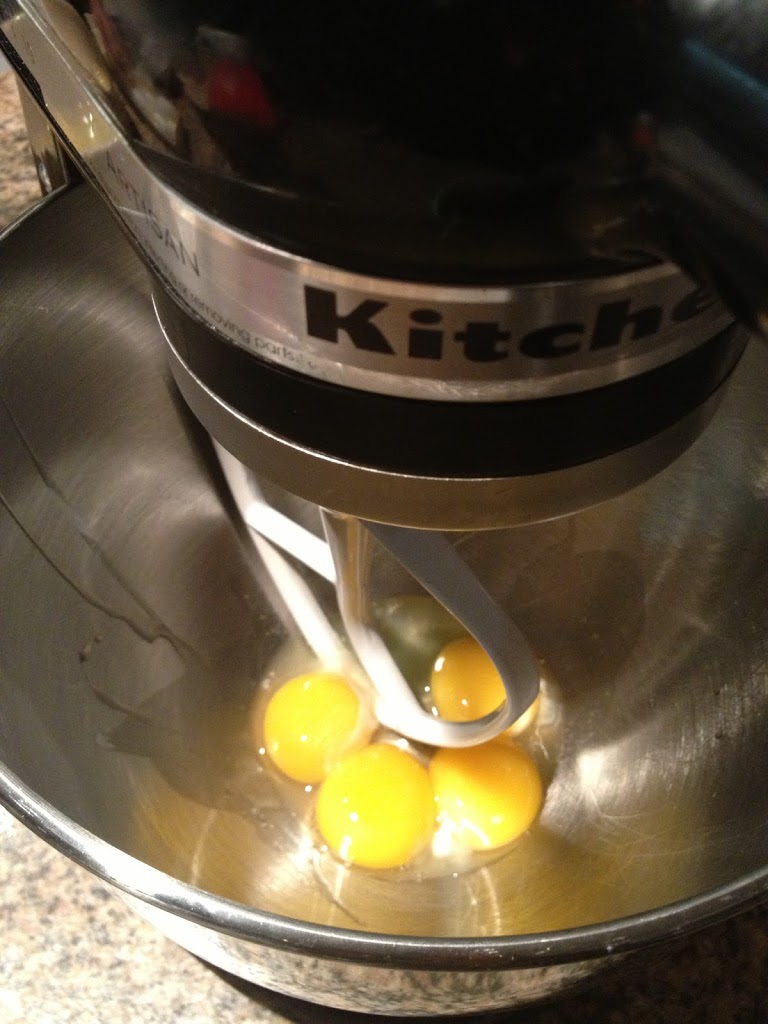
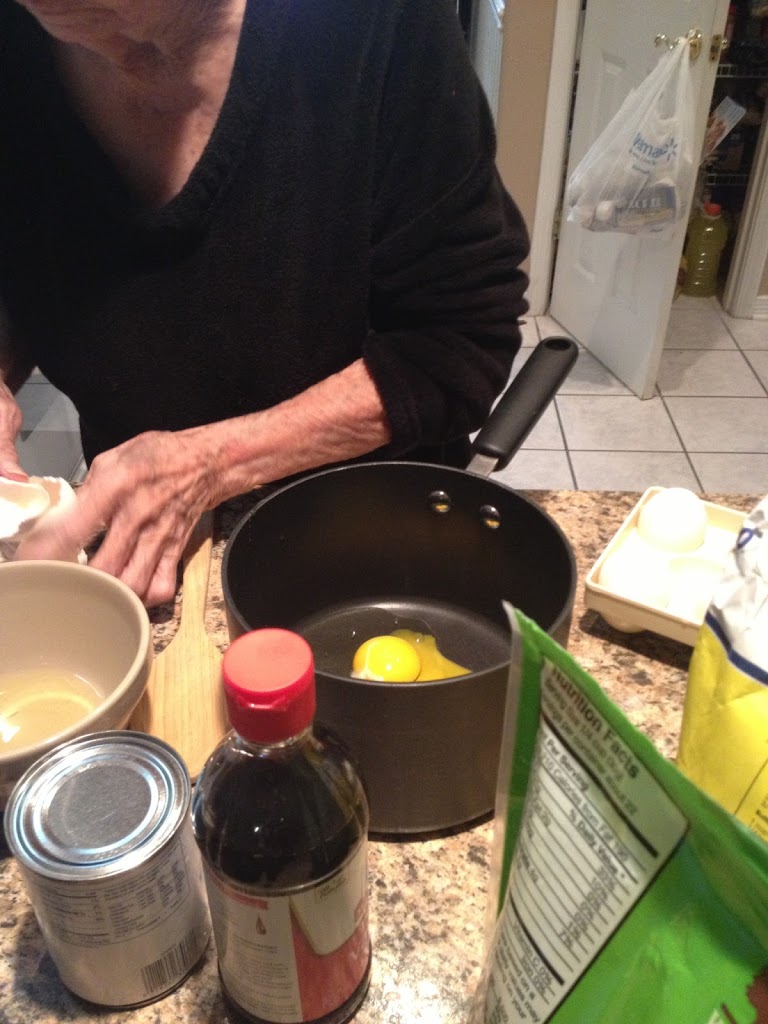
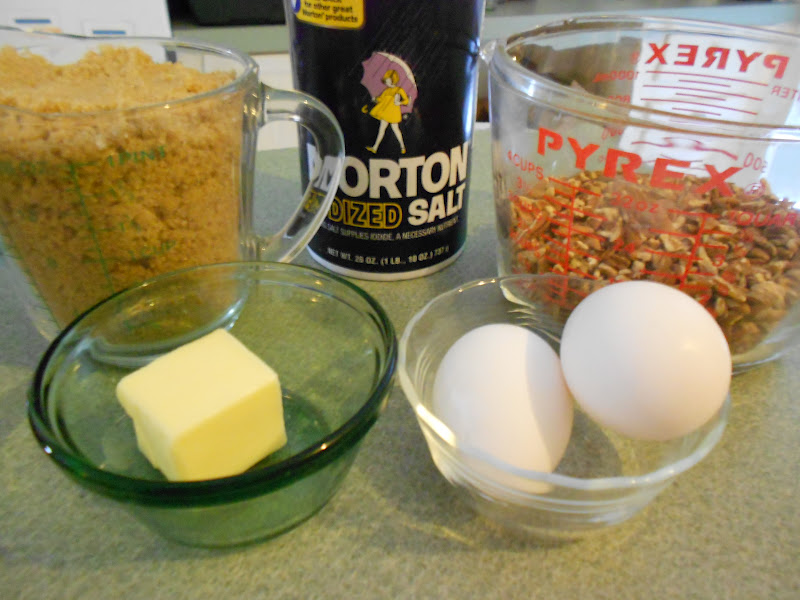
2 eggs
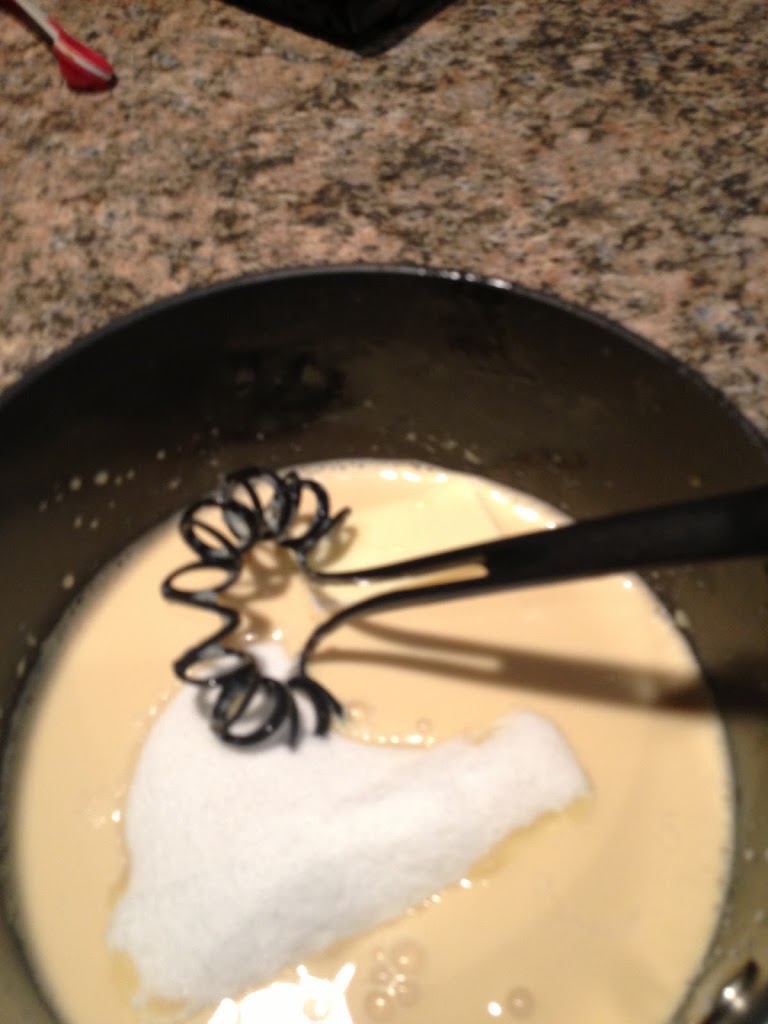
1/2 cup sugar
1/2 cup brown sugar
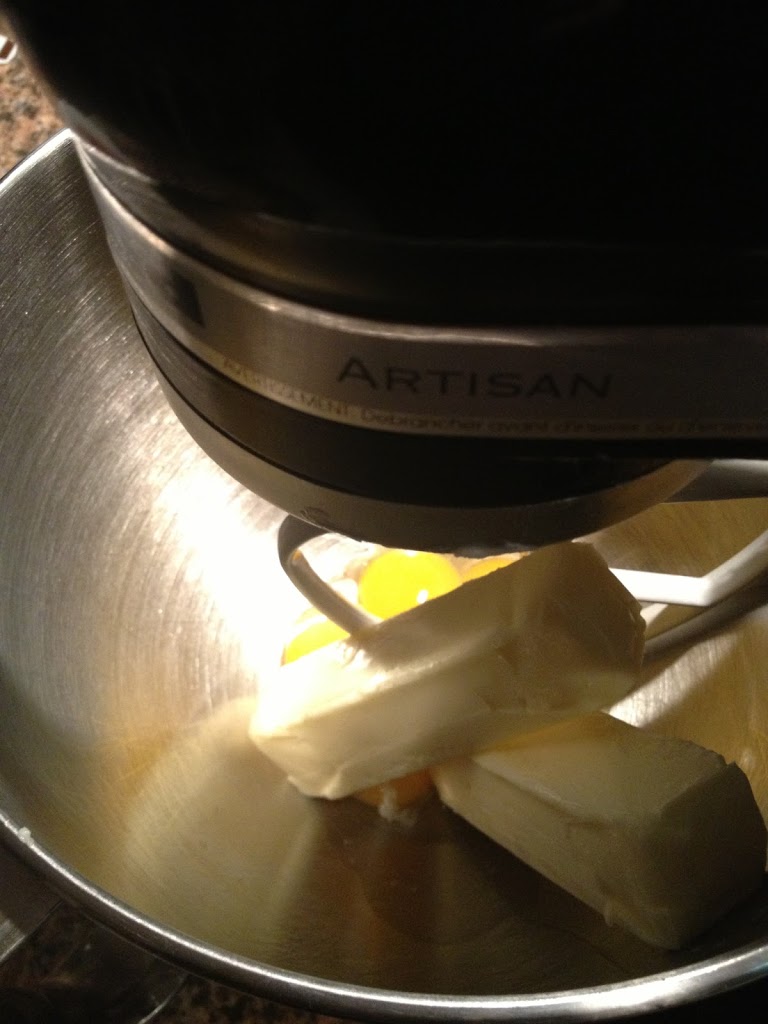
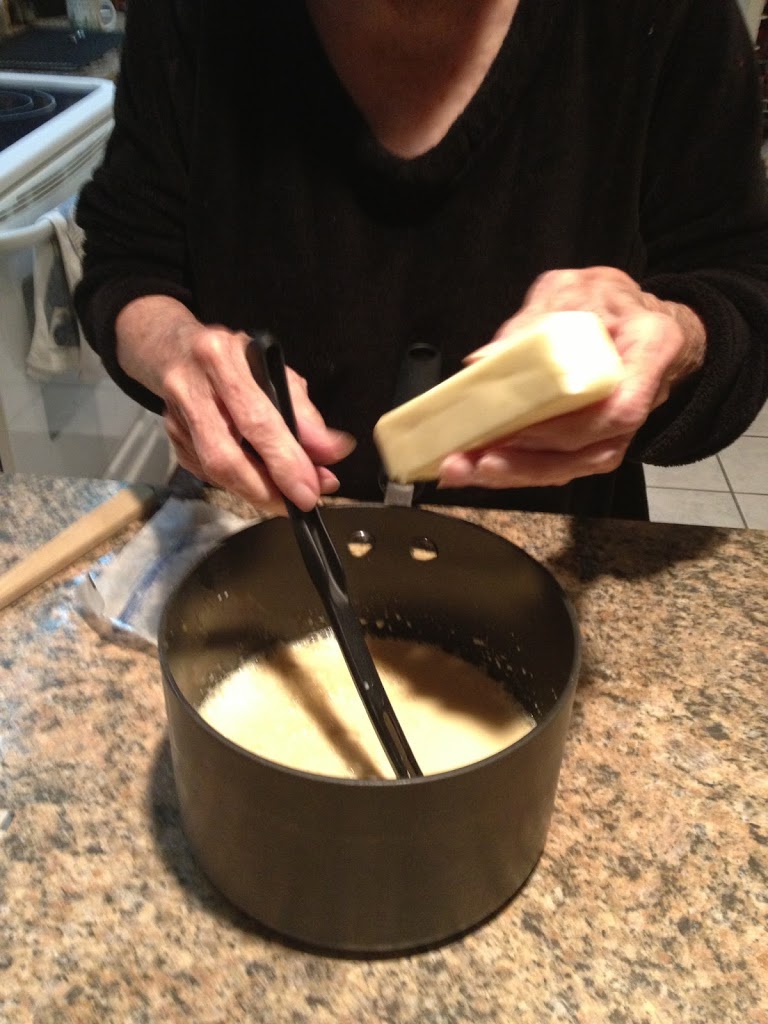
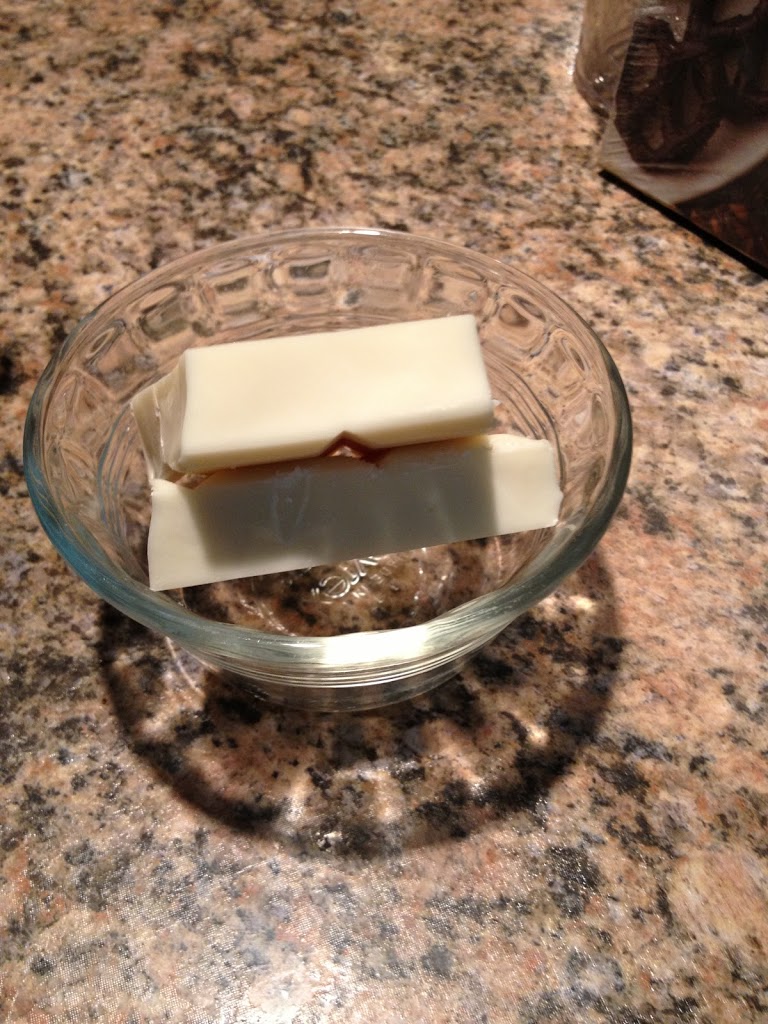
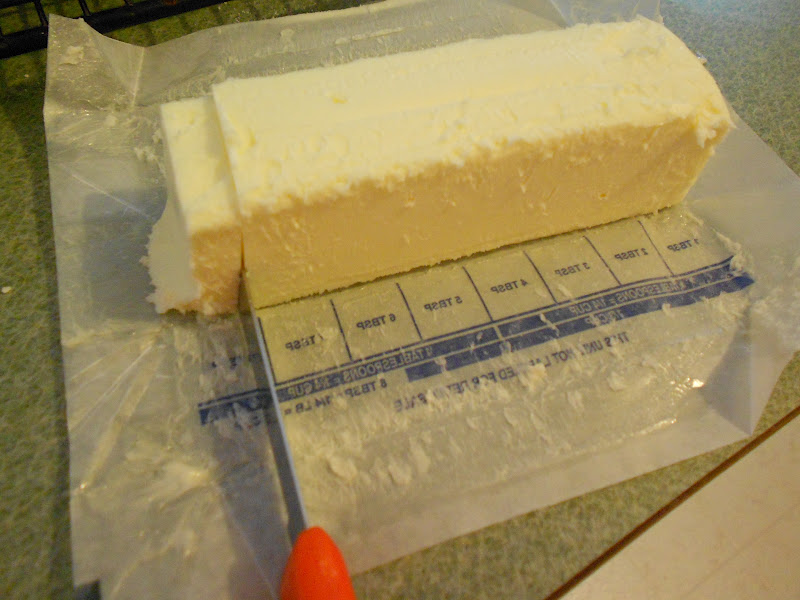
1 1/2 sticks butter
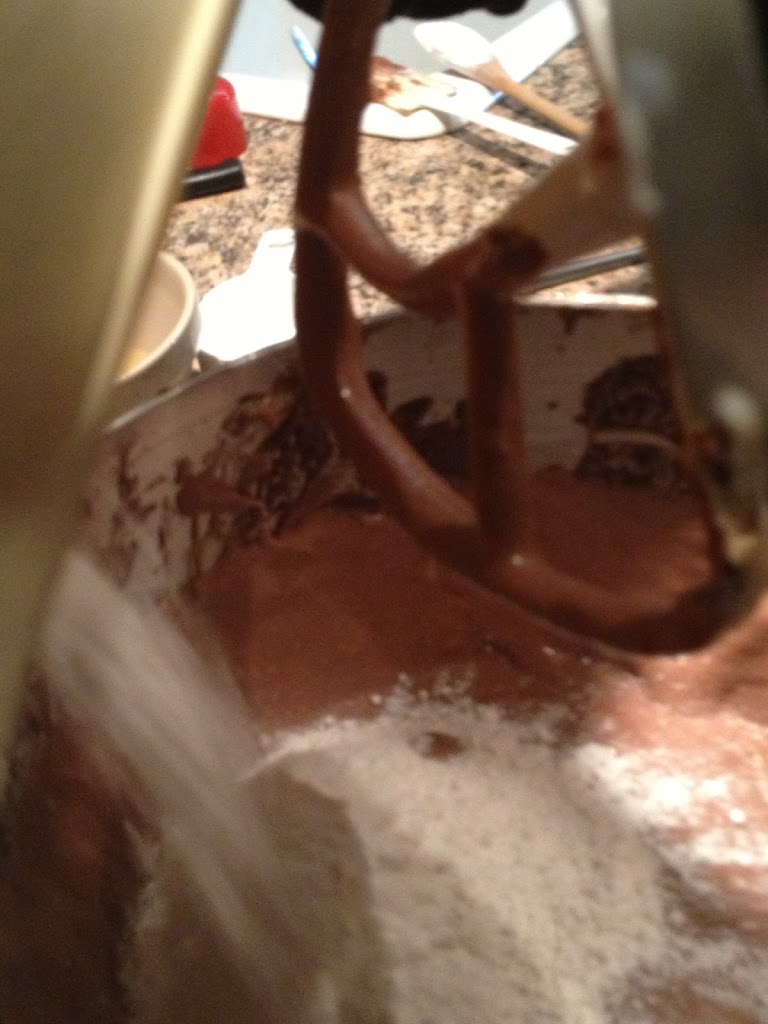
1/2 cup all purpose flour
1 cup semi sweet chocolate chips
1 cup white chocolate chips
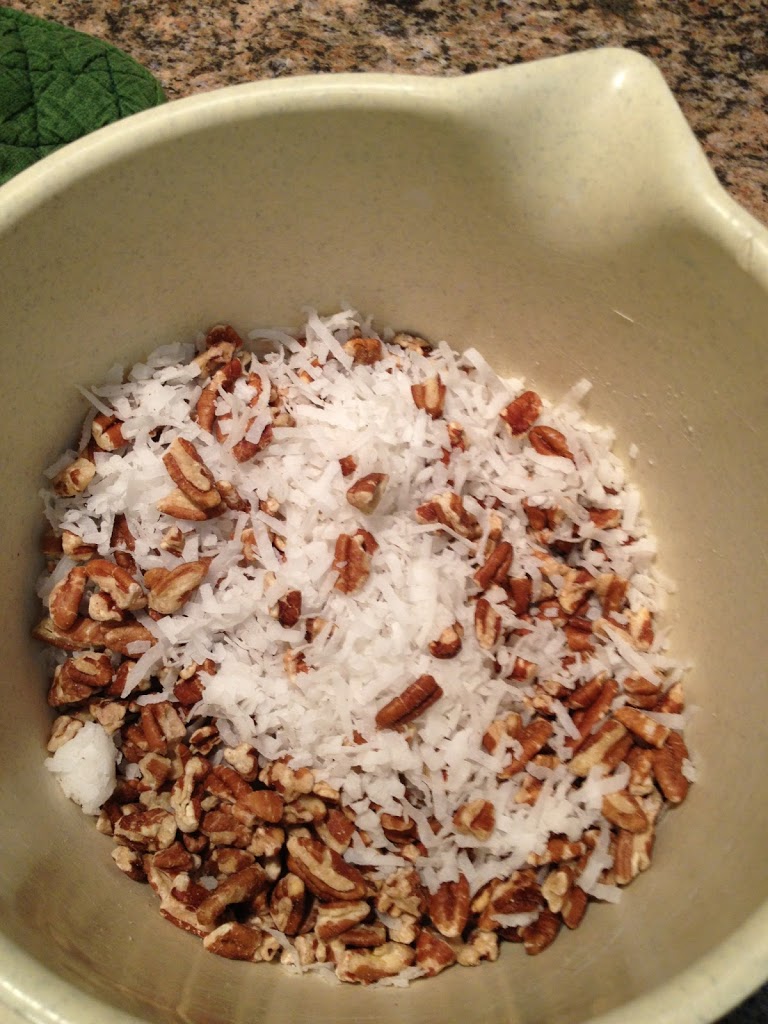
You can also throw in 1/2 cup pecans or walnuts if you like them–my kids don’t so we’re nut-free–so to speak!
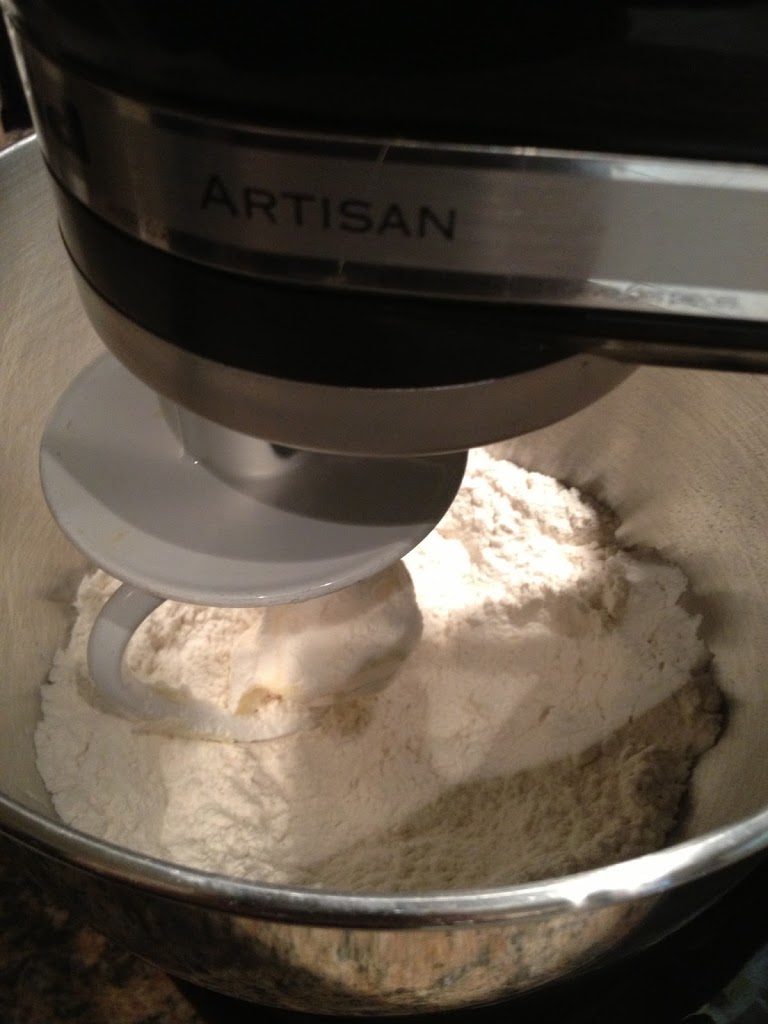
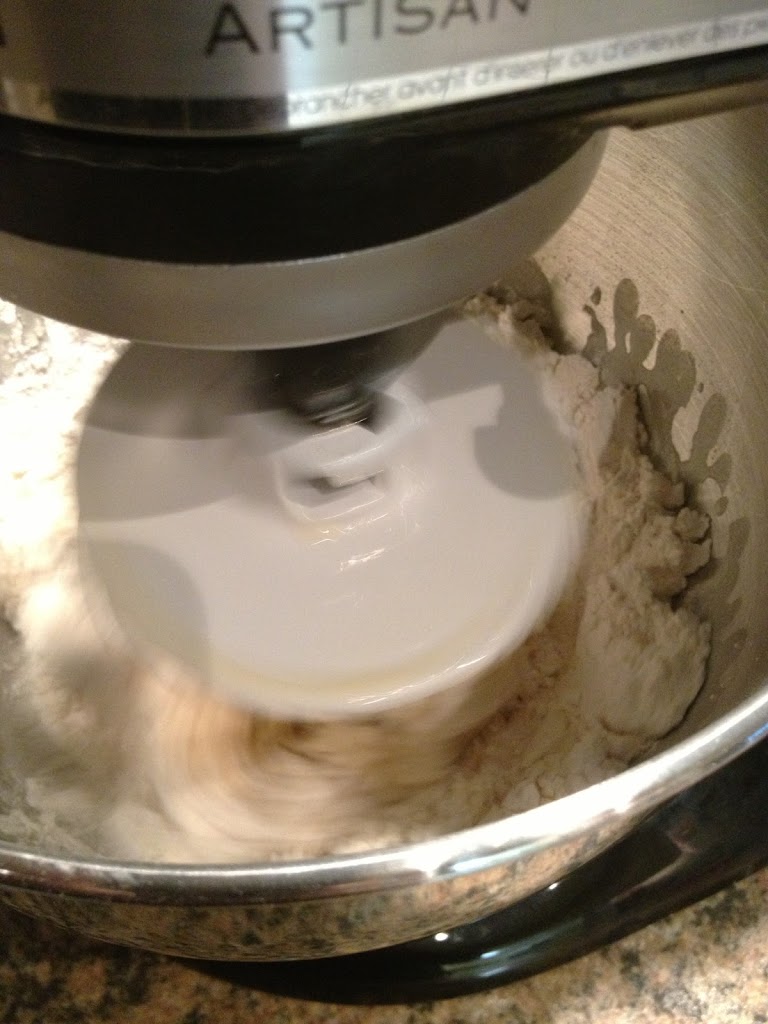
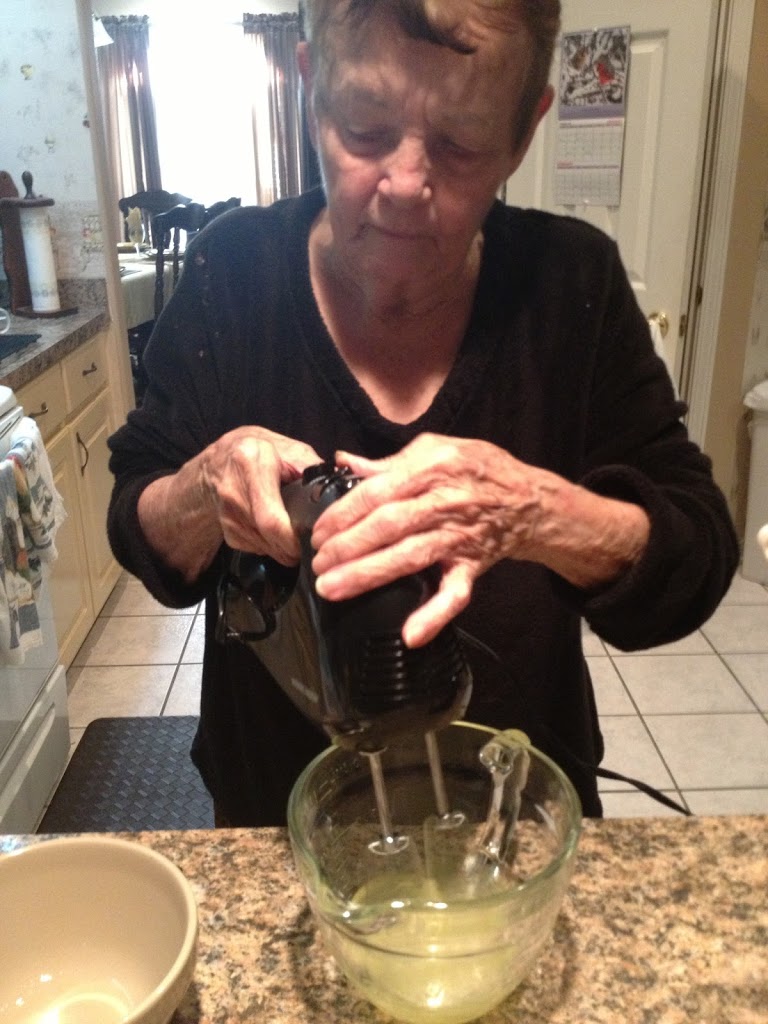
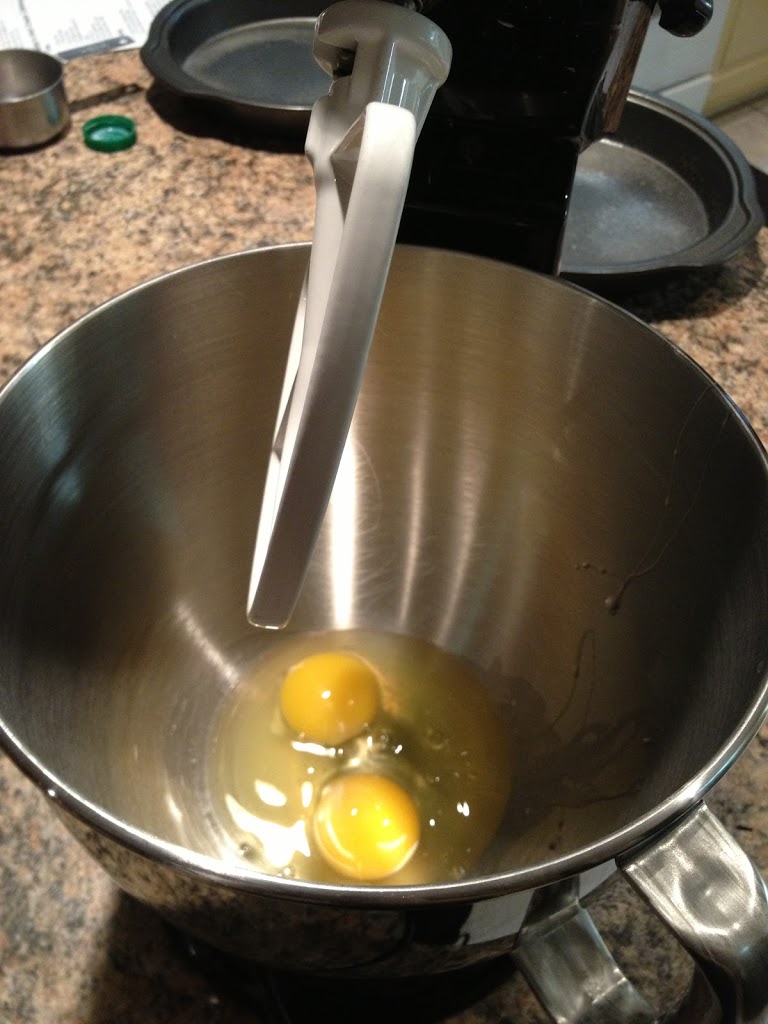
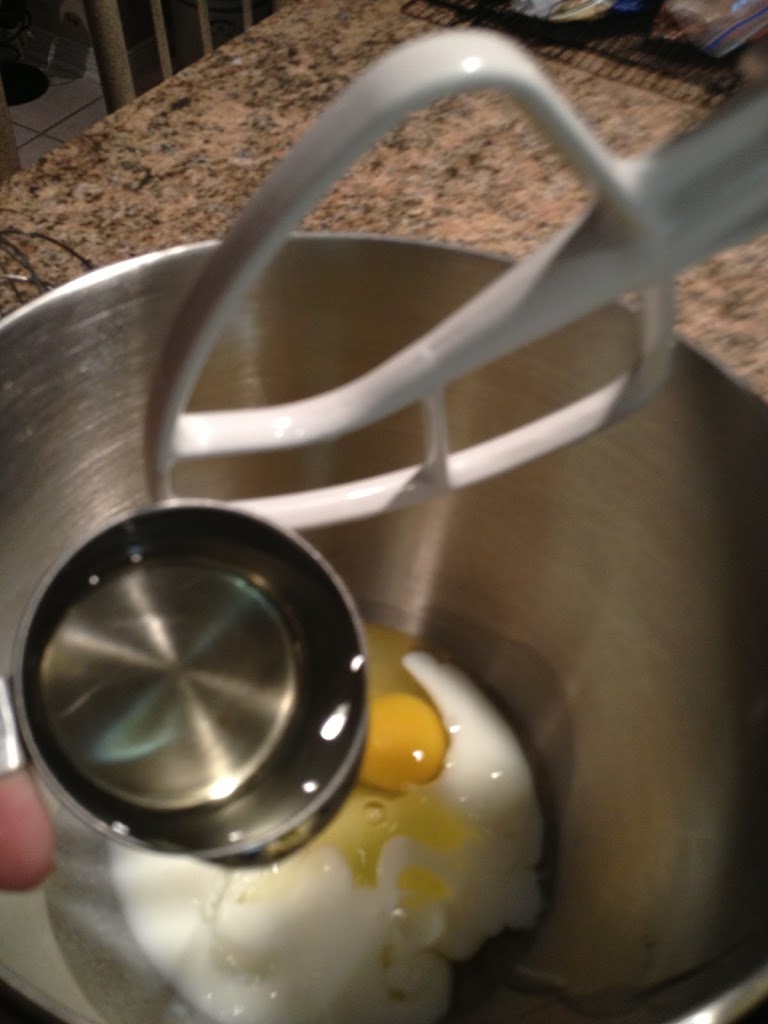
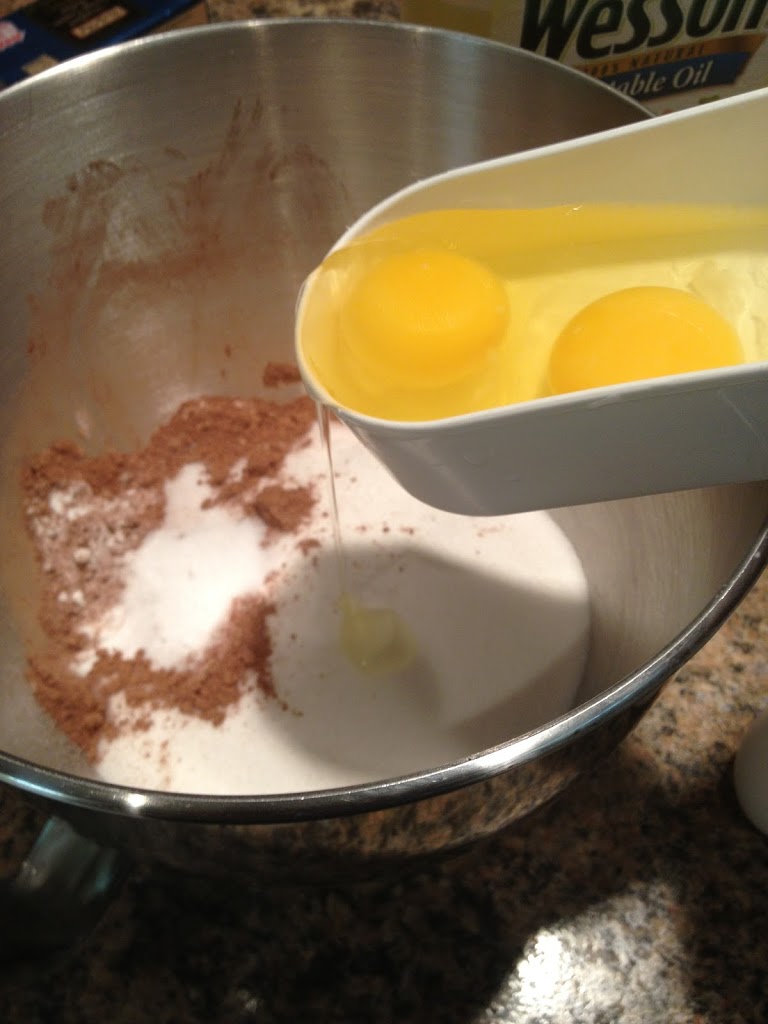
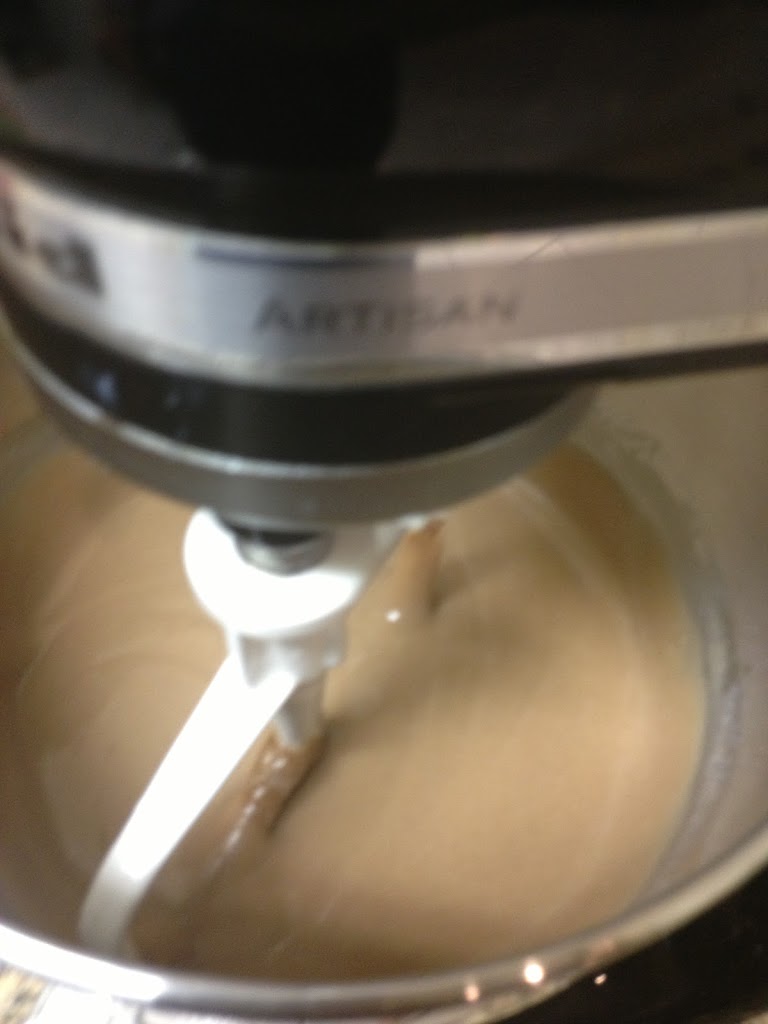
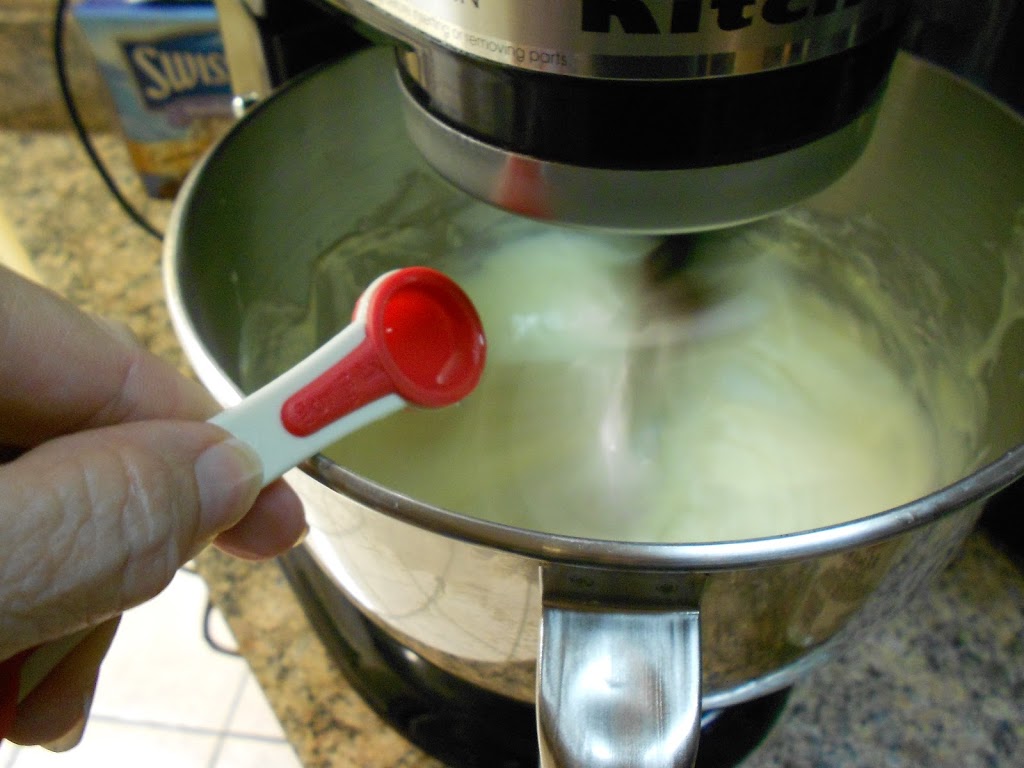
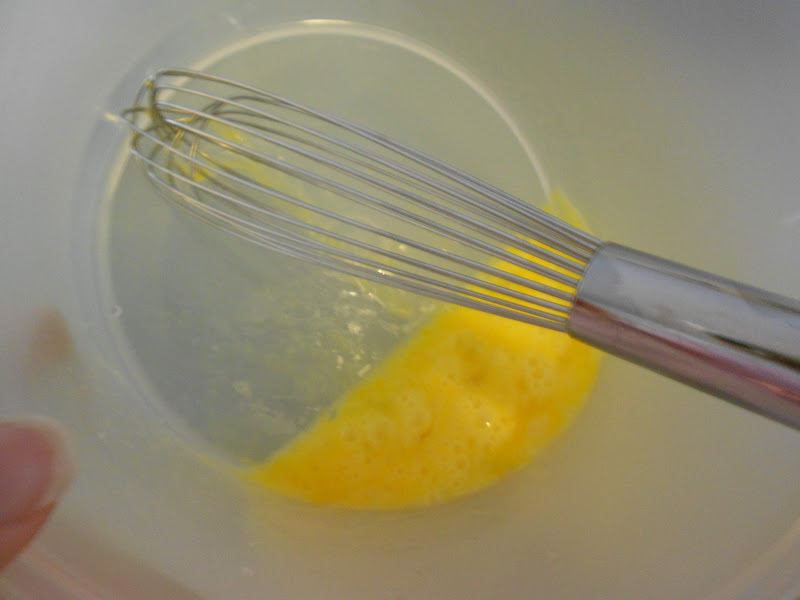
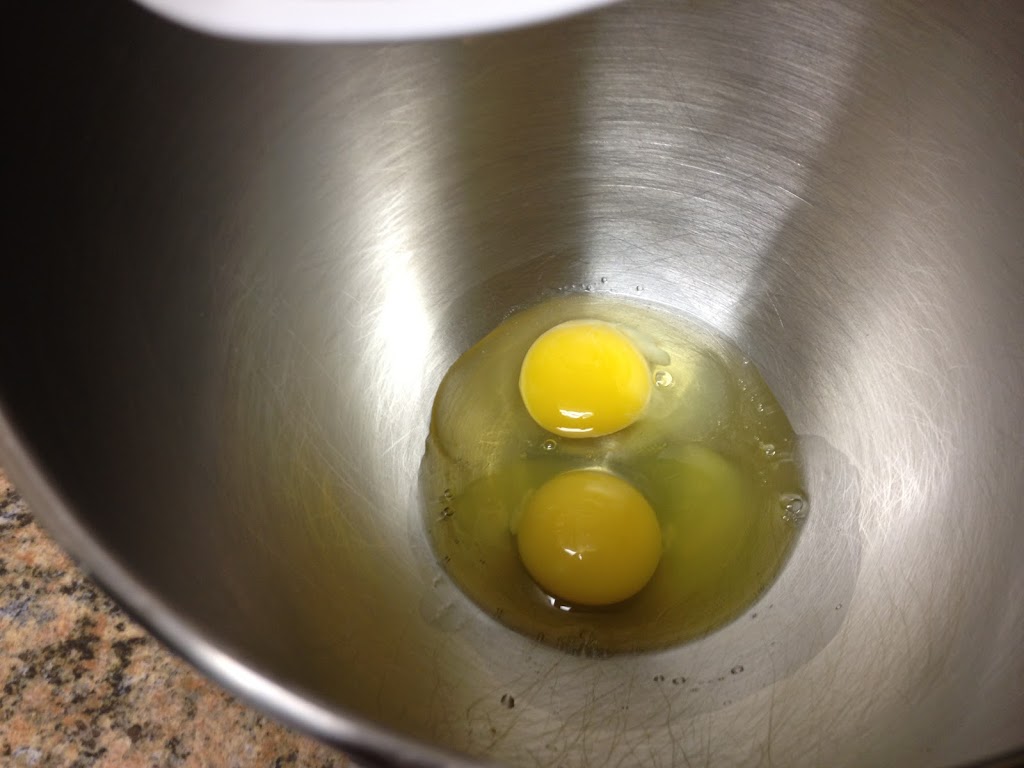
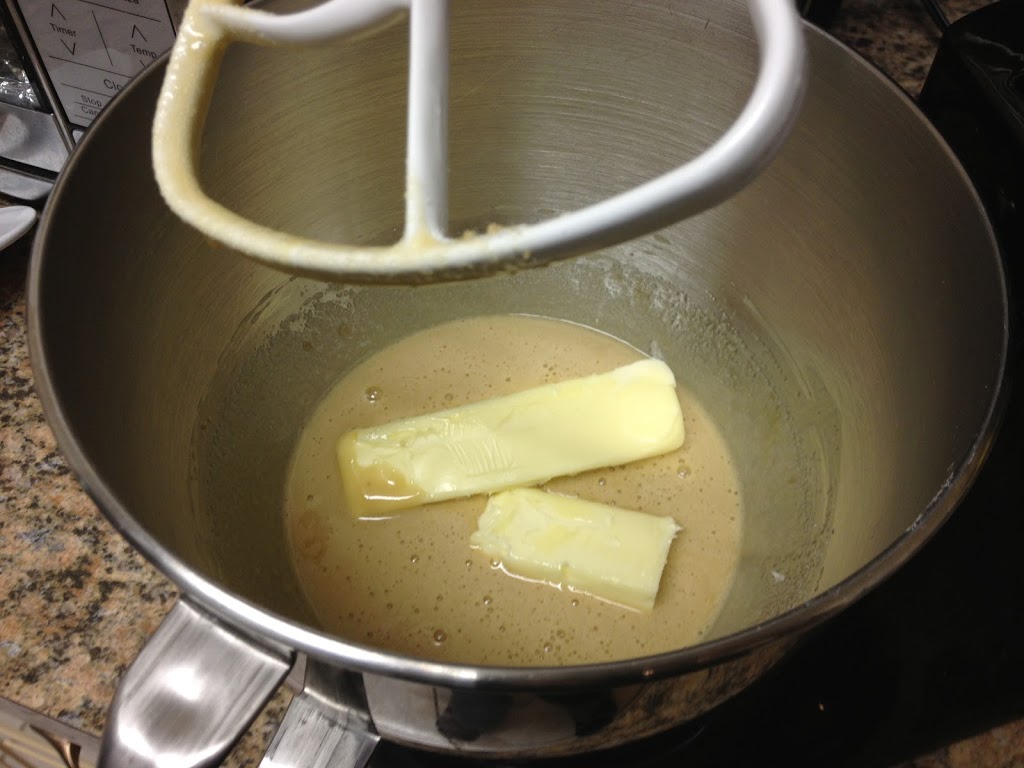
In mixing bowl, beat the eggs about 30 seconds.
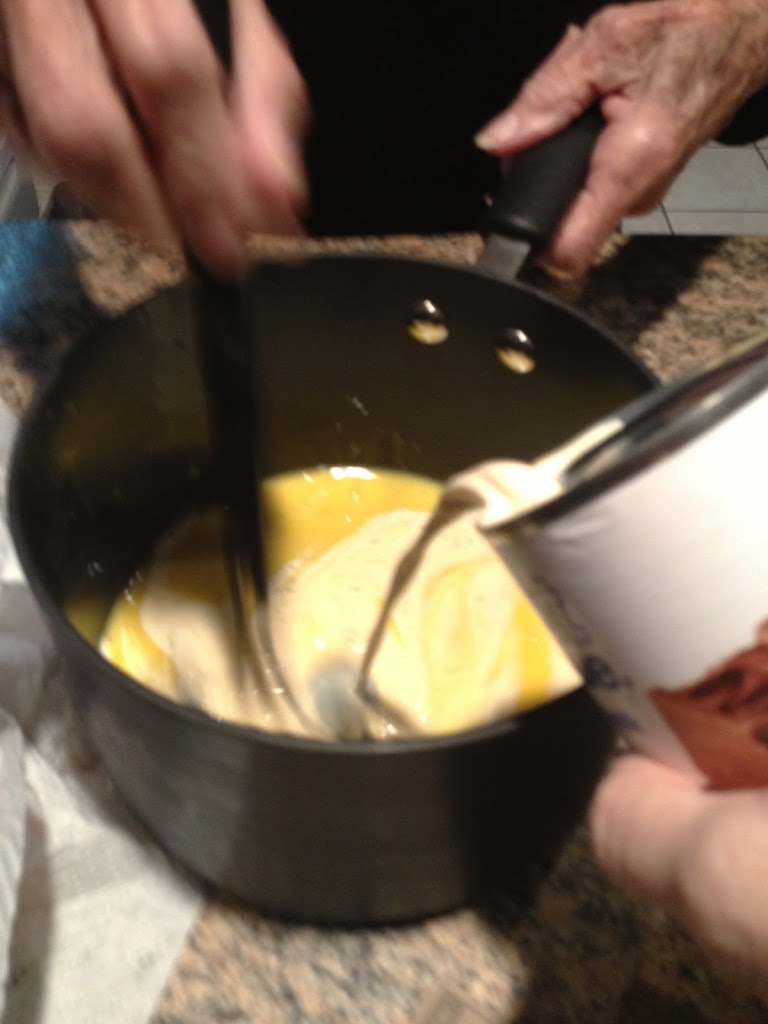
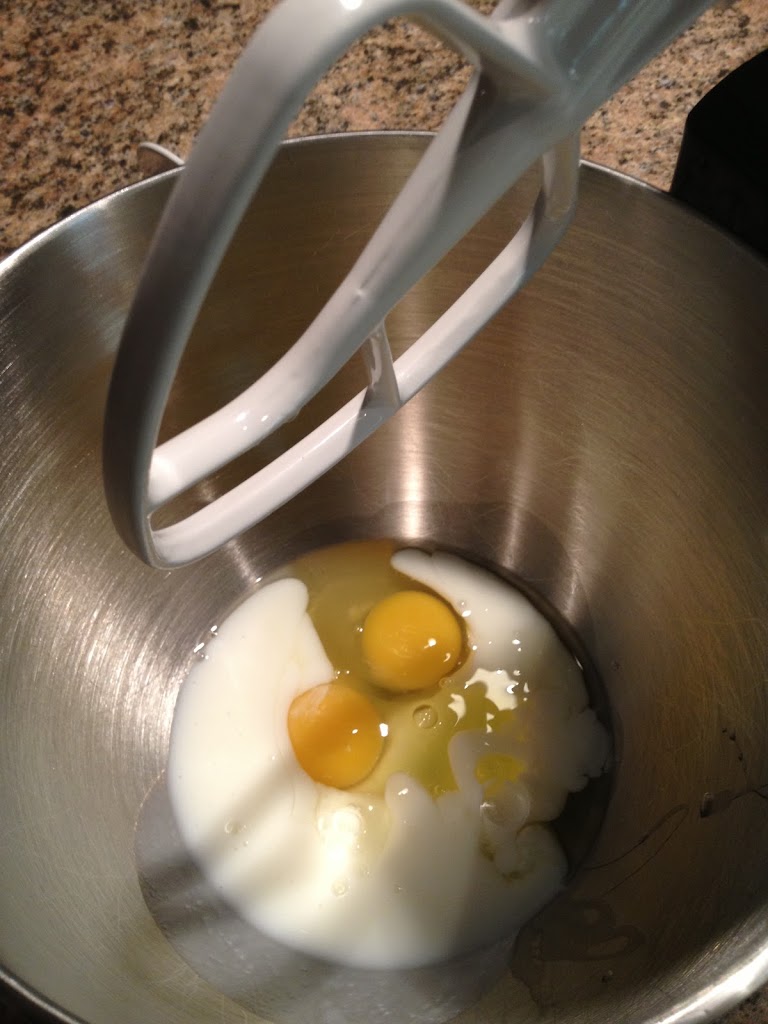
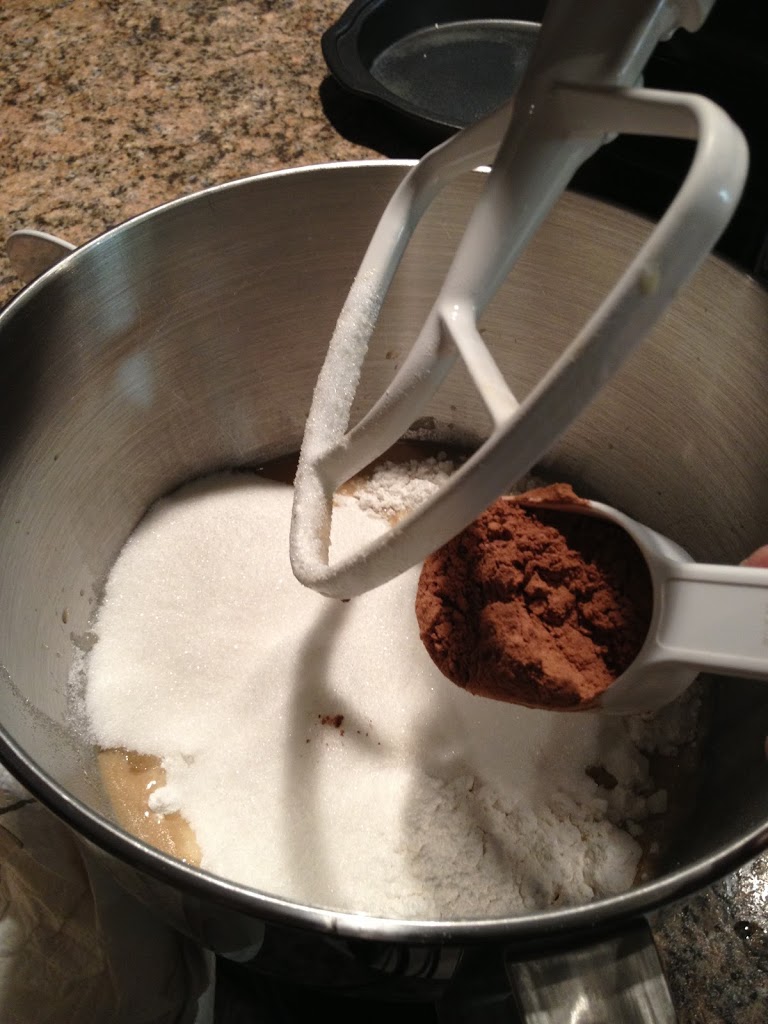
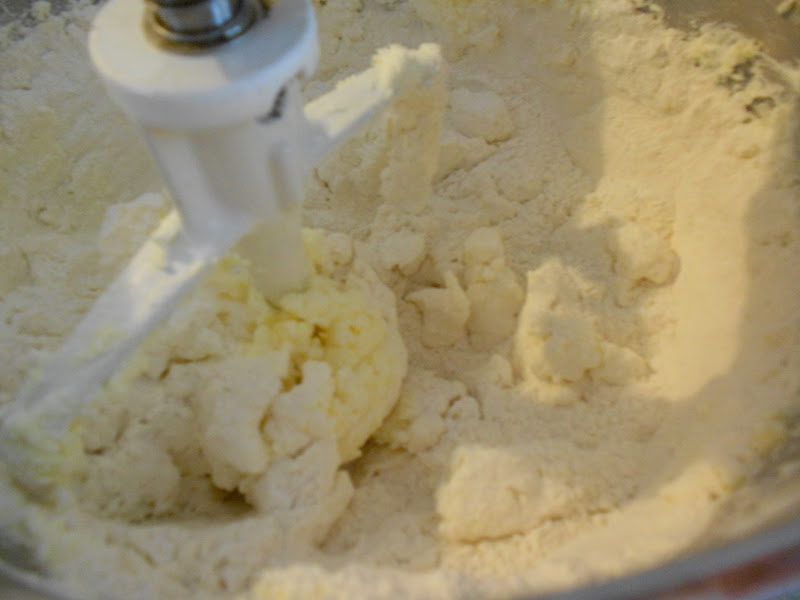
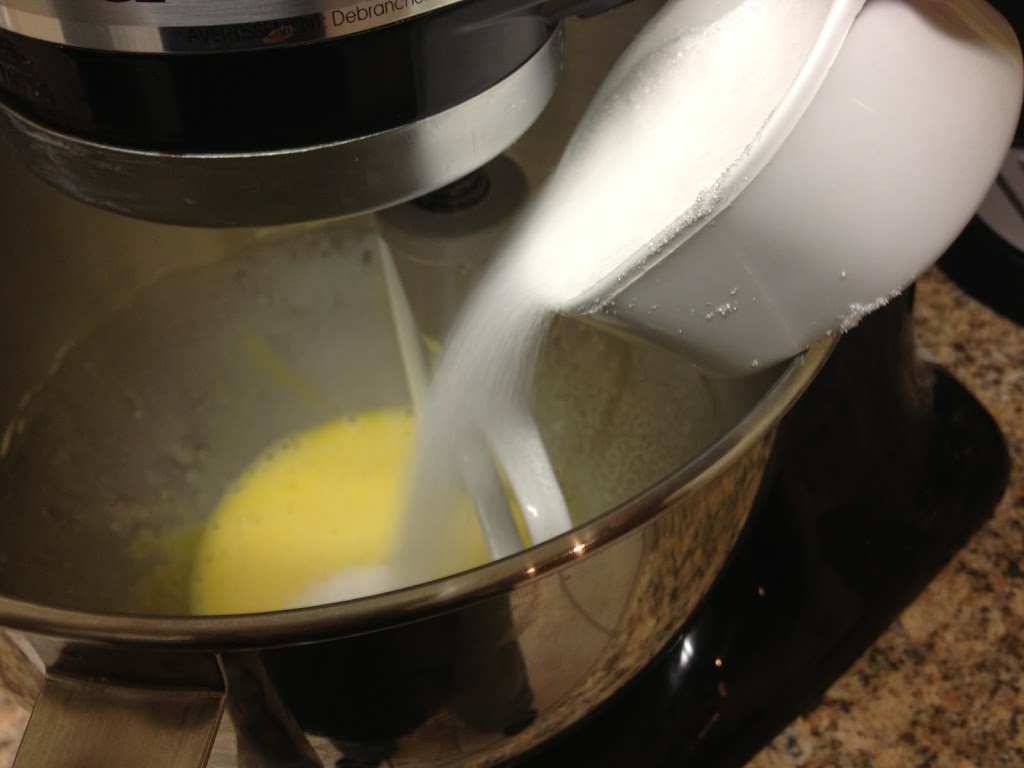
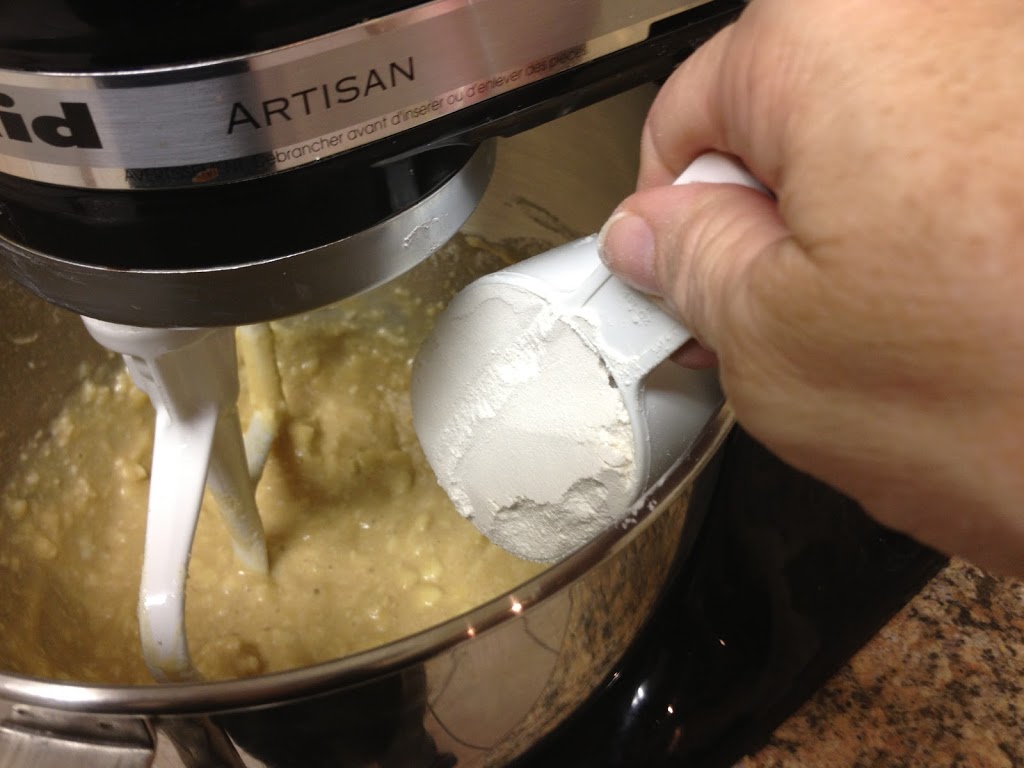
Add the sugars, flour and softened butter.
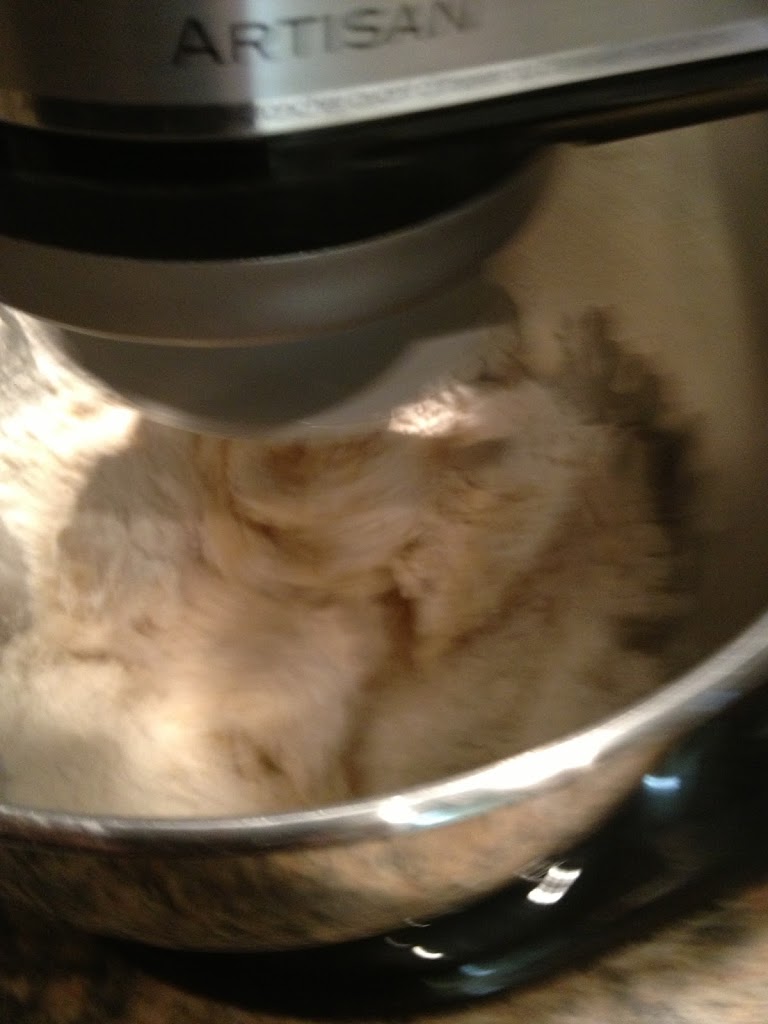
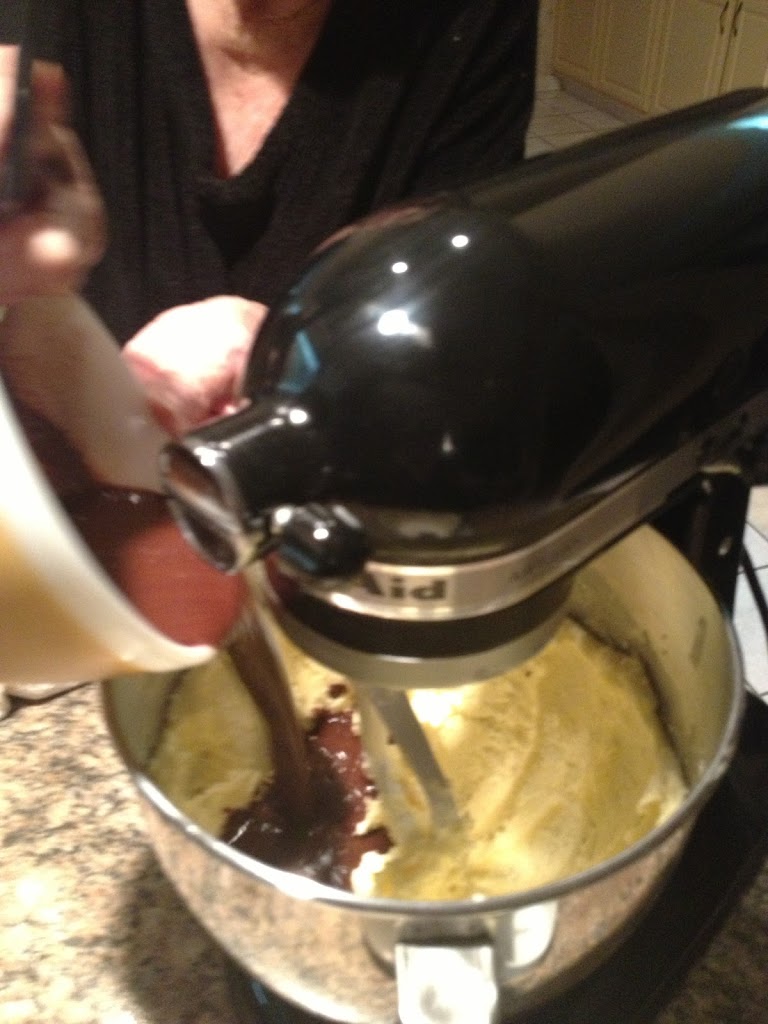
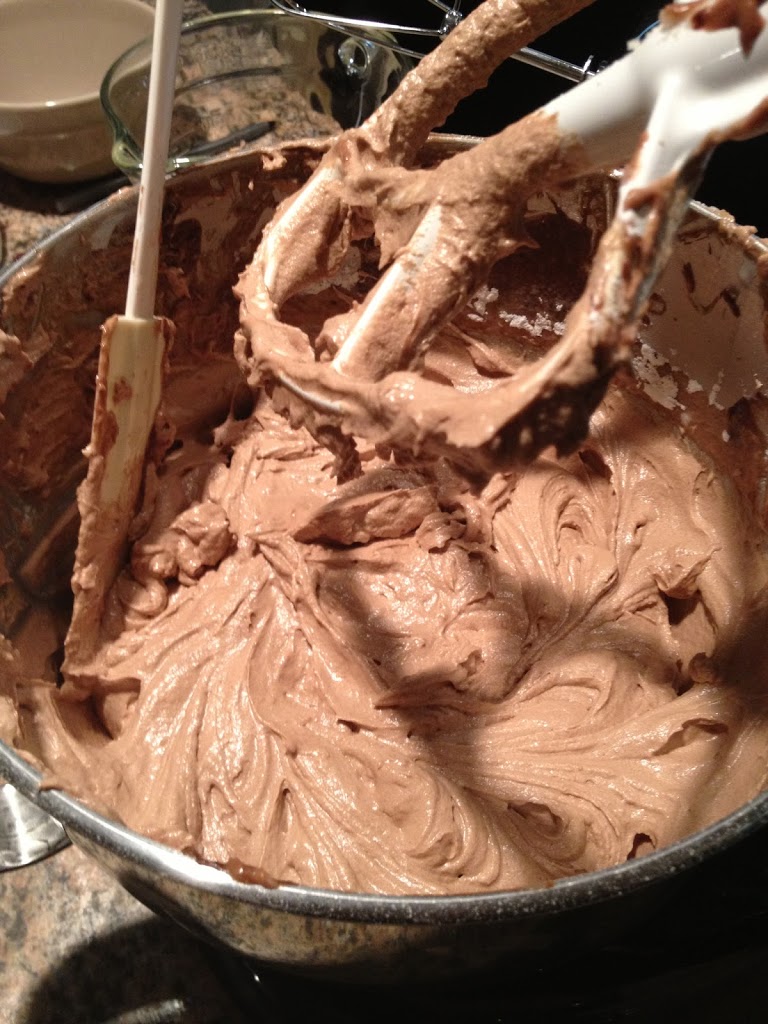
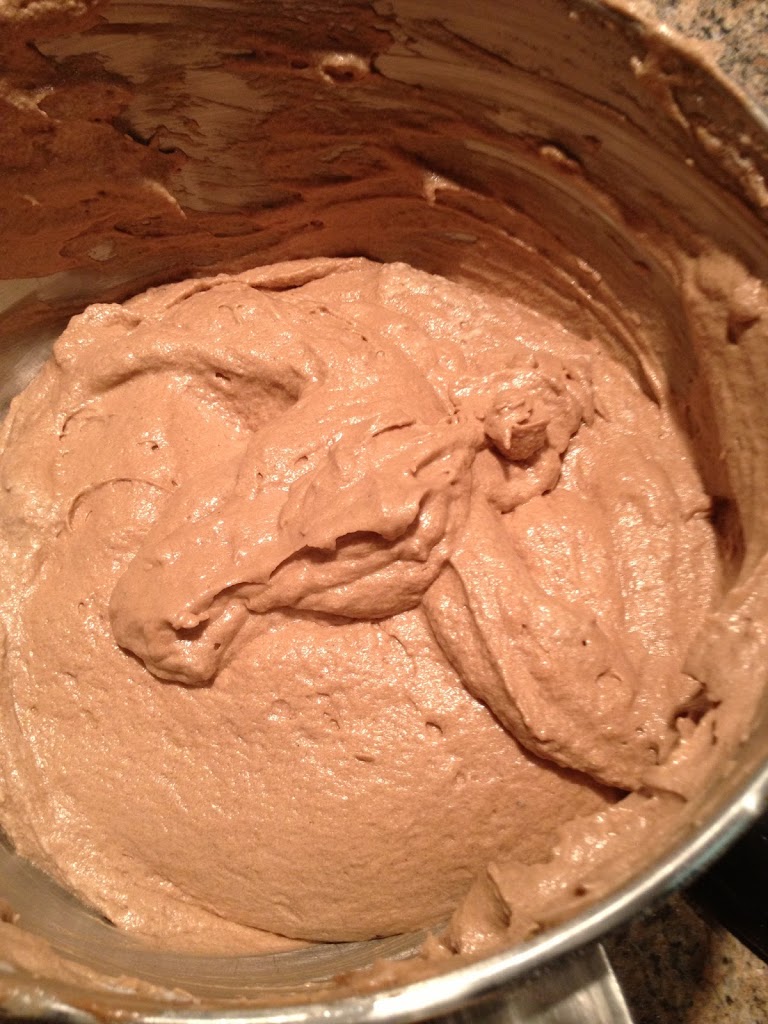
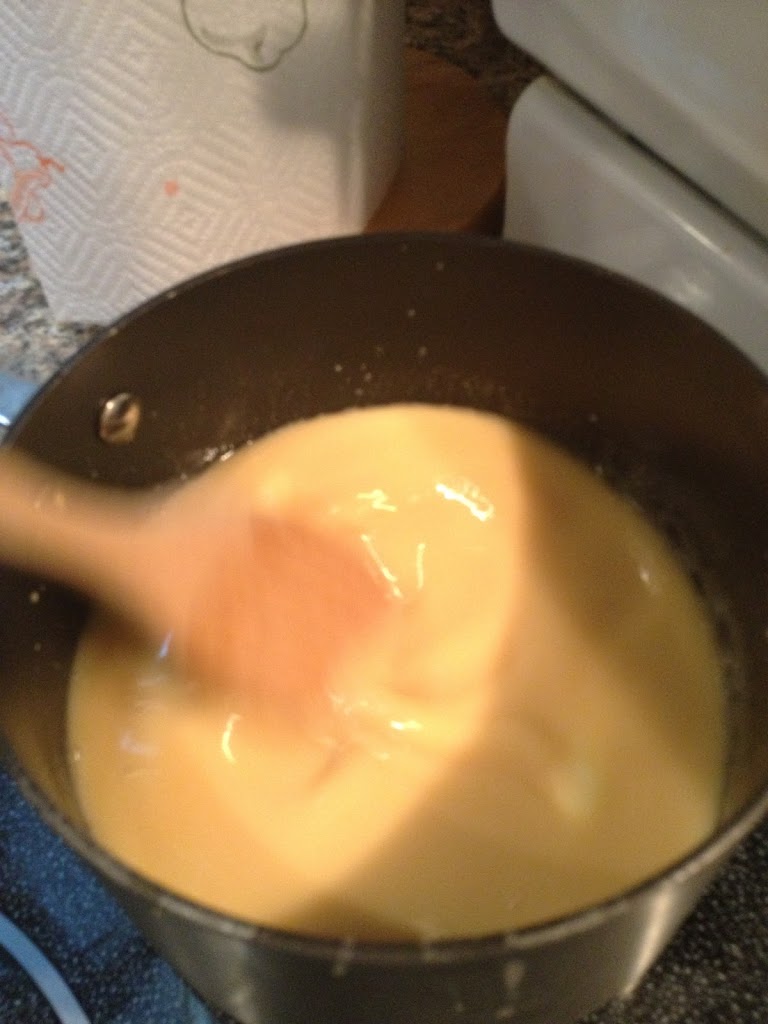
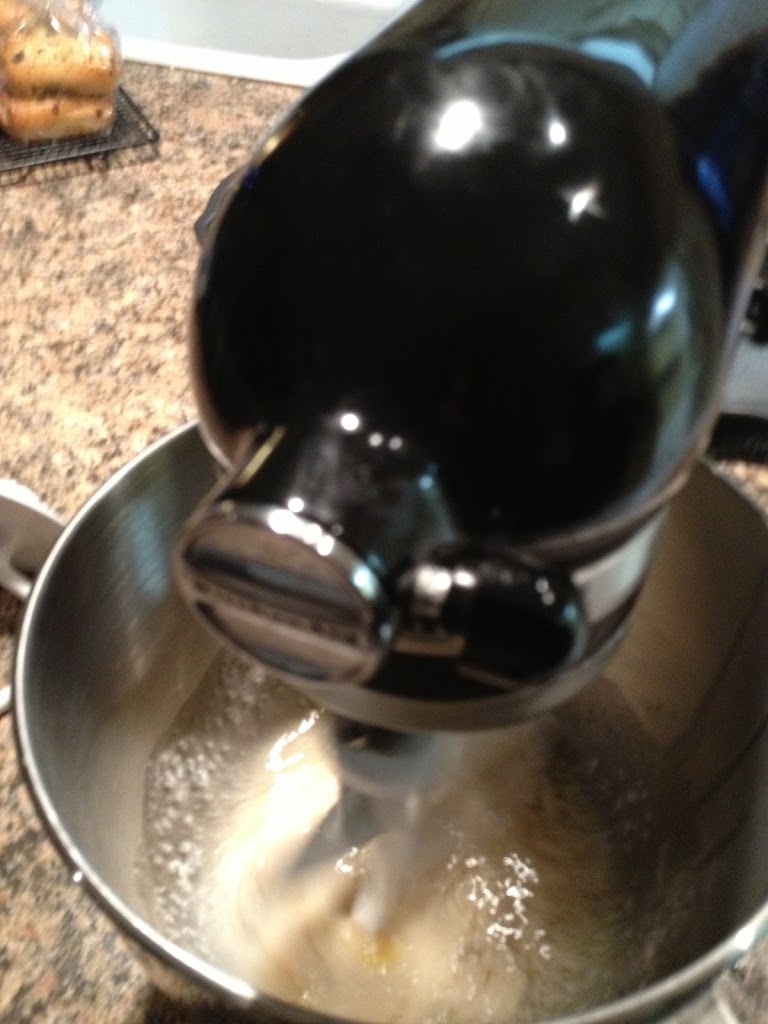
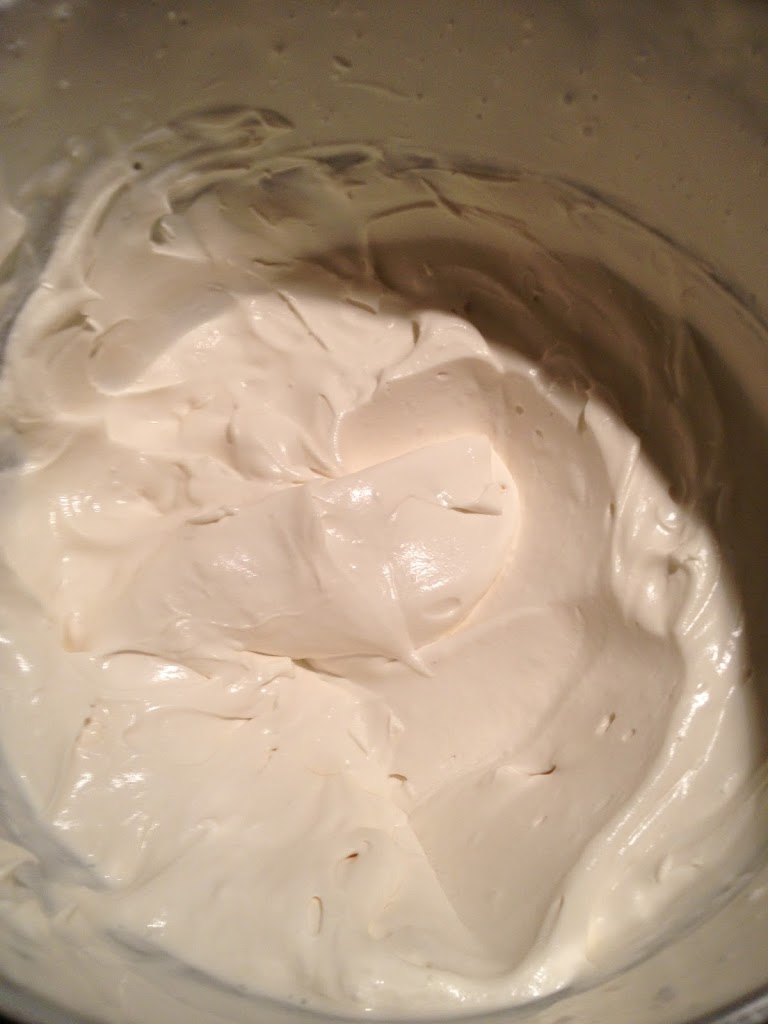
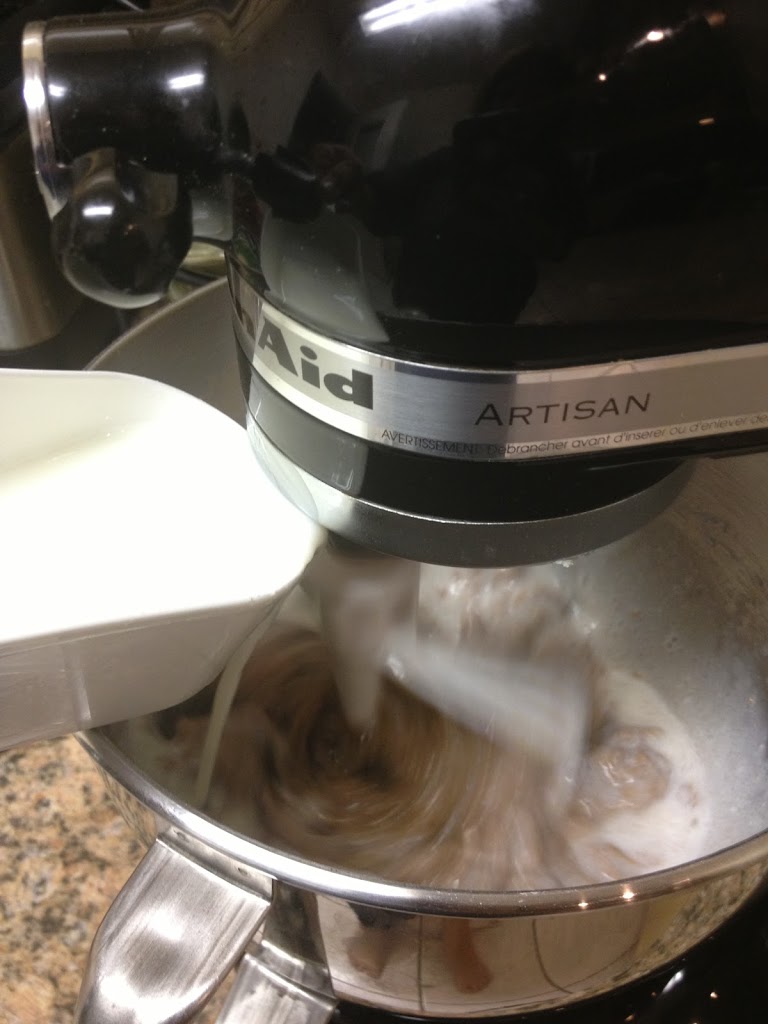
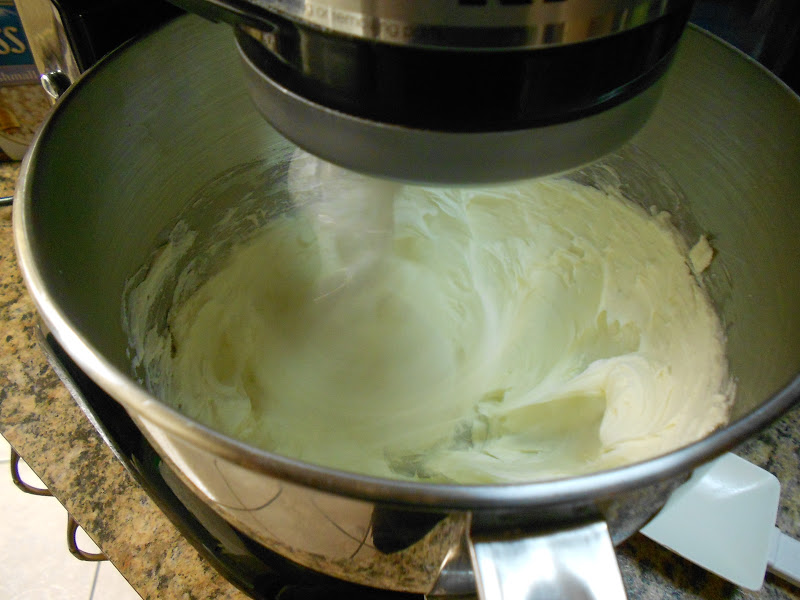
Beat until creamy and combined well.
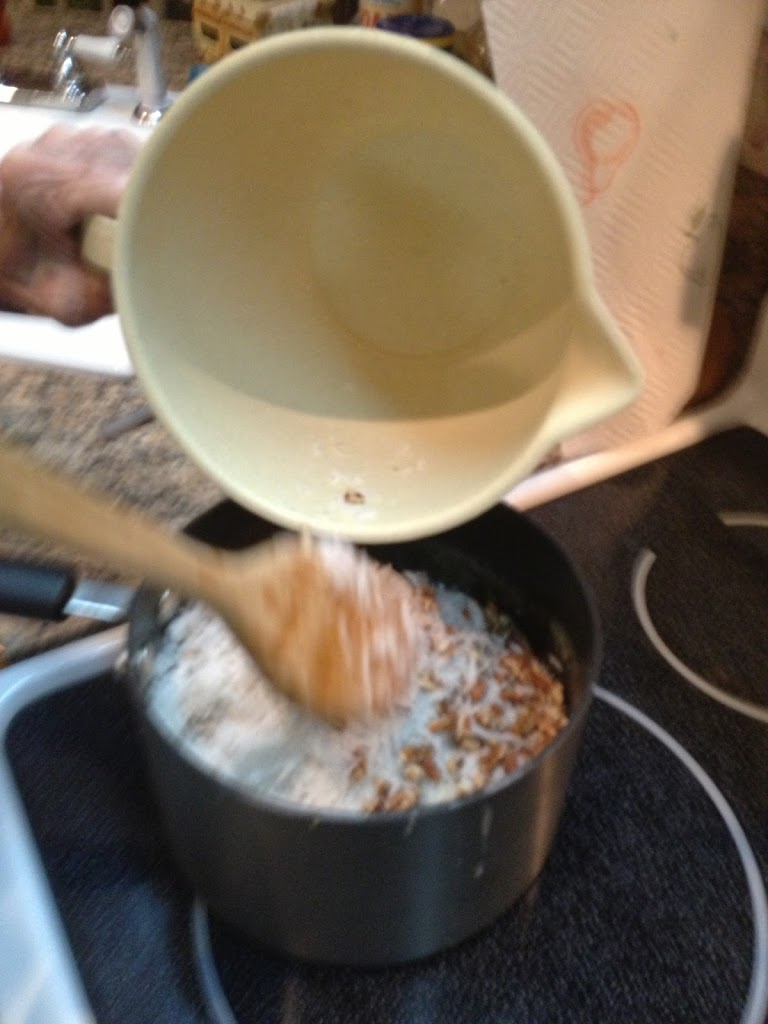
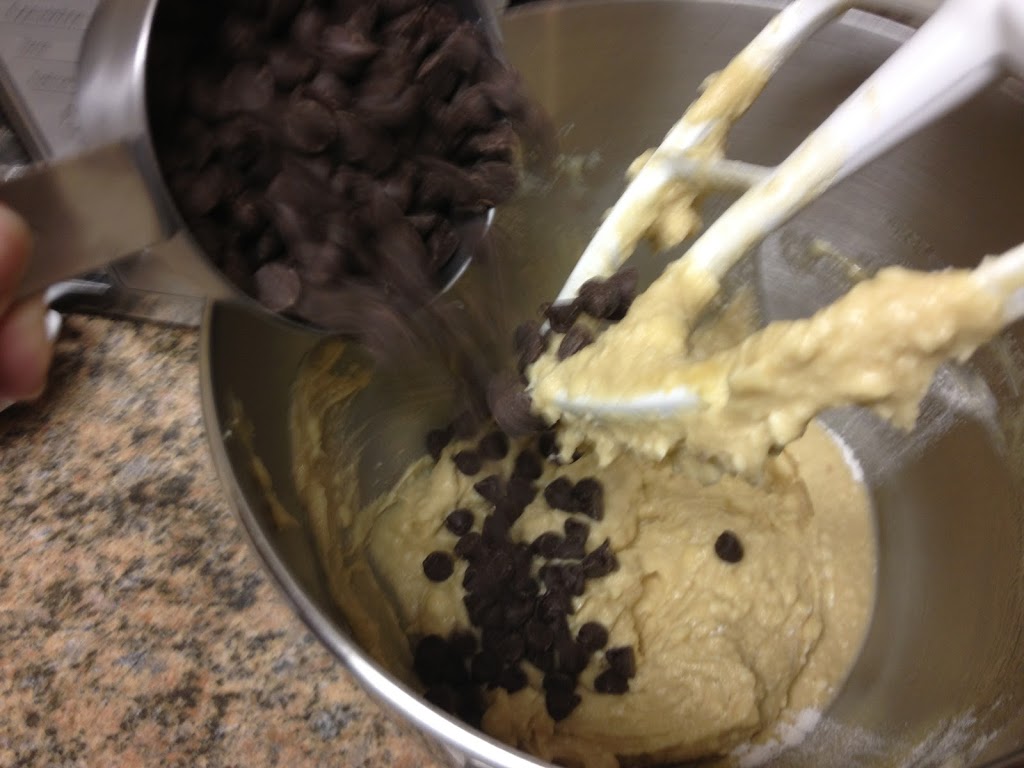
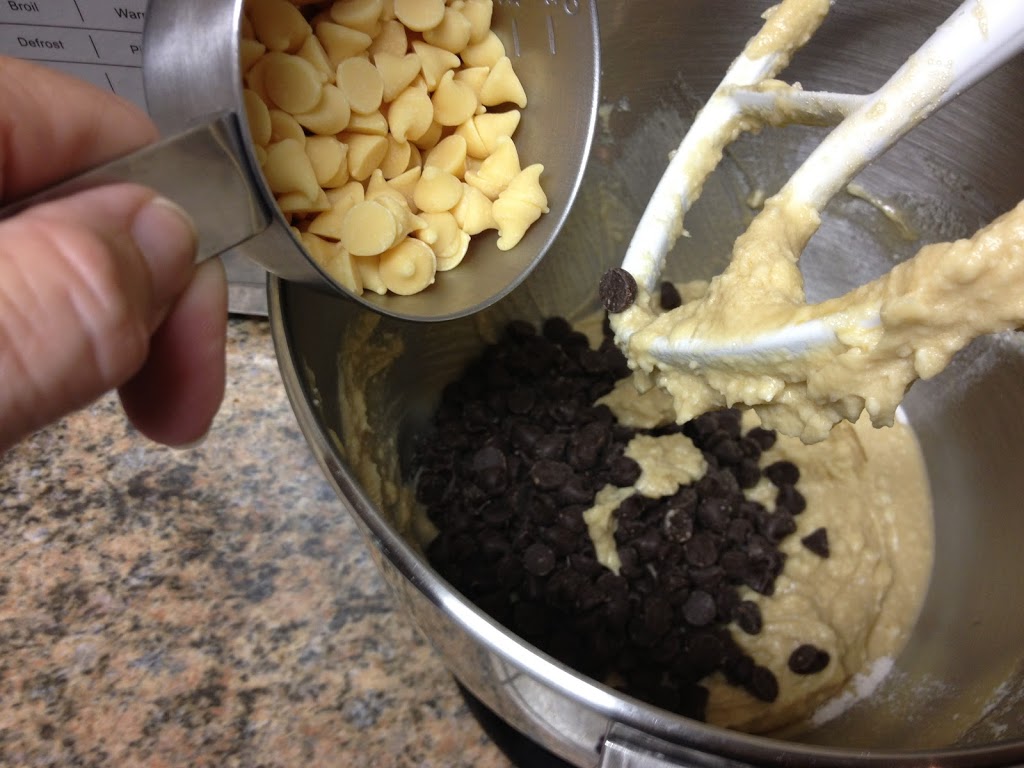
Stir in the chocolate and white chips.
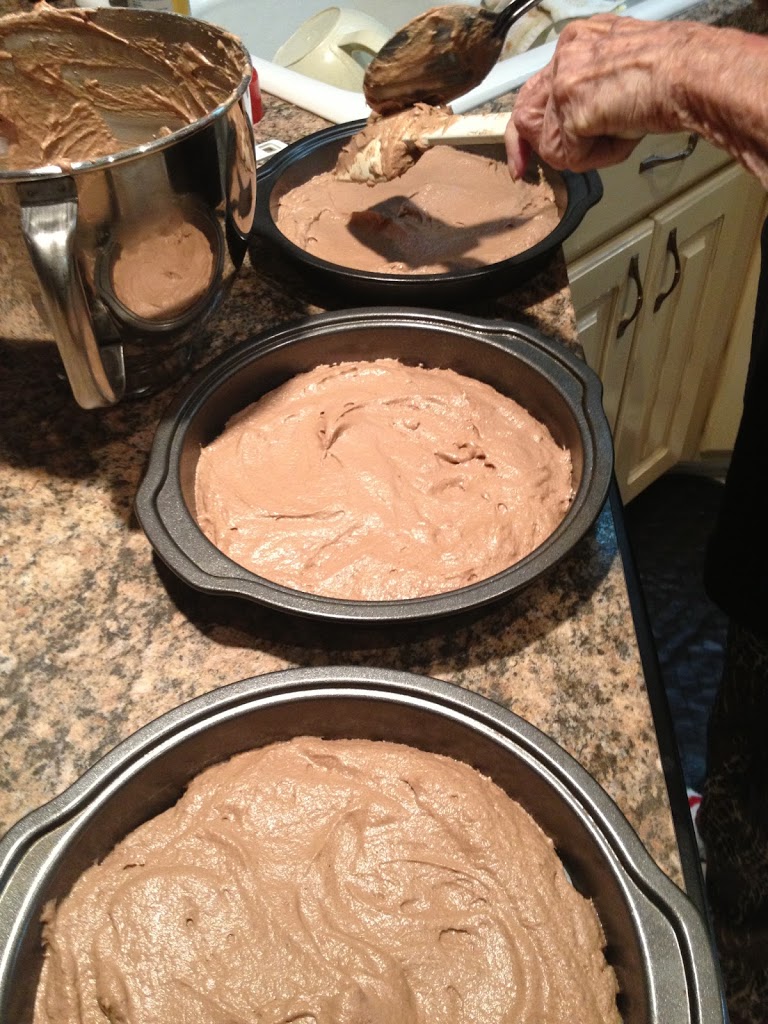
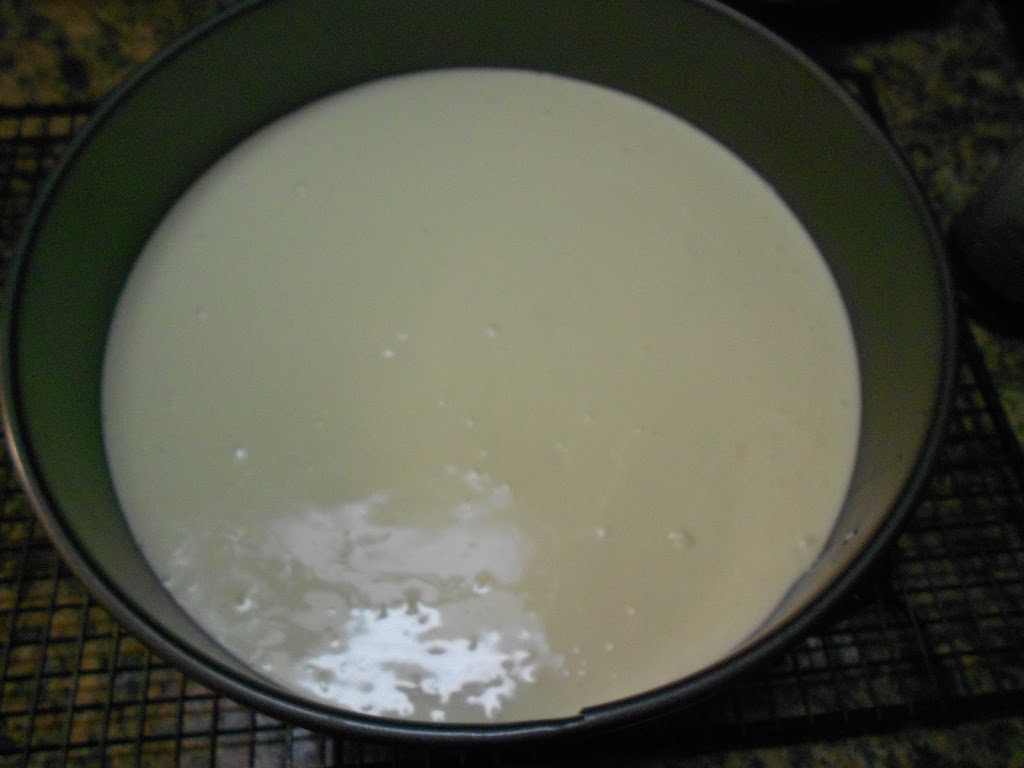
Pour into your pie crust.
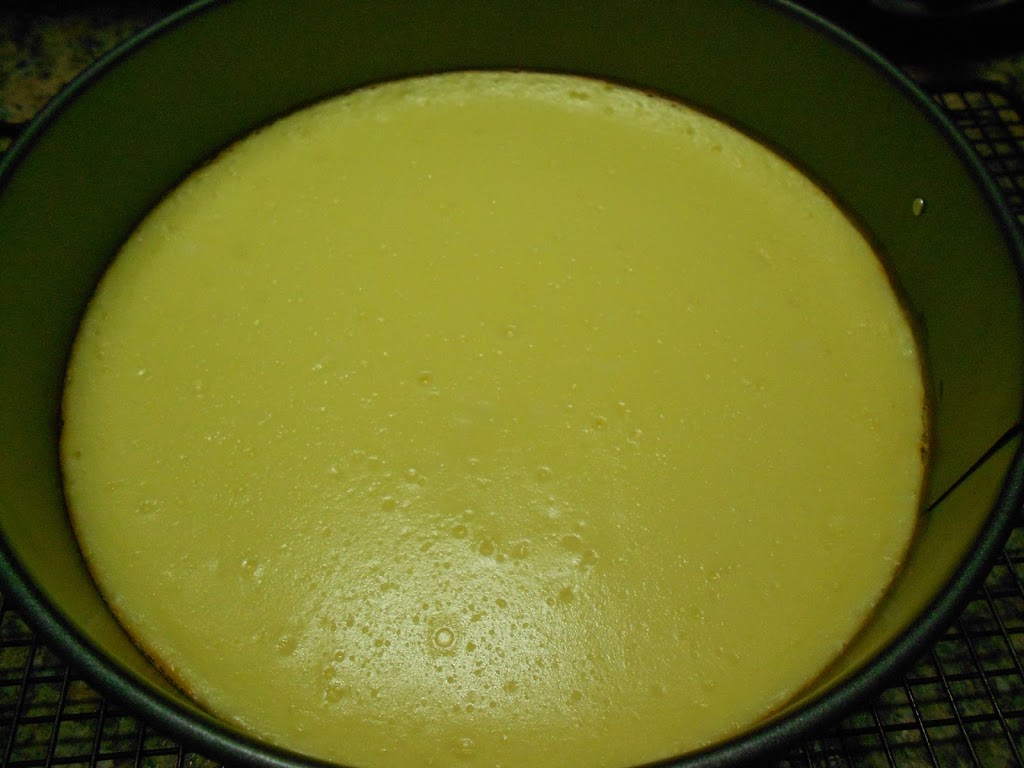
Bake 325 degrees 55-60 minutes.
Serving with a dollop of ice cream is a yummy idea!
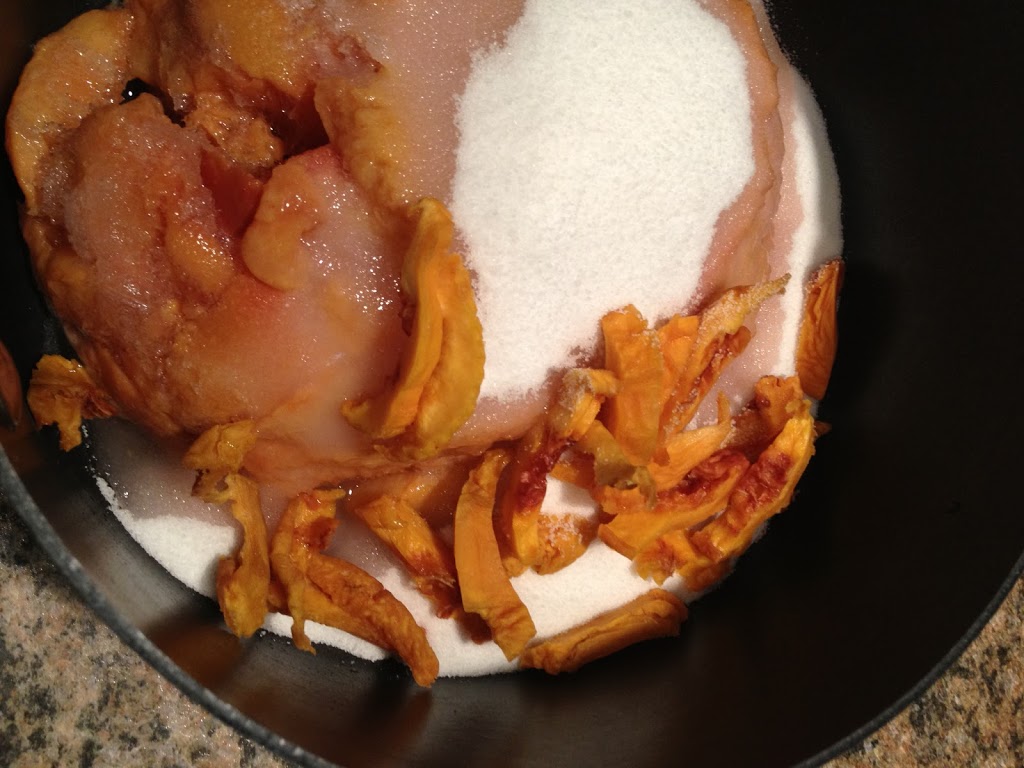
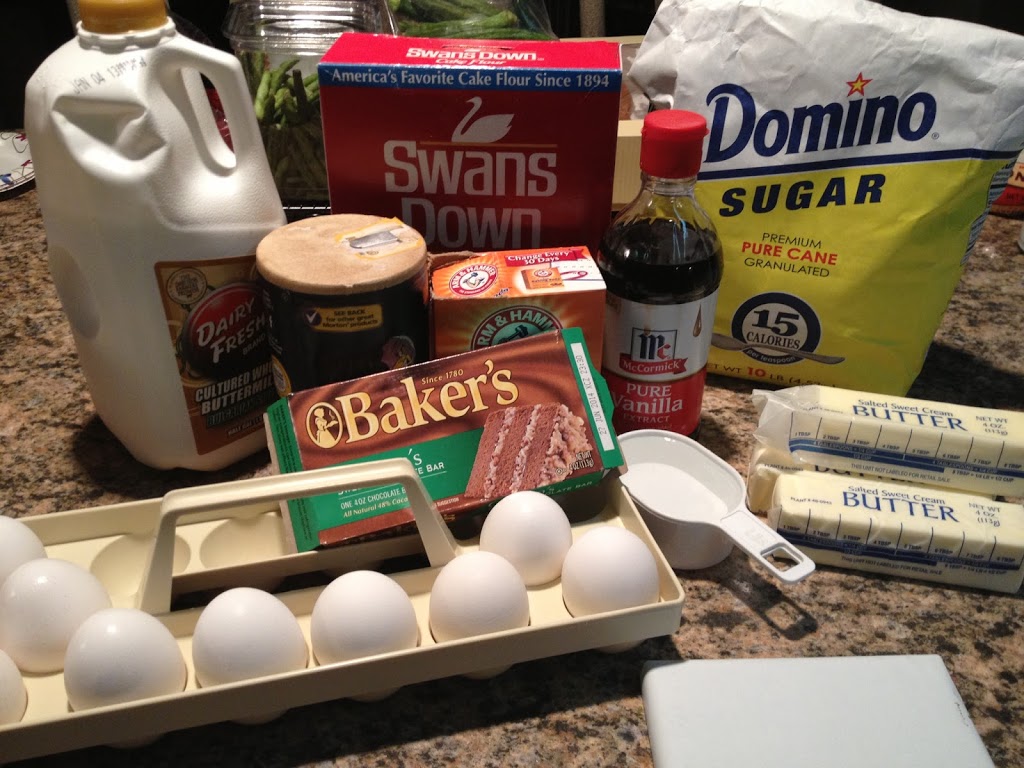
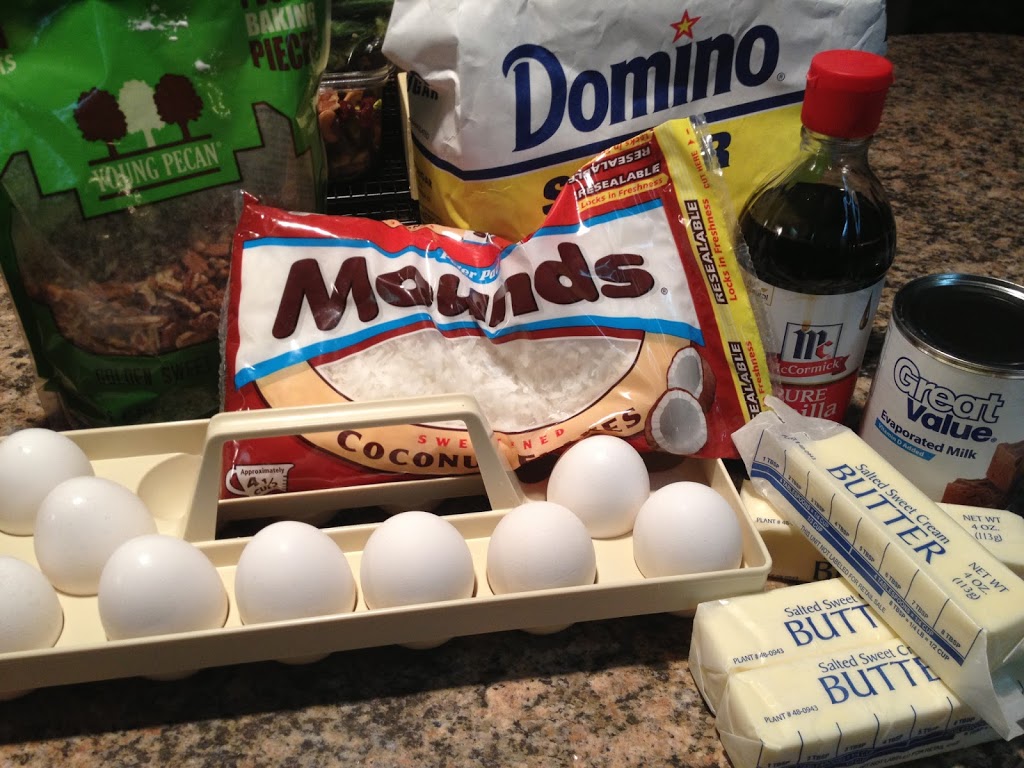
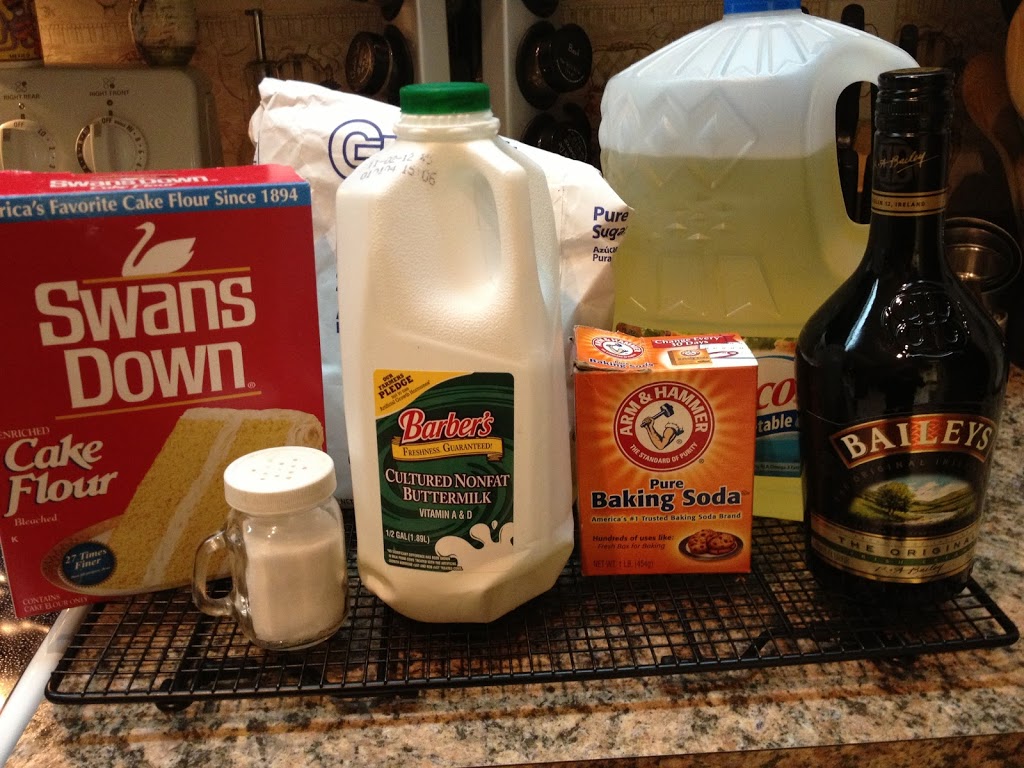
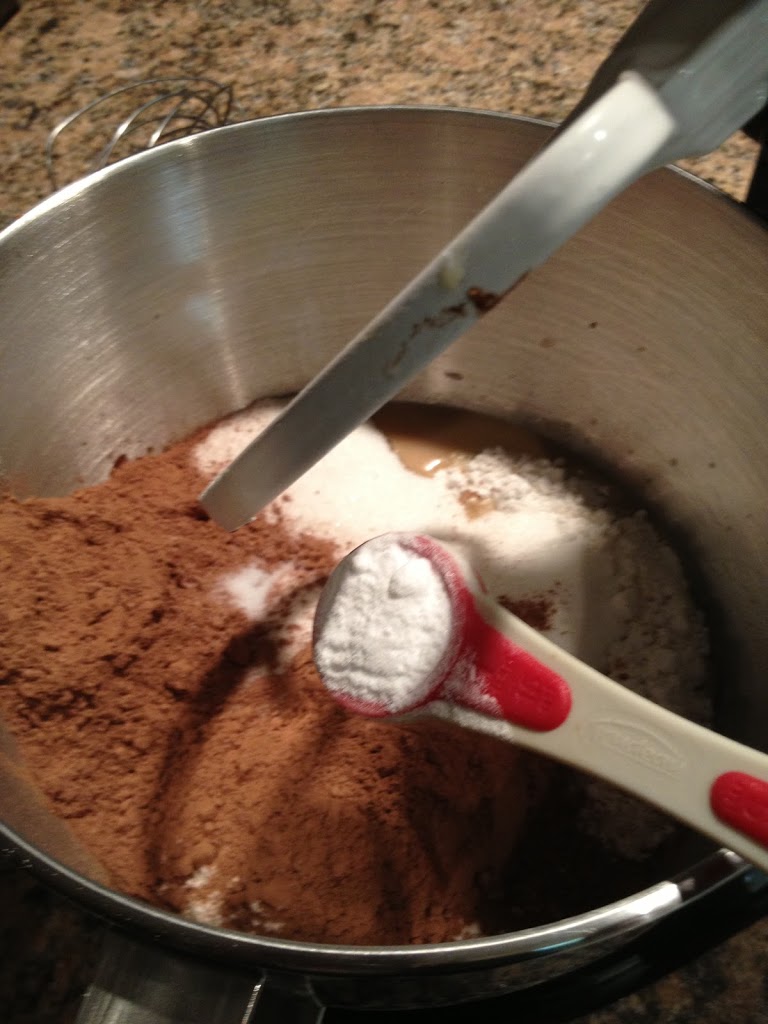
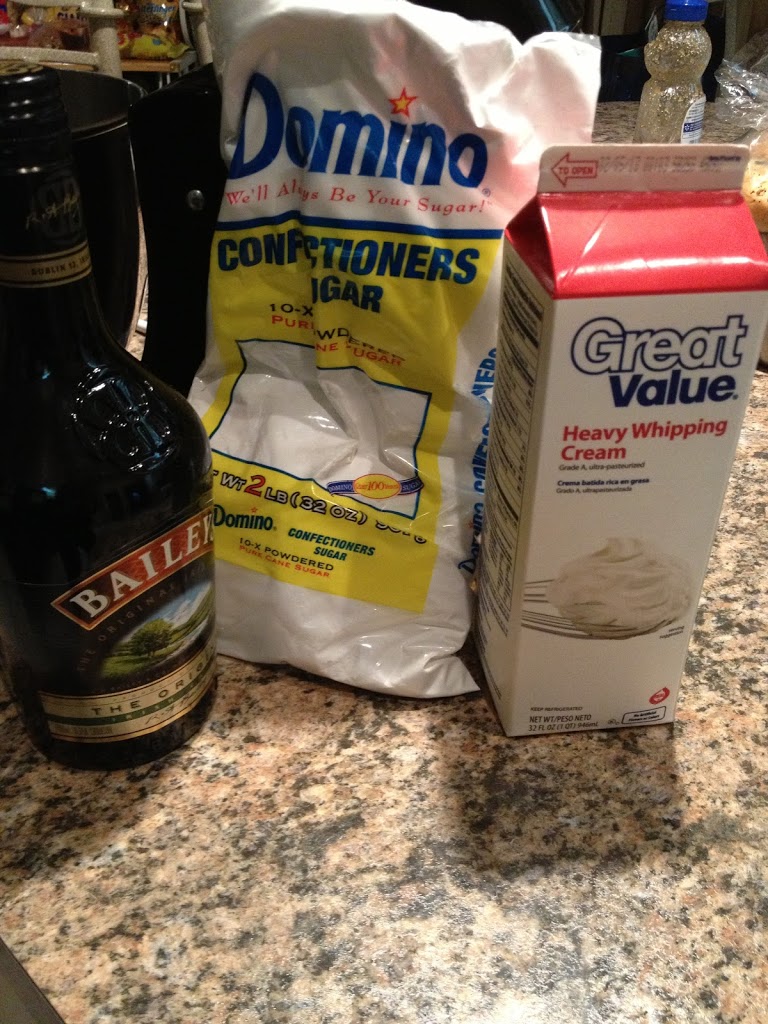
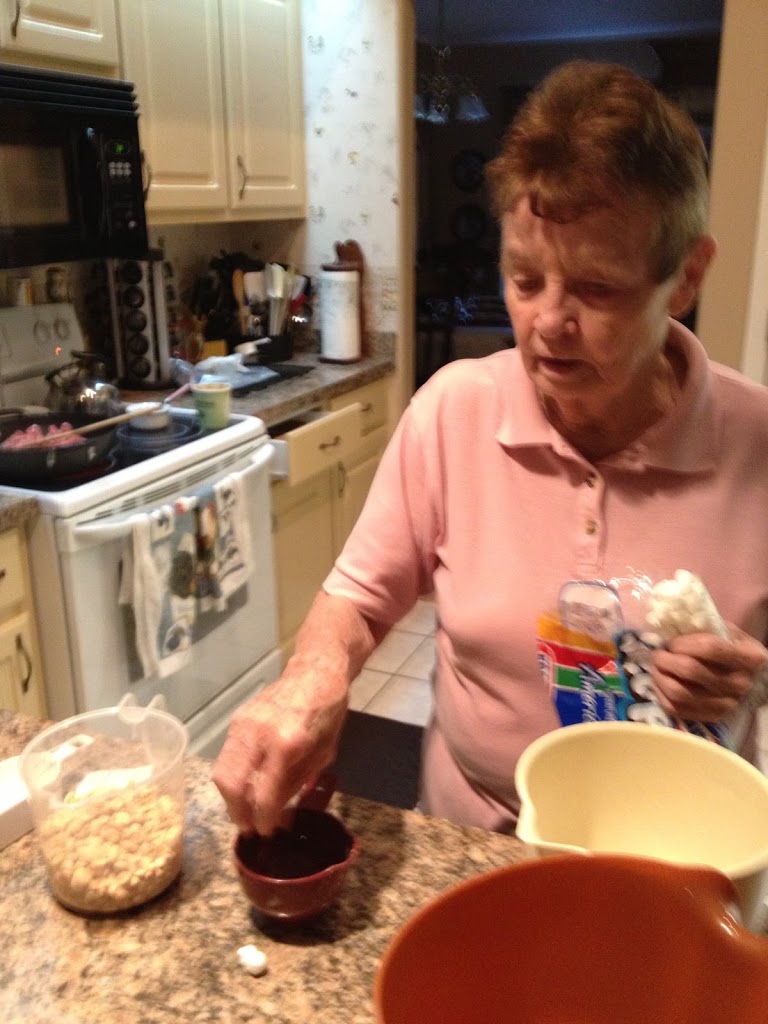
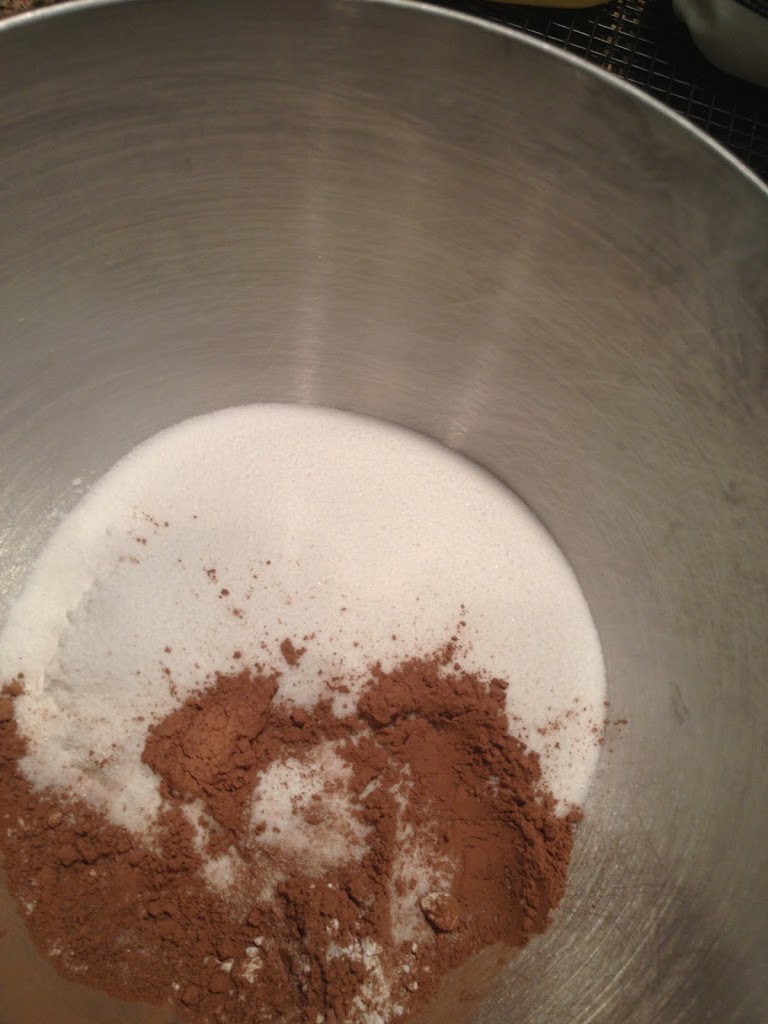
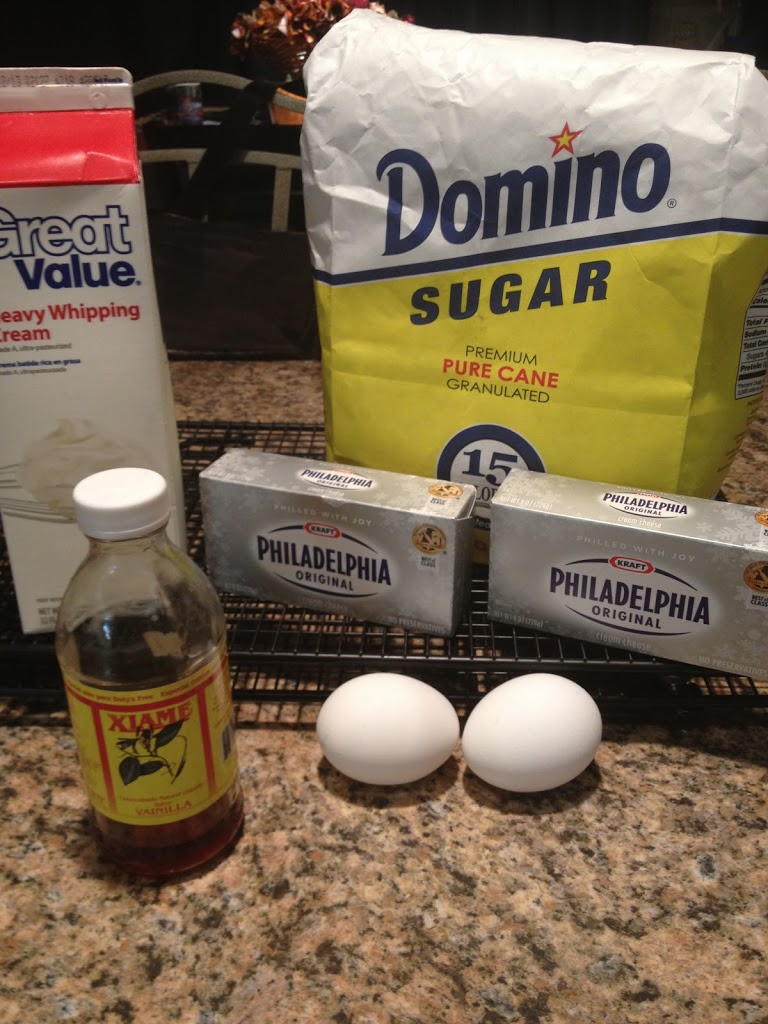
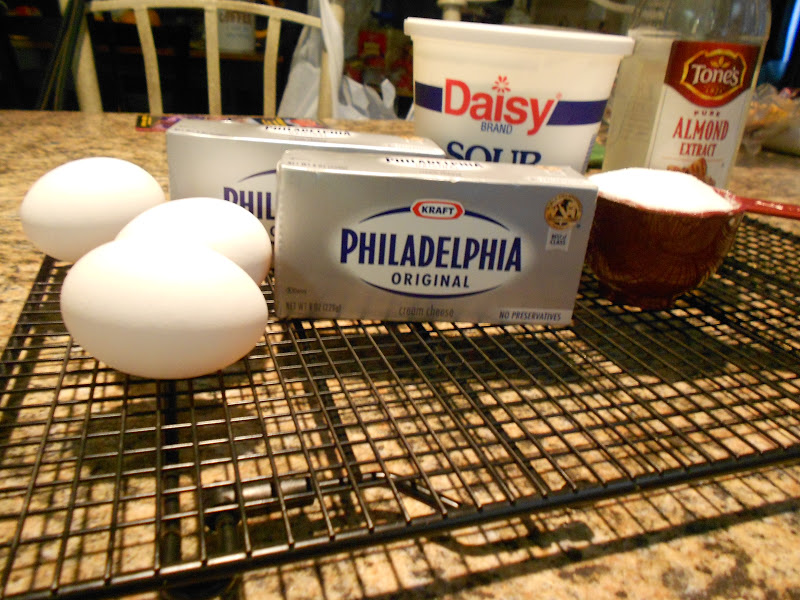
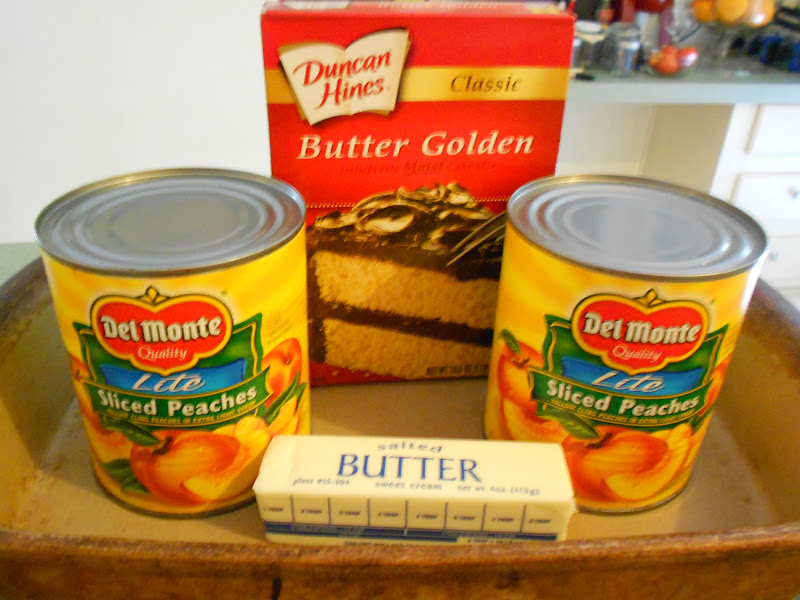
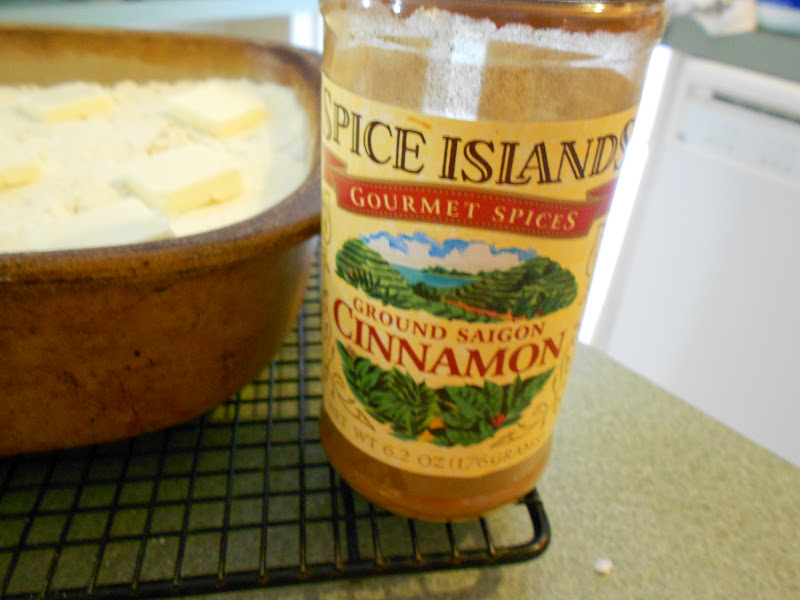
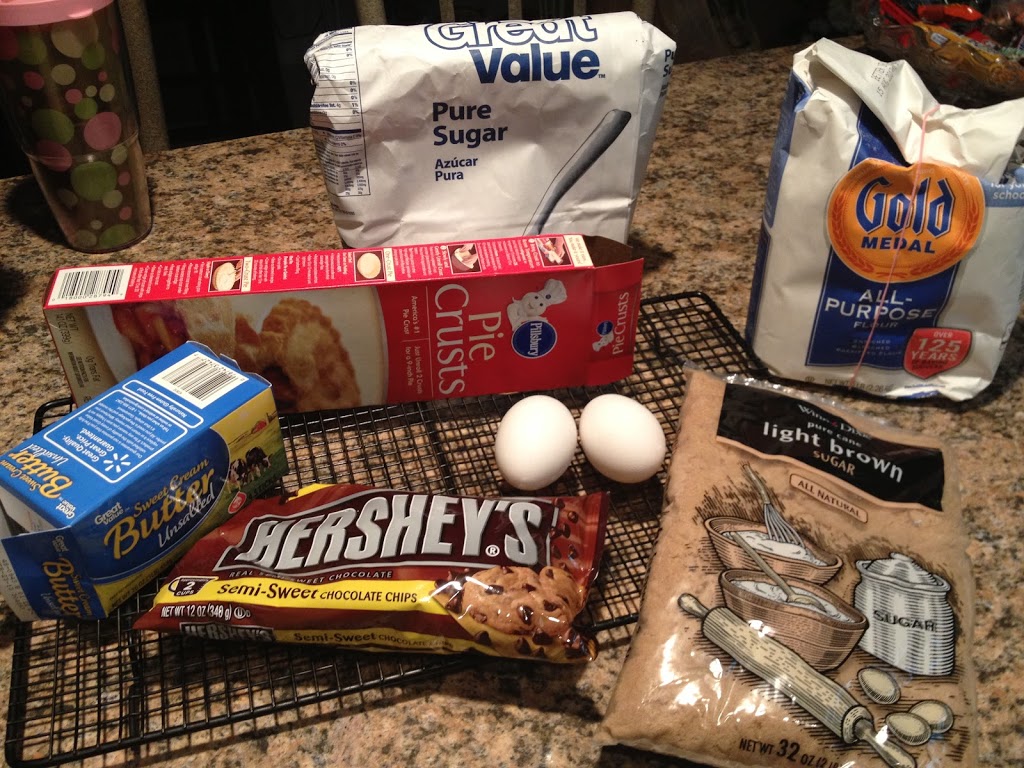
The Ingredients
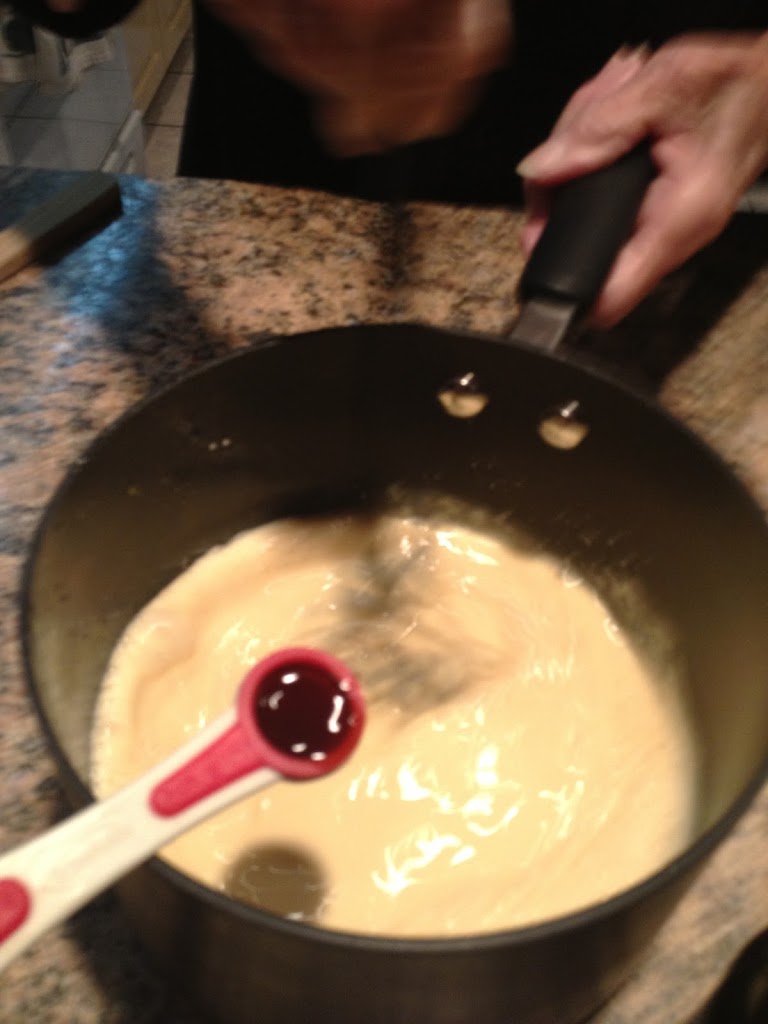
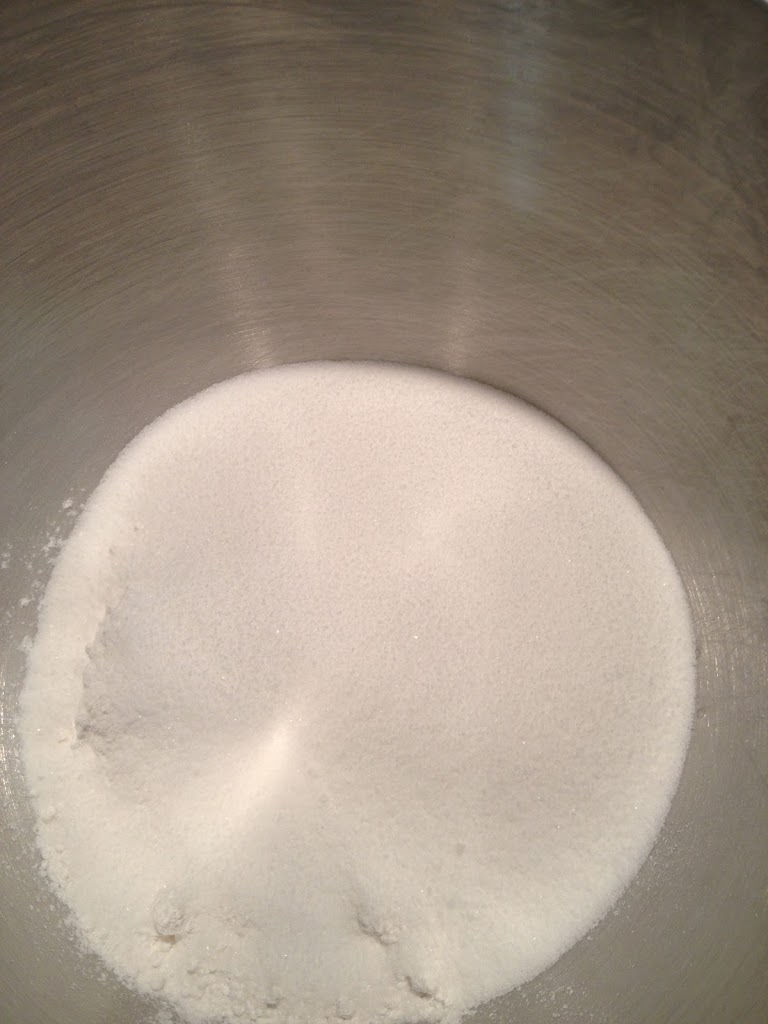
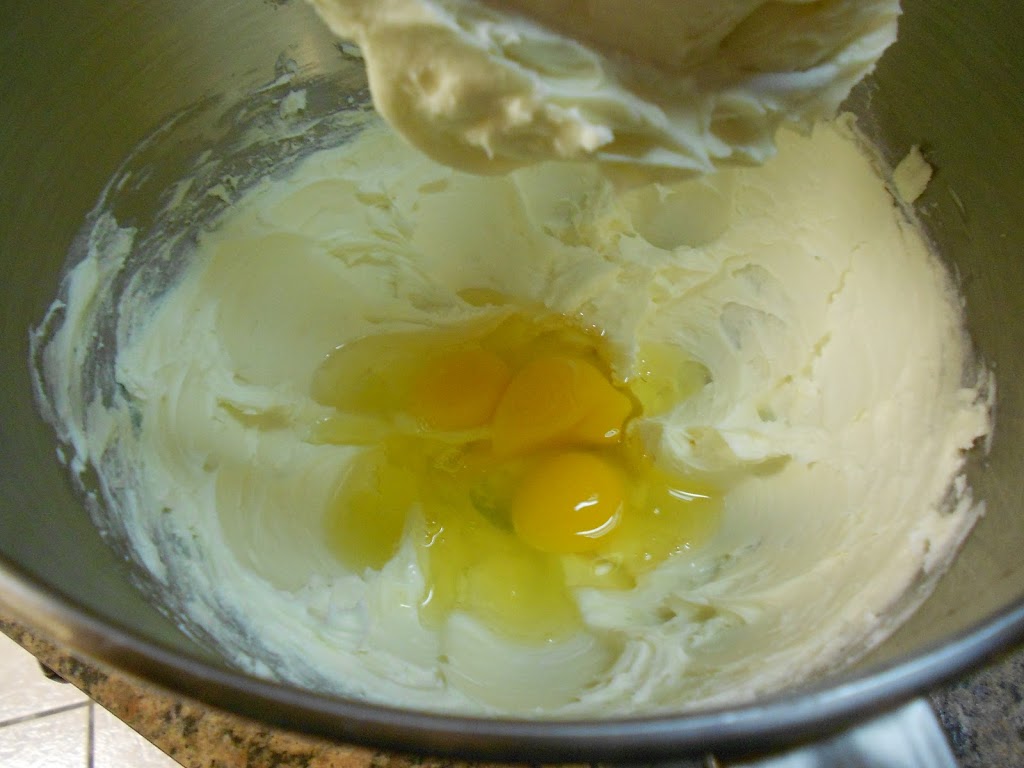
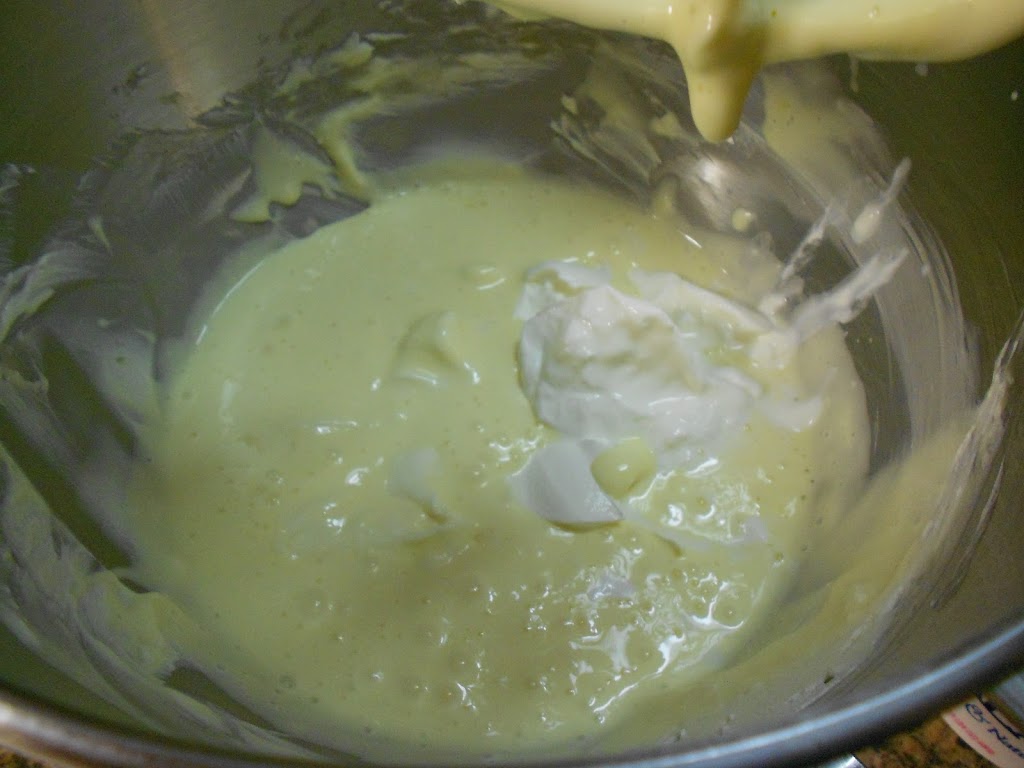
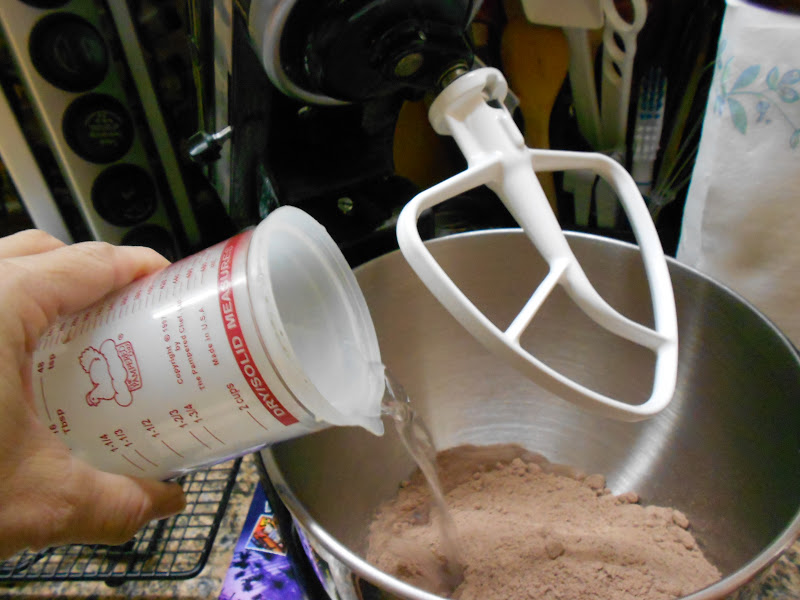
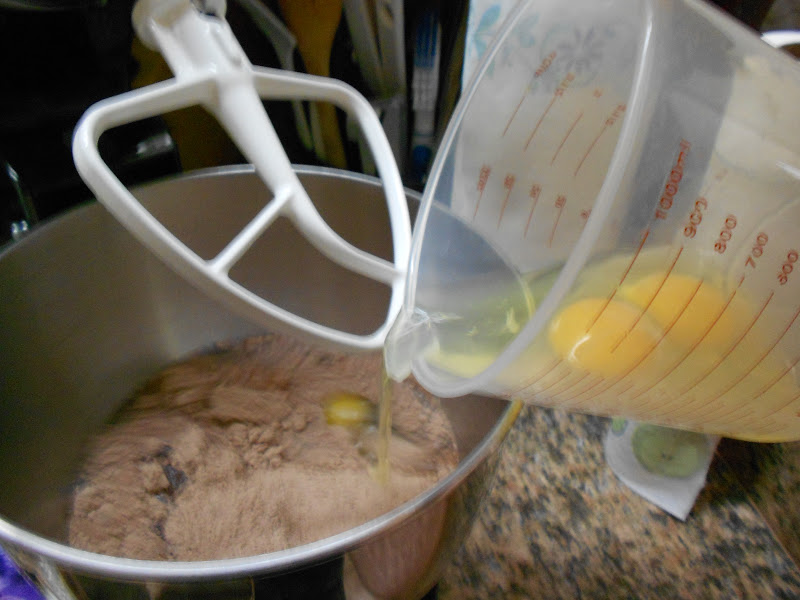
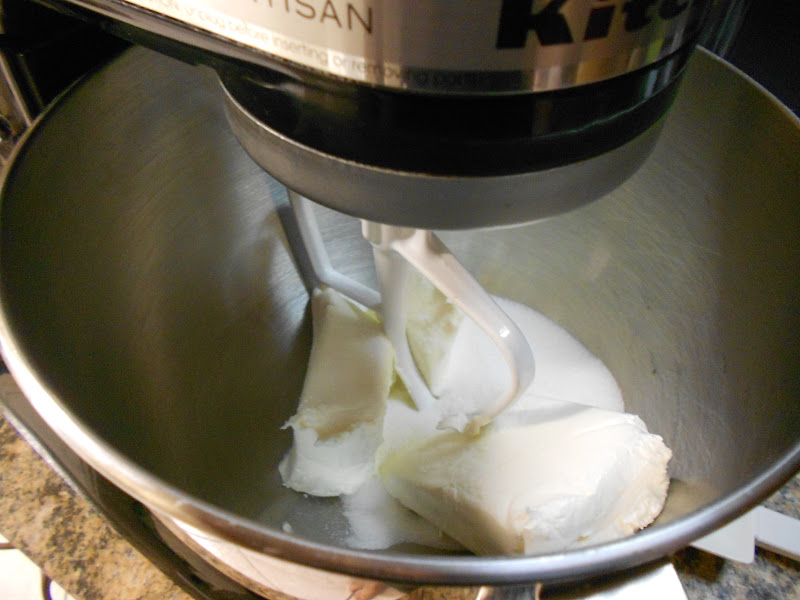
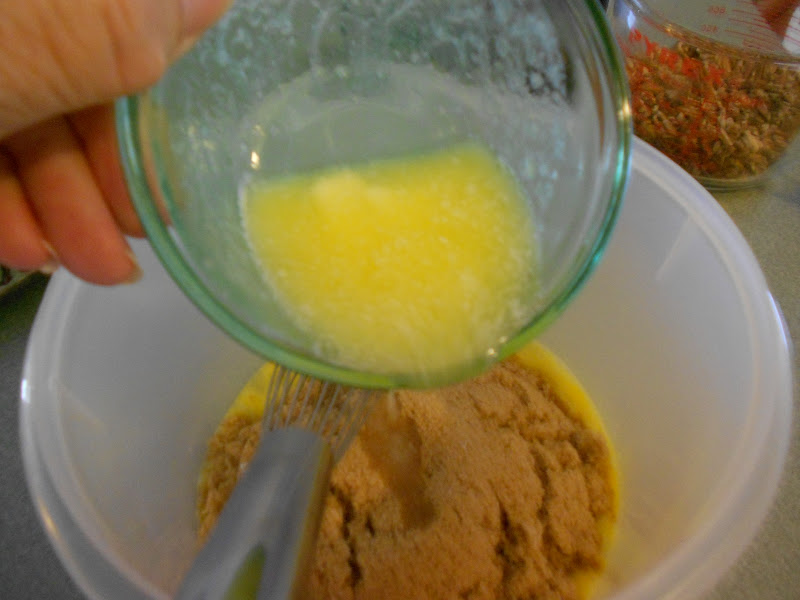
In your mixing bowl, combine the eggs,

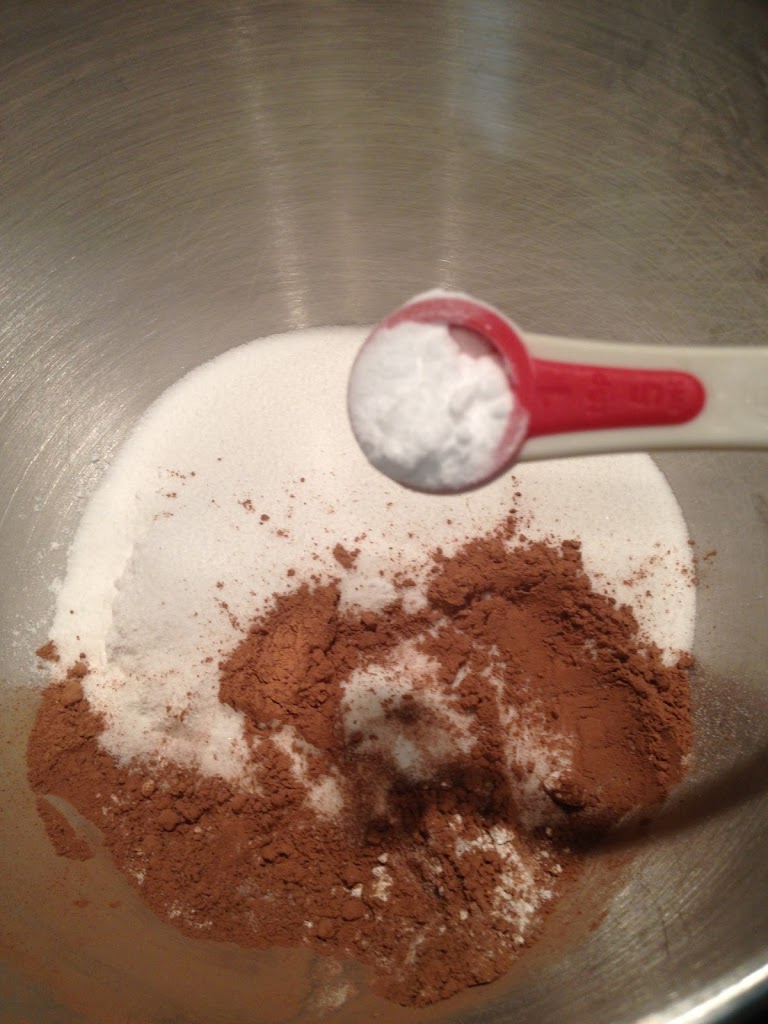
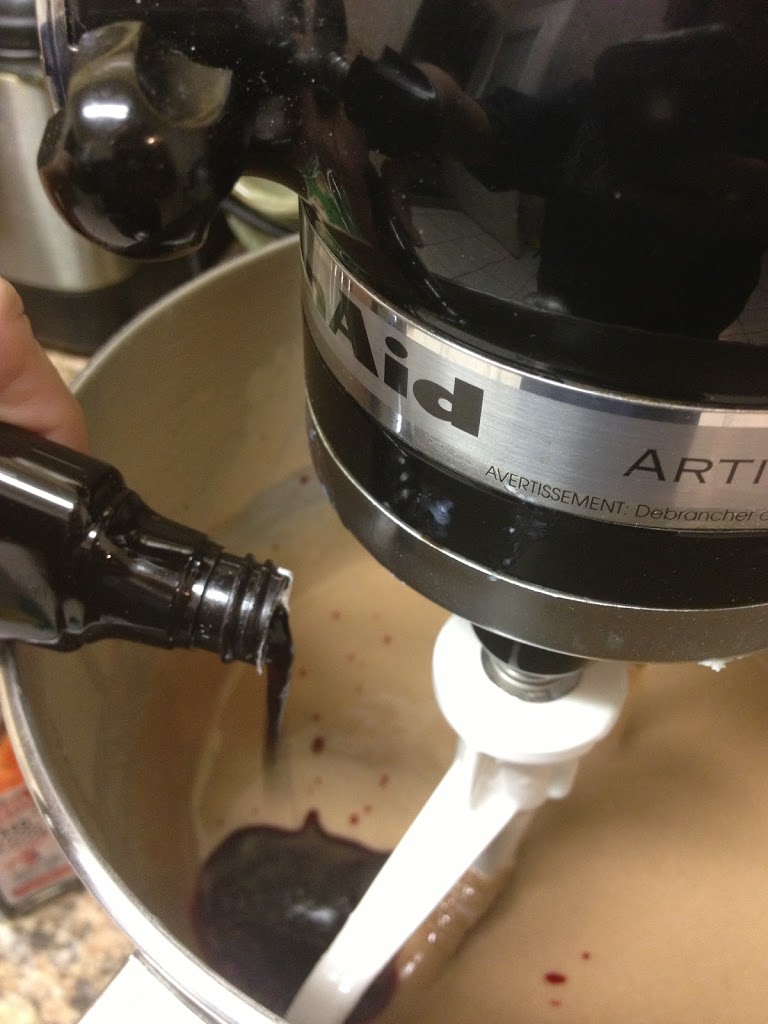
The sugar…
The brown sugar…

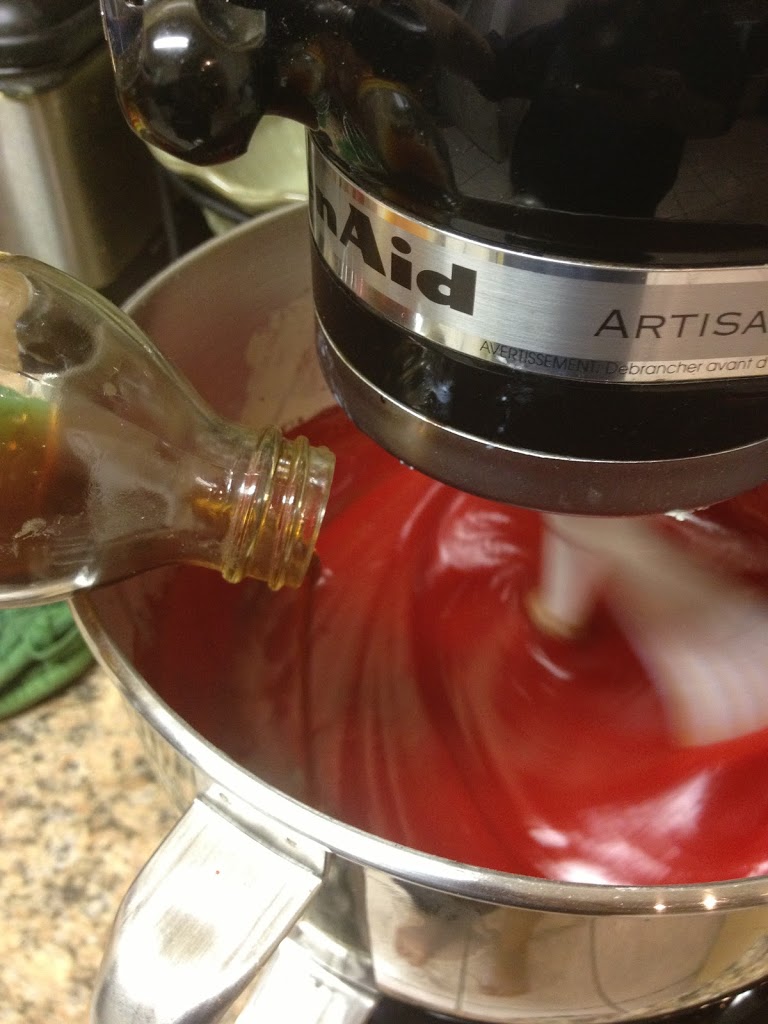
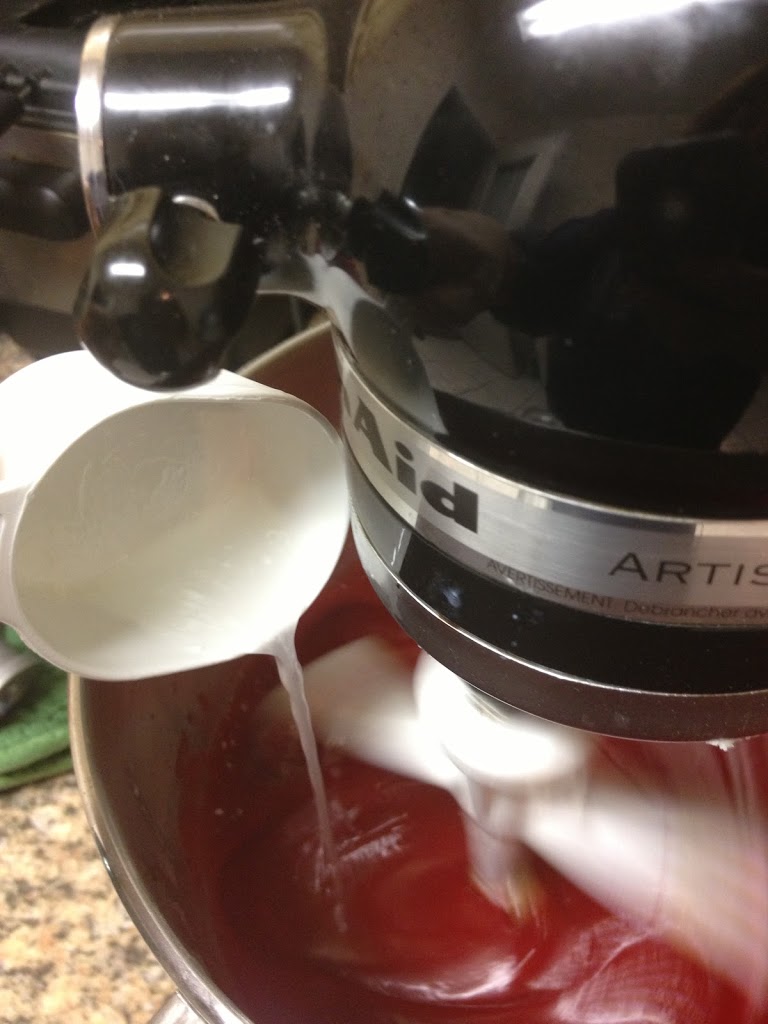
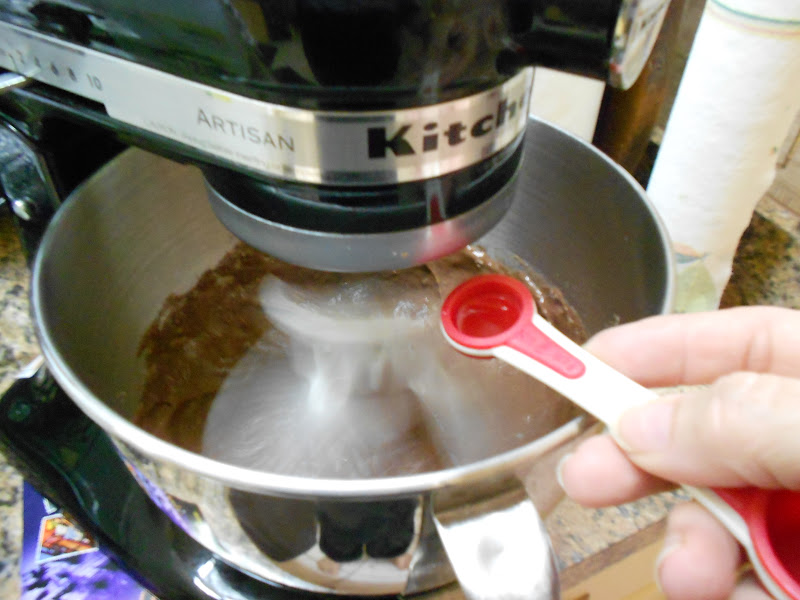
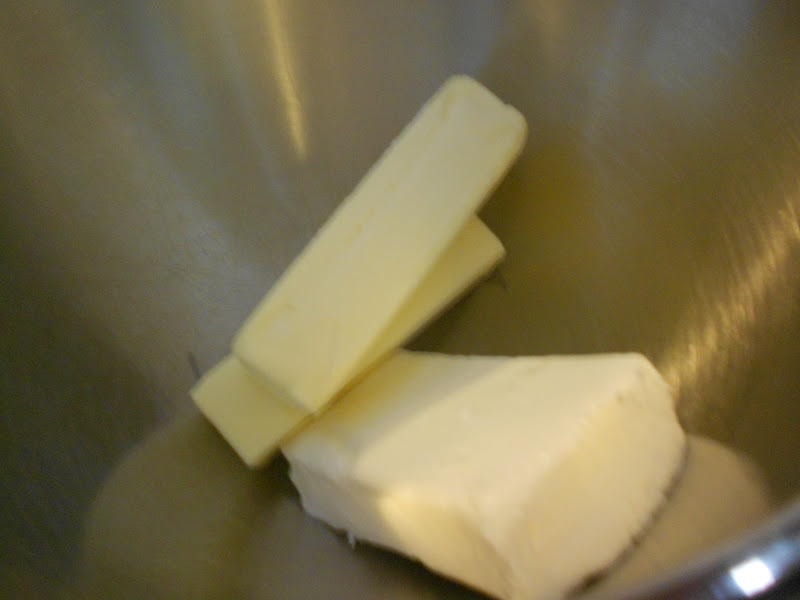
The softened butter…
The flour…

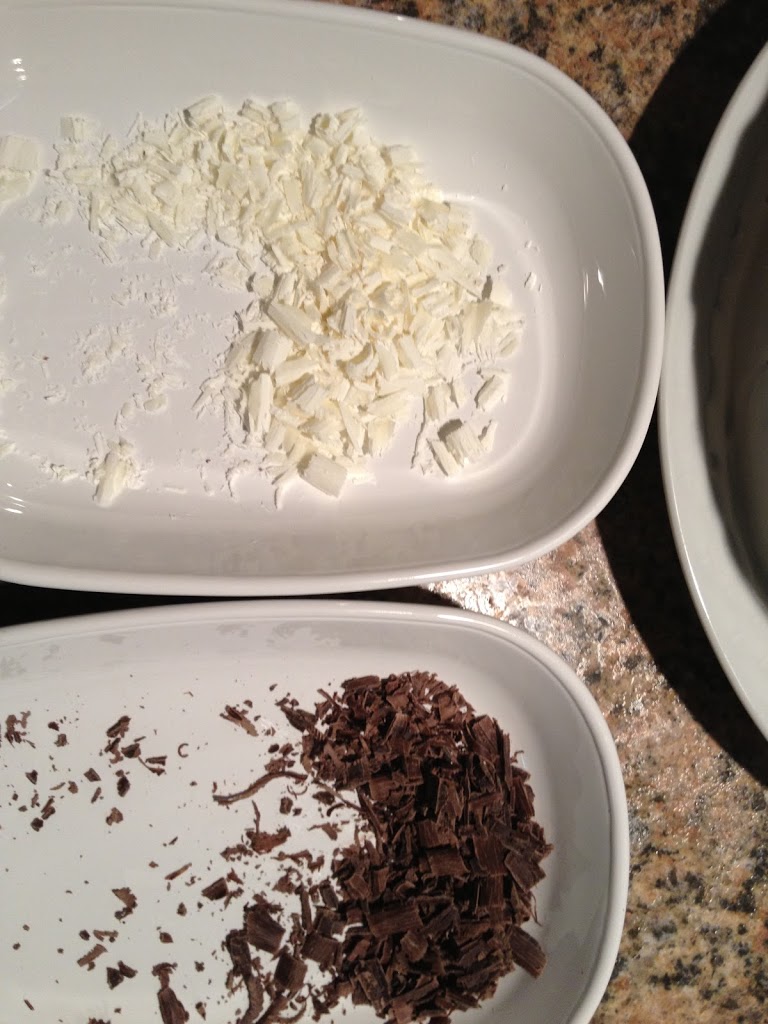
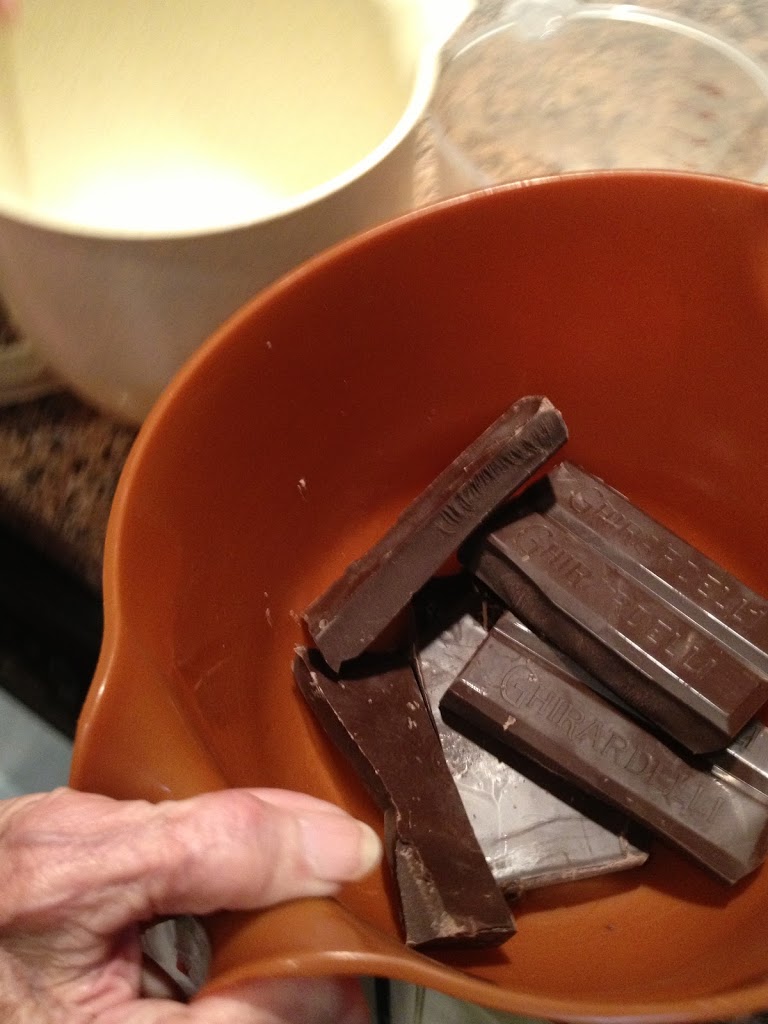
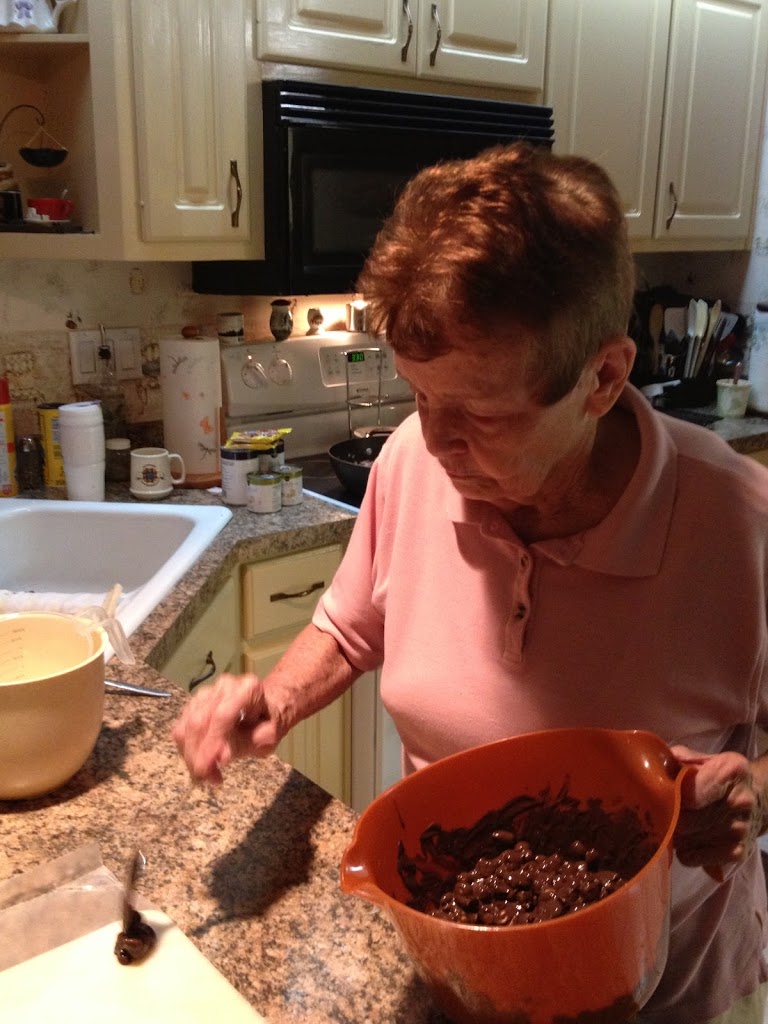
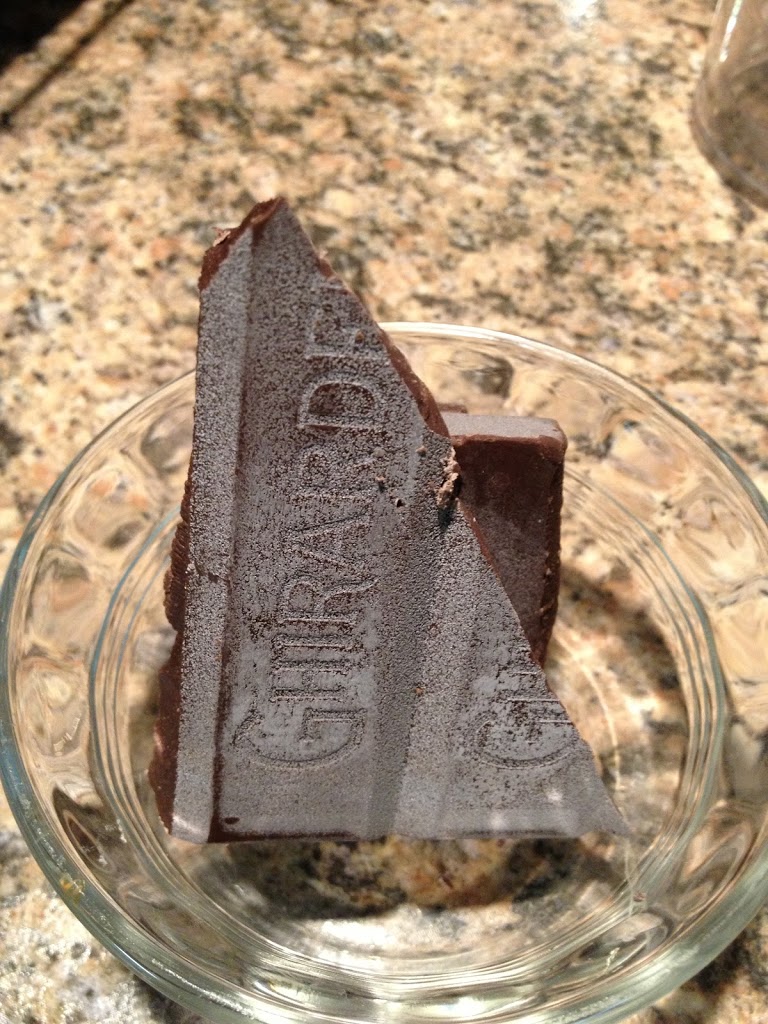
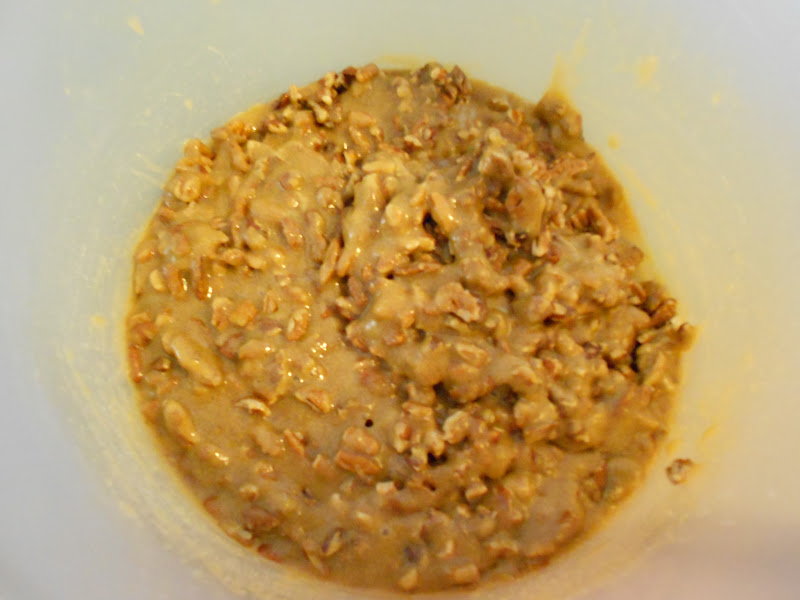
After mixing well, add the cup of chocolate chips…
And a cup of white chocolate chips…
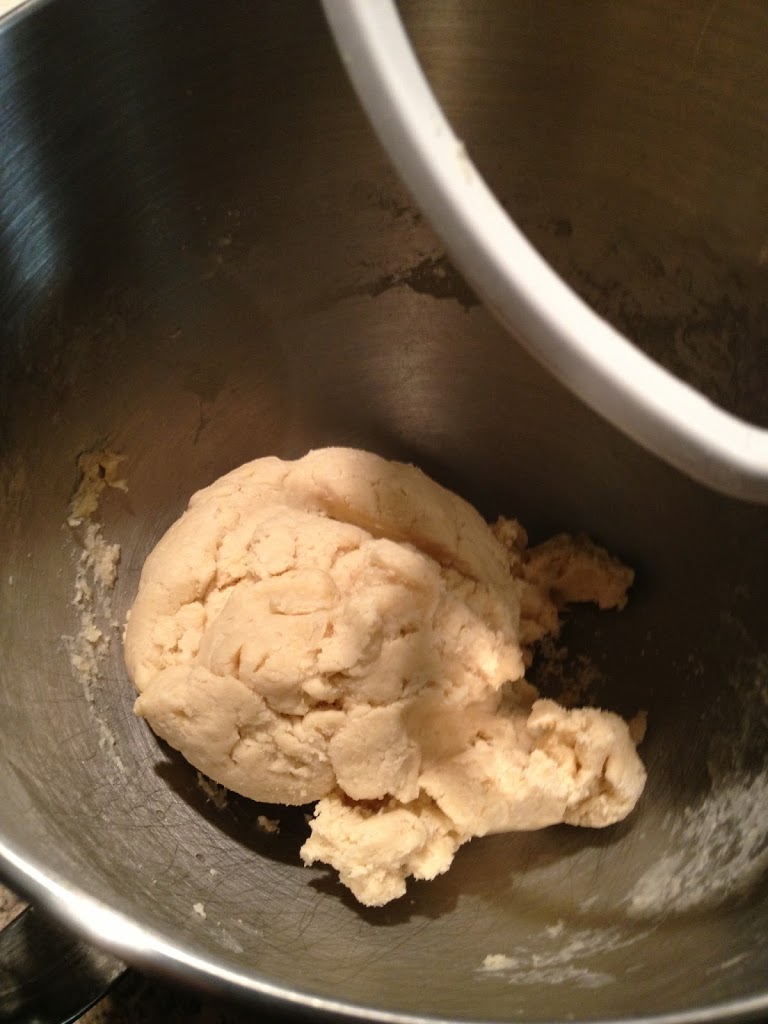
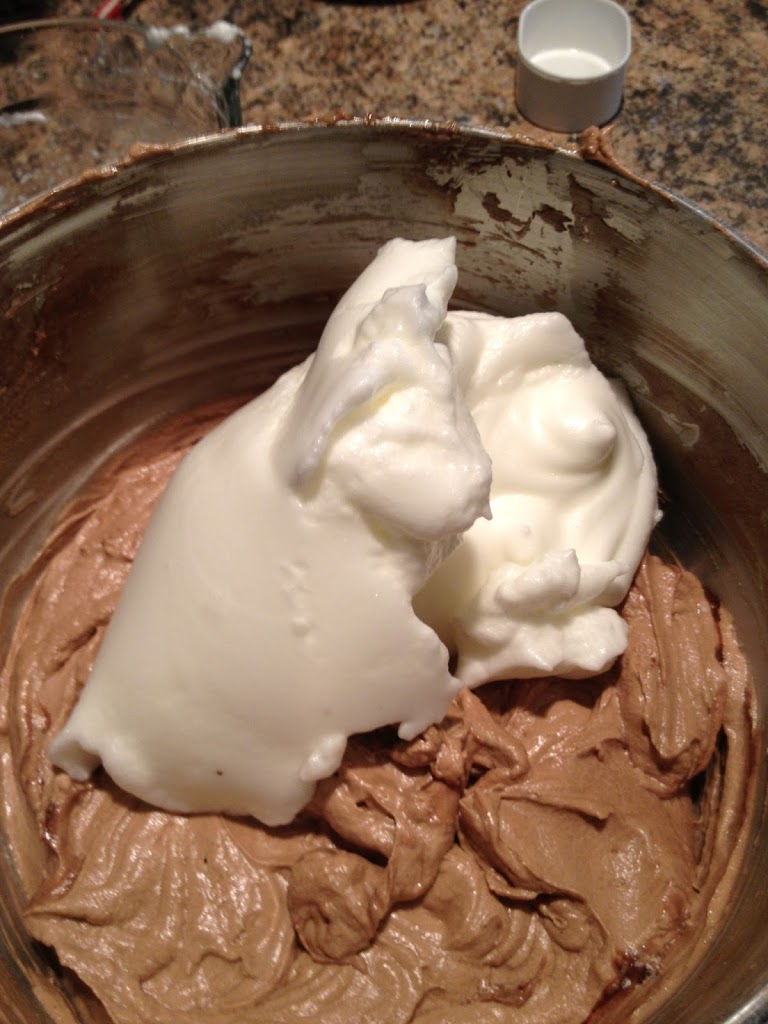
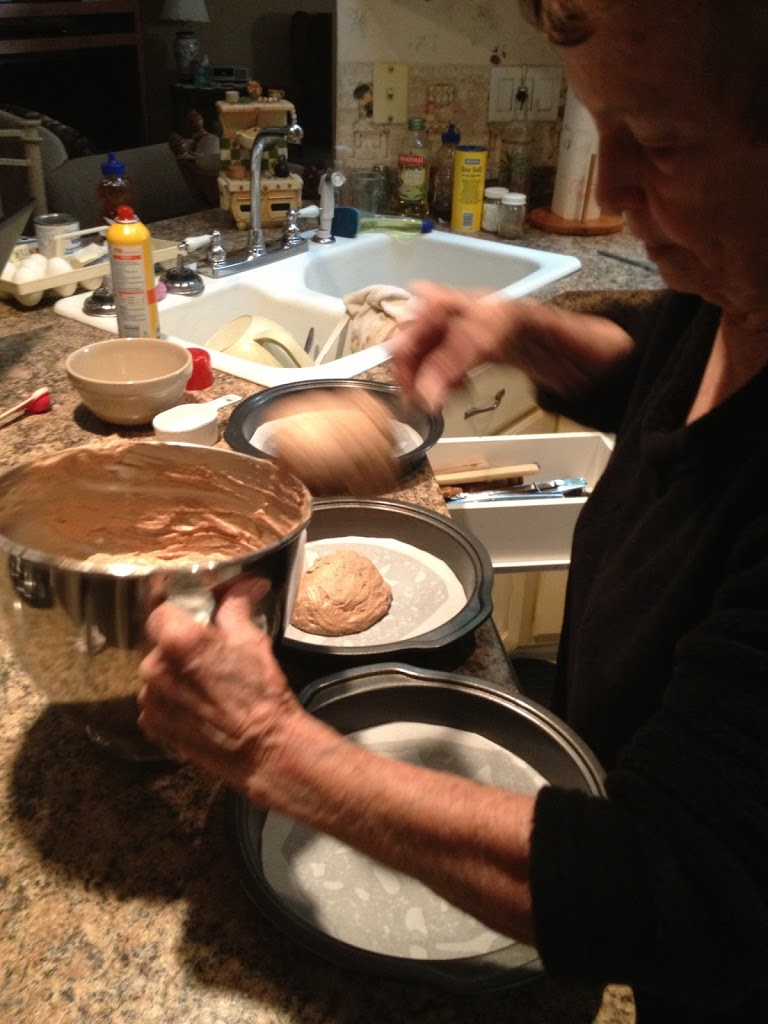
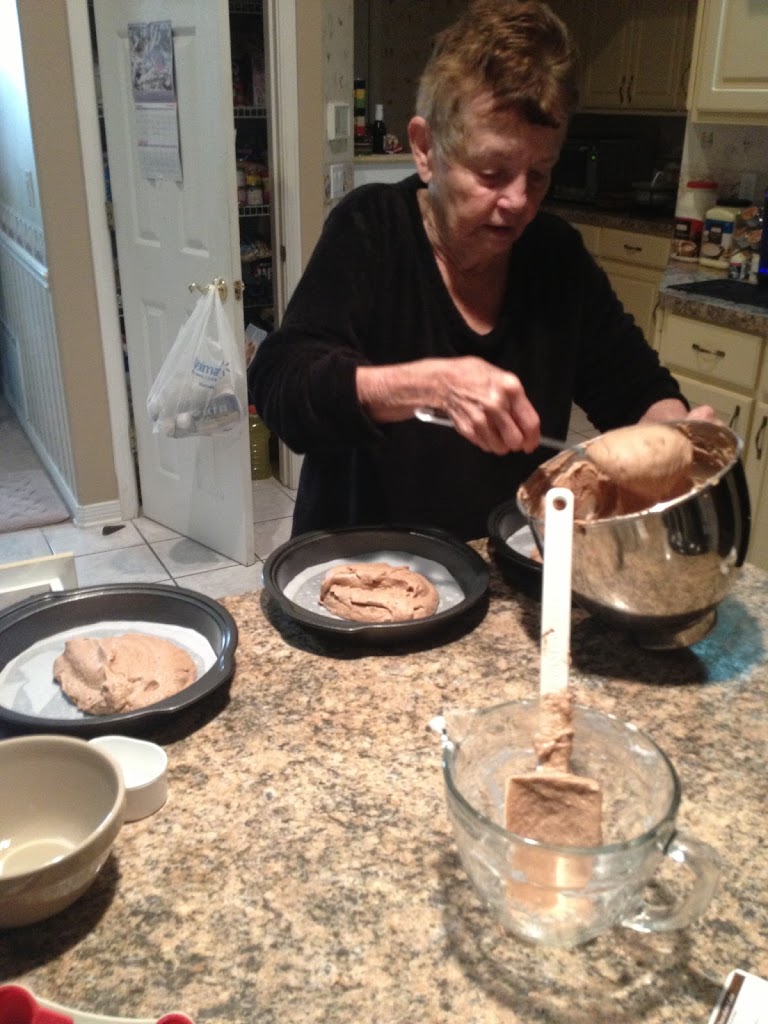
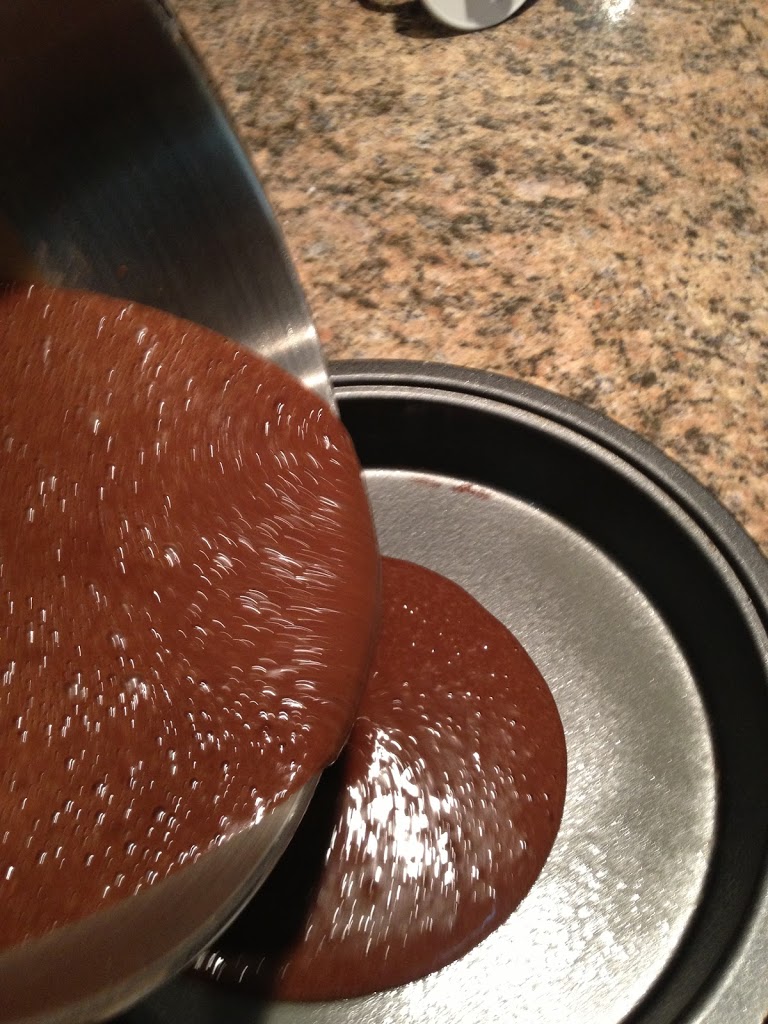
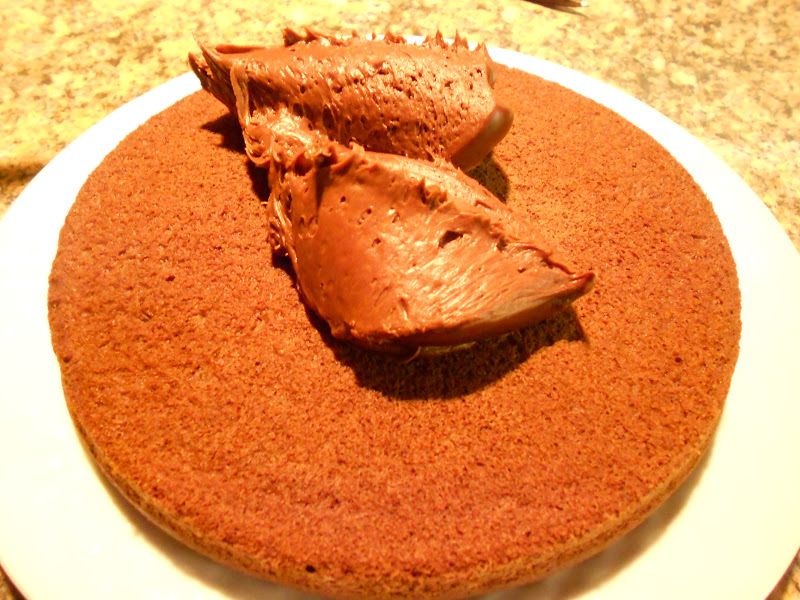
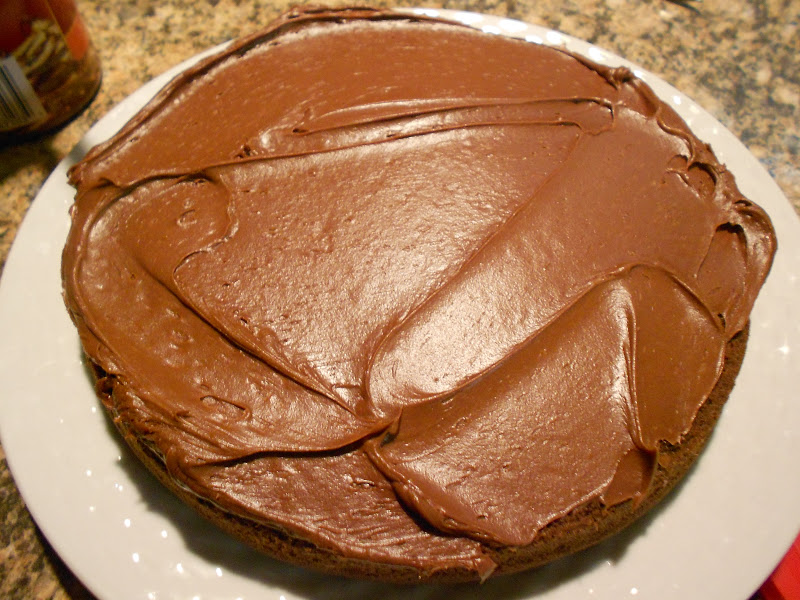
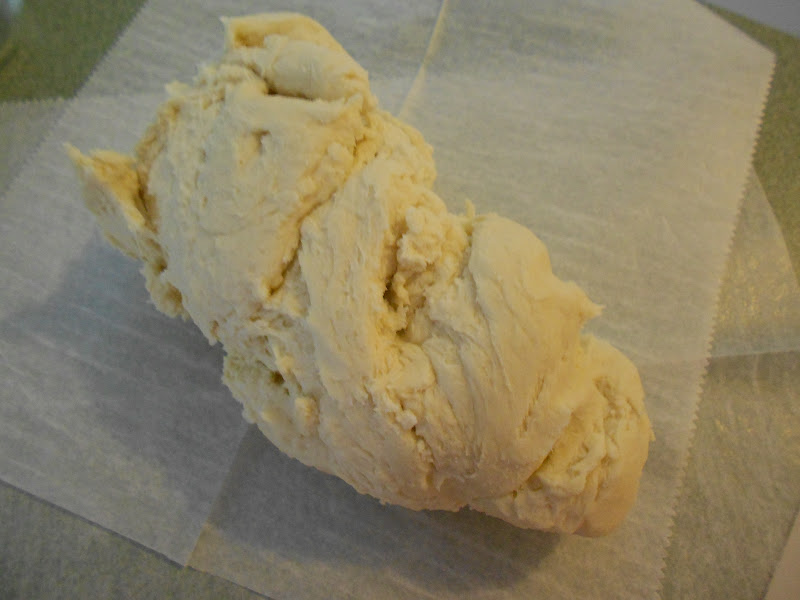
Stir well and scoop into your pie crust…

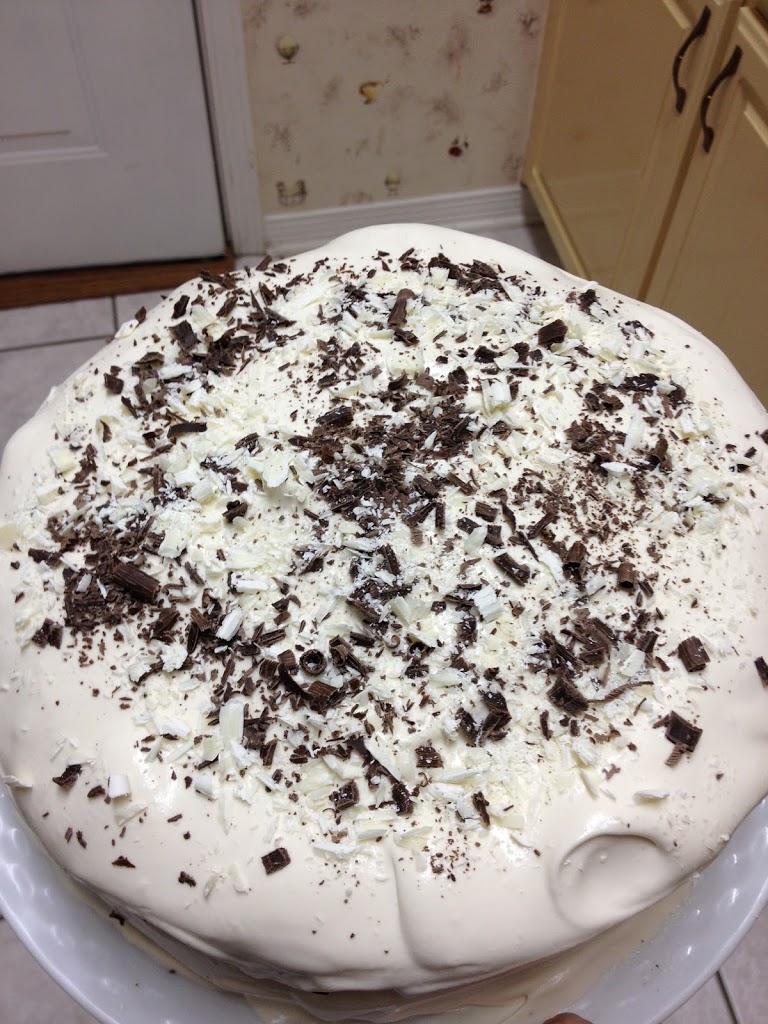
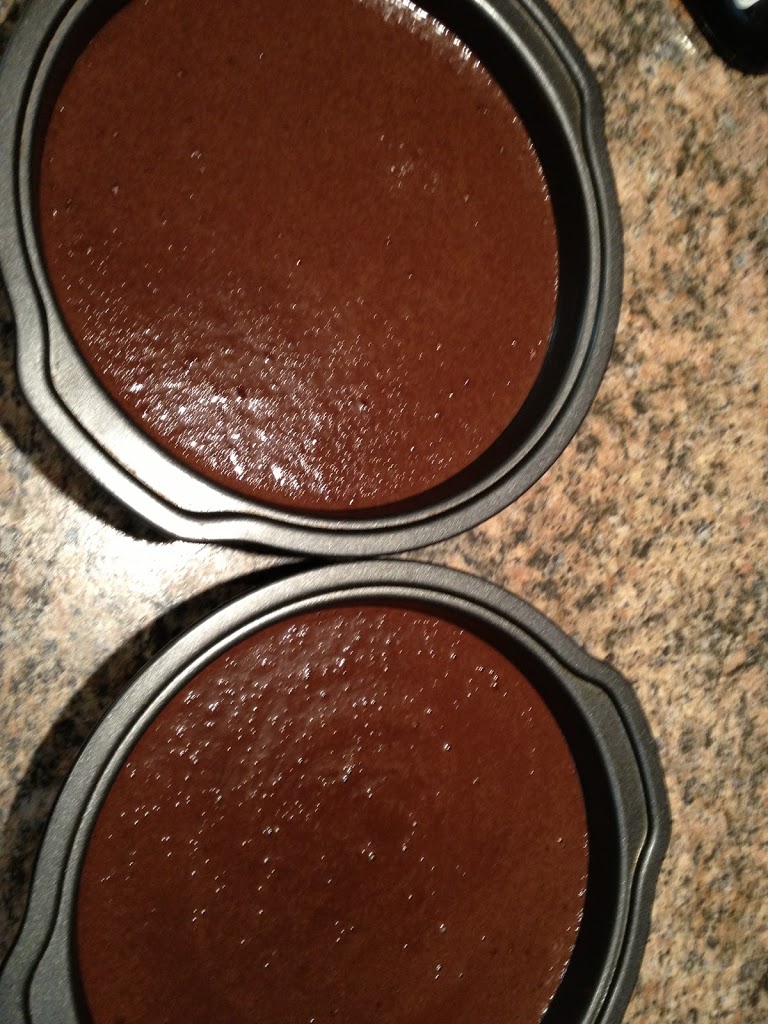
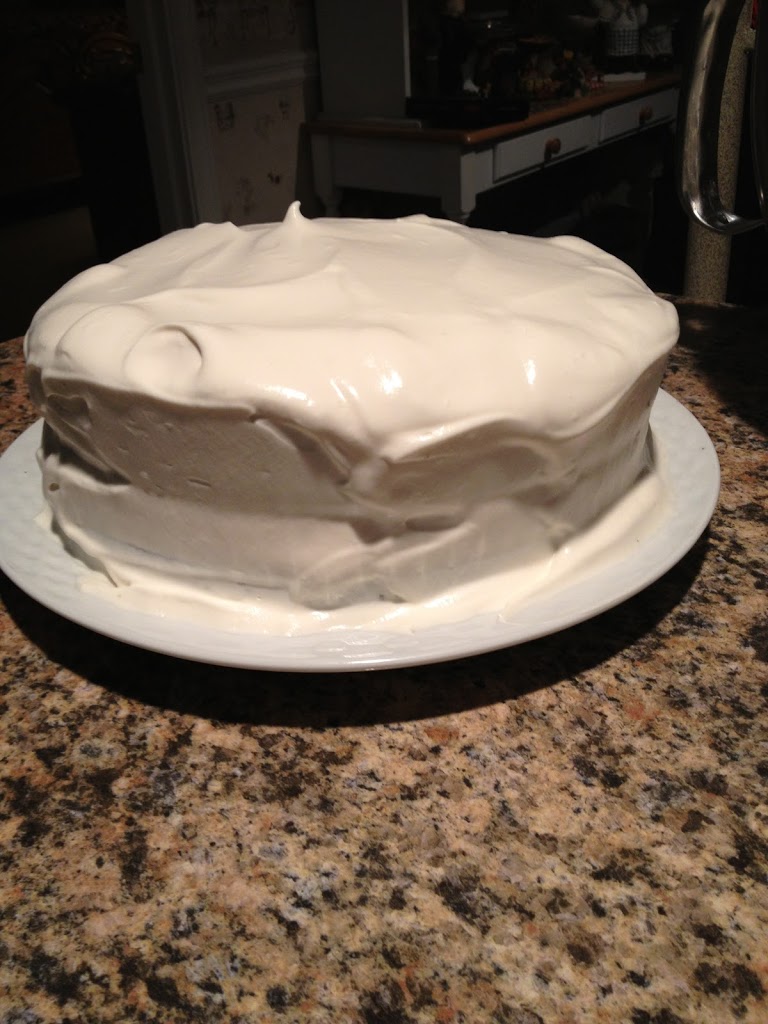
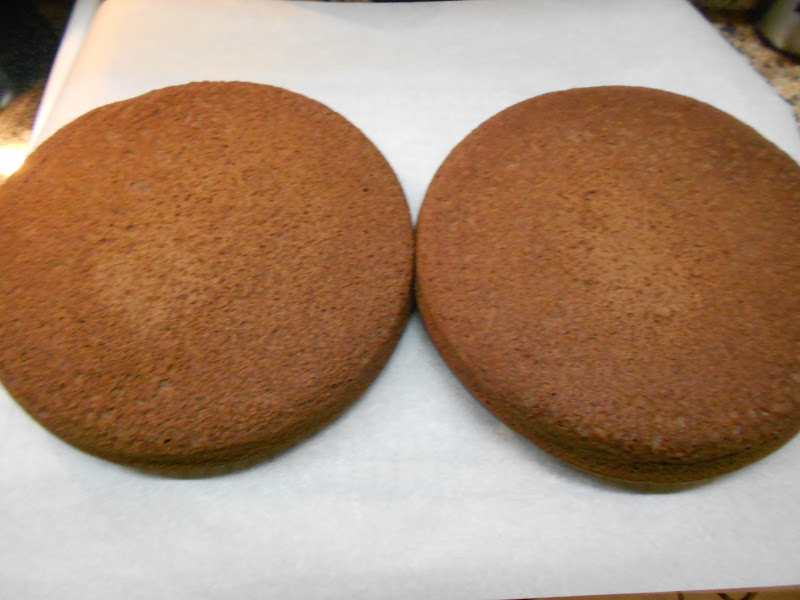
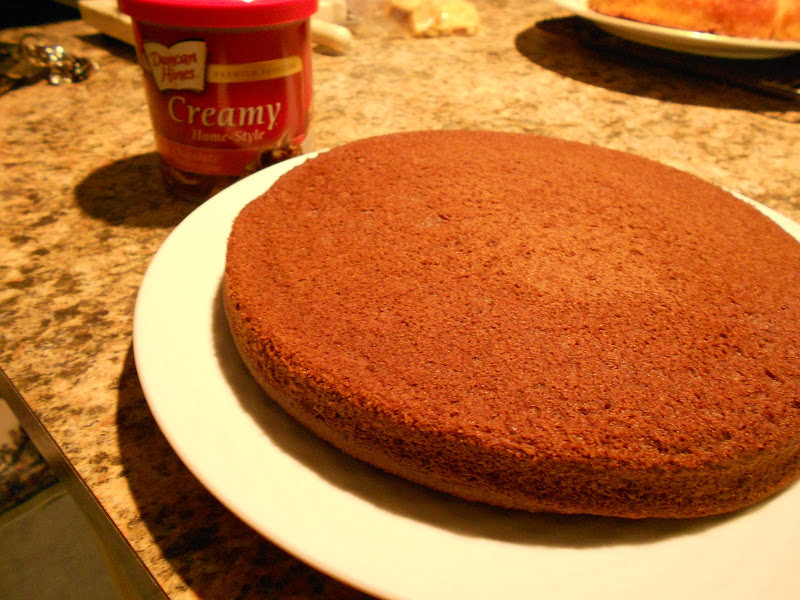
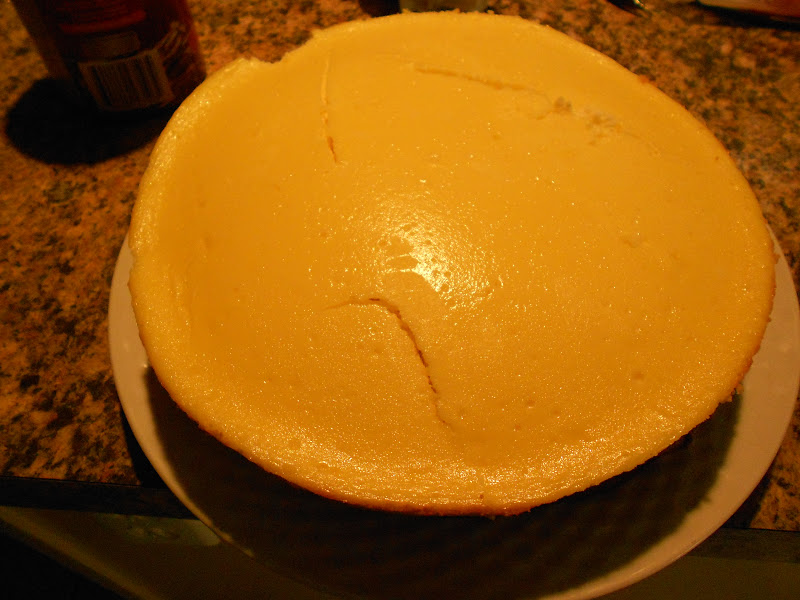
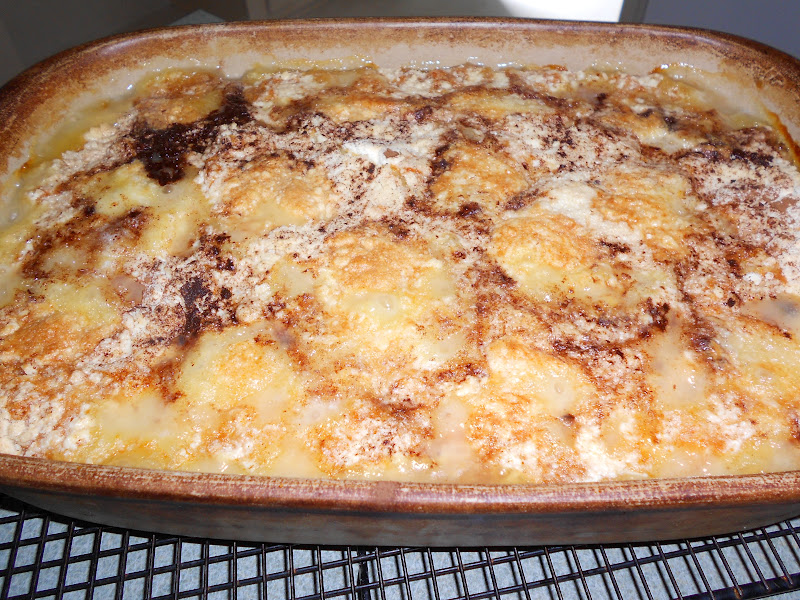
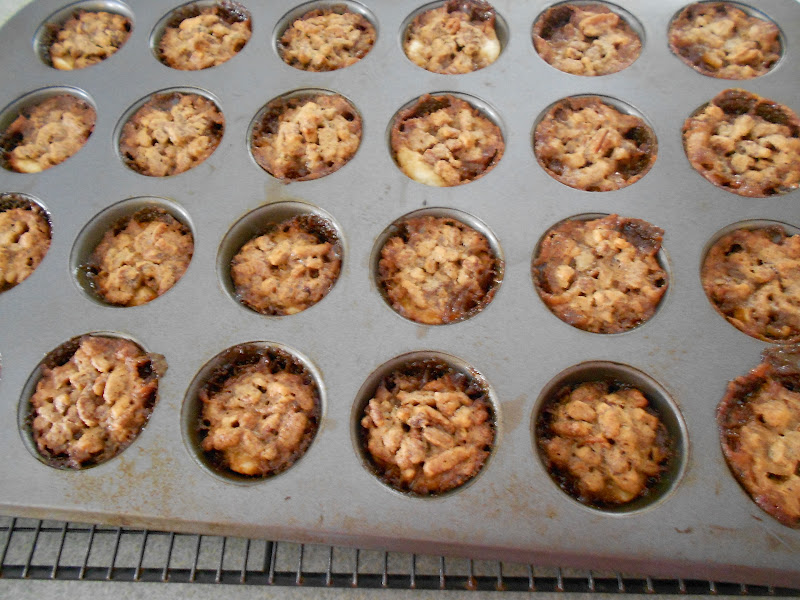
It is quite lovely like this when done!