• Skip to primary navigation
  • Skip to main content
  • Skip to primary sidebar

Fried Pies & Fireflies

  • Home
  • Recipes
    • Holiday
    • Appetizers
      • Salads
      • Soups
      • Dips
    • Breakfast
    • Desserts
    • Bread
    • Crockpot
    • Chicken
    • Beef
    • Pork
    • Beverages
    • Grilled
    • Vegetables
  • Catering
    • Holiday Catering Menu
  • About
  • Contact
  • Privacy Policy

Desserts

Rocky Road Brownies Recipe – “Calm Before The Storm”

August 26, 2012 by Lisa Pinney

Kinda been a day for baking today–getting ready for Hurricane Isaac…sigh…

 
Hurricanes don’t really frighten me–it’s the “after the hurricane” that frightens me and anyone who has to live with me without air conditioning.  This southern girl really doesn’t do well without her refrigerated air piped in to keep her from “glistening”!  
Well, we will just enjoy the goodies from the oven for a couple of more days and if we have to switch to grilling everything in the freezer after that, then so be it…(so sorry everyone for the whining that is to come)…
Anyway, sharing my Rocky Road Brownie recipe that you may really need to bake to make it through the storm.  Quick, easy and so very, very delicious!!
Rocky Road Brownies
Step 1:
1 Box Brownie Mix that makes a 9×13 pan
–Make and bake brownies according to directions on box.
 
Step 2:
2 cups miniature marshmallows
3/4 c pecans
–When brownies are done, sprinkle the marshmallows on top and set back in oven for 1 minute. 
–My family does not like the “rocks” in the rocky road brownies so we omit the nuts, but this is the time to sprinkle 3/4 c nuts over the marshmallows if your family desires them on that chocolaty road.  
Step 3:
Making the Icing
1 stick butter
1/3 cup milk
6 TBSP cocoa
2 TBSP oil
–Melt all over low heat until smooth.  
–Pour into mixing bowl and add 16 oz powdered sugar.  Mix until smooth and glossy.  Immediately pour over the brownies.  Enjoy!!
Mix those brownie ingredients together–I didn’t have oil so the white gooey substance you see is coconut oil which is fantastic to bake with.  

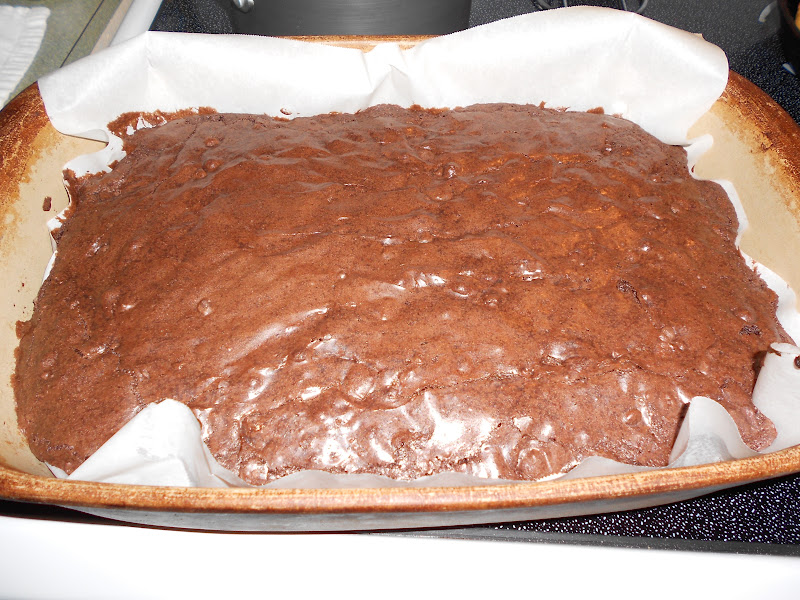
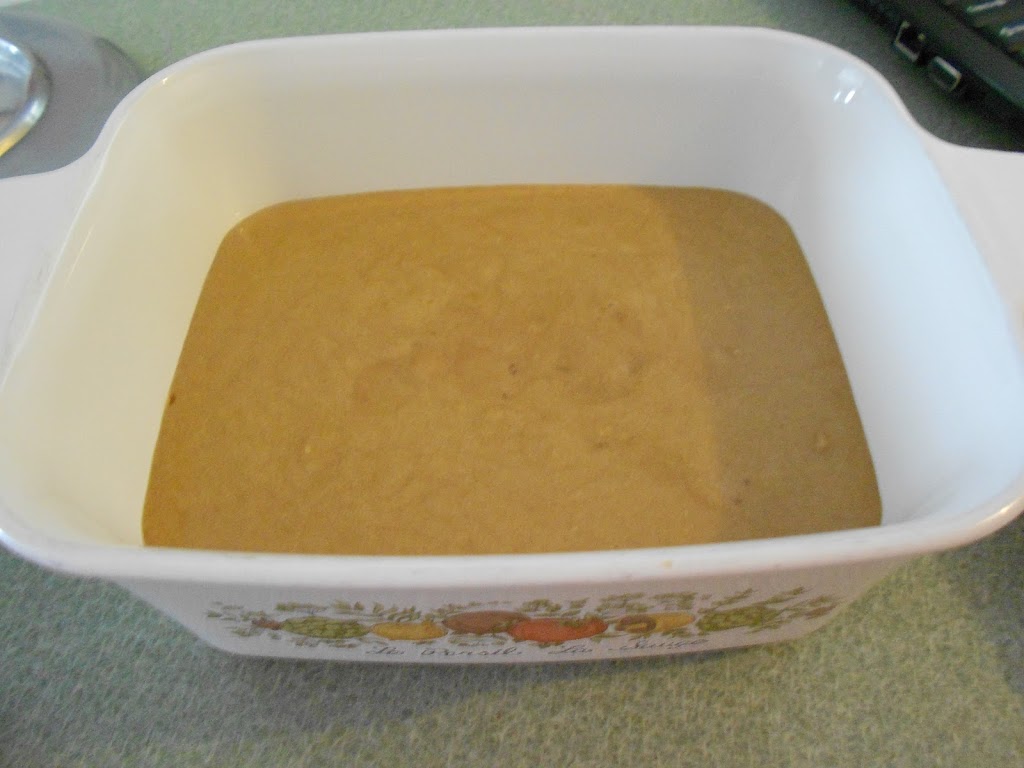
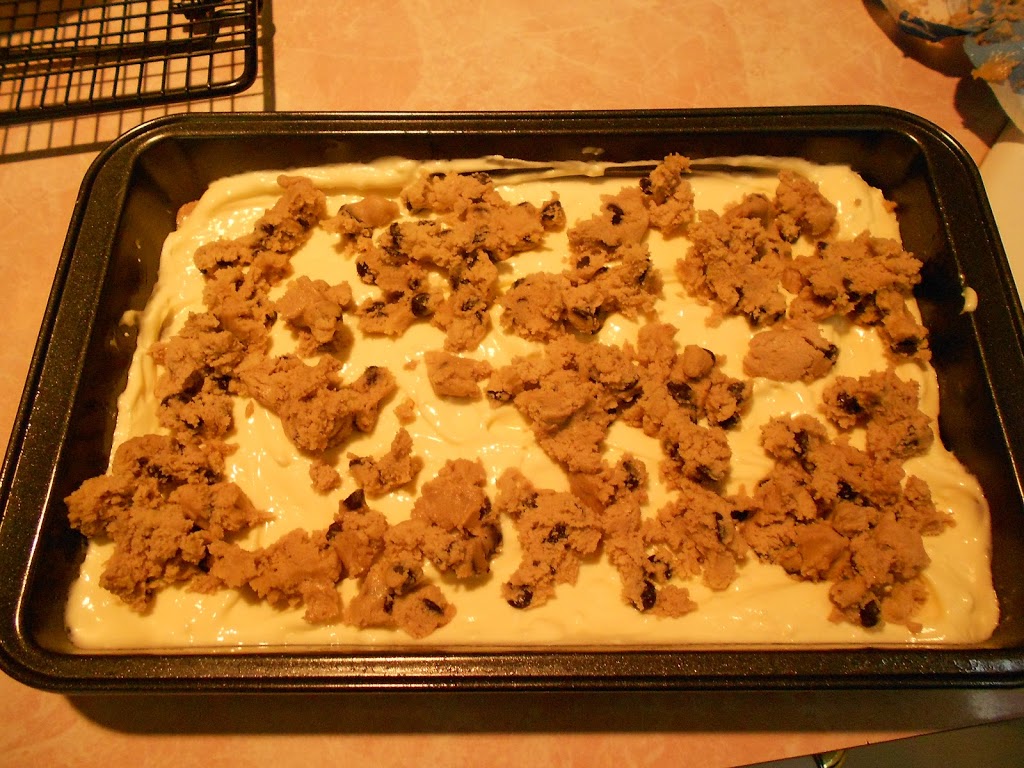
 Pour the brownie mixture in your 9×13 pan.  I have lined mine with parchment paper because I have had issues this week with items sticking.  I think it has something to do with the impending doom of the hurricane…I’m no Jim Cantore…but I’m sure this is the problem. 

 While those brownies are baking, mix the ingredients for the fudgy icing and place on stove eye on low temperature. 

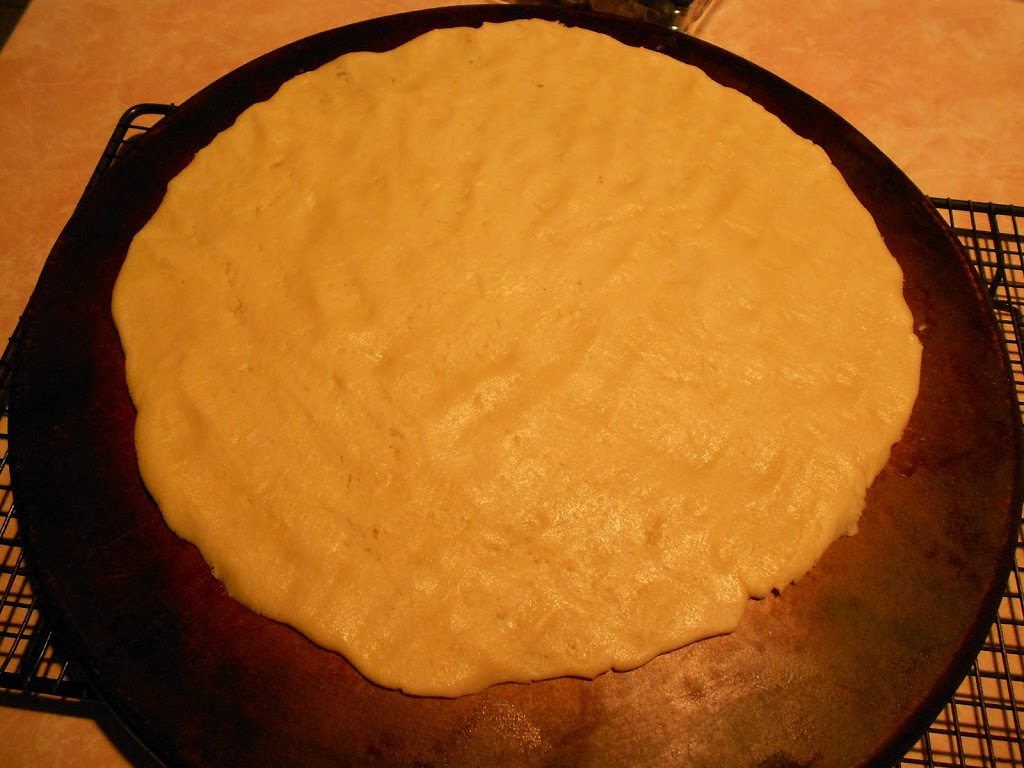
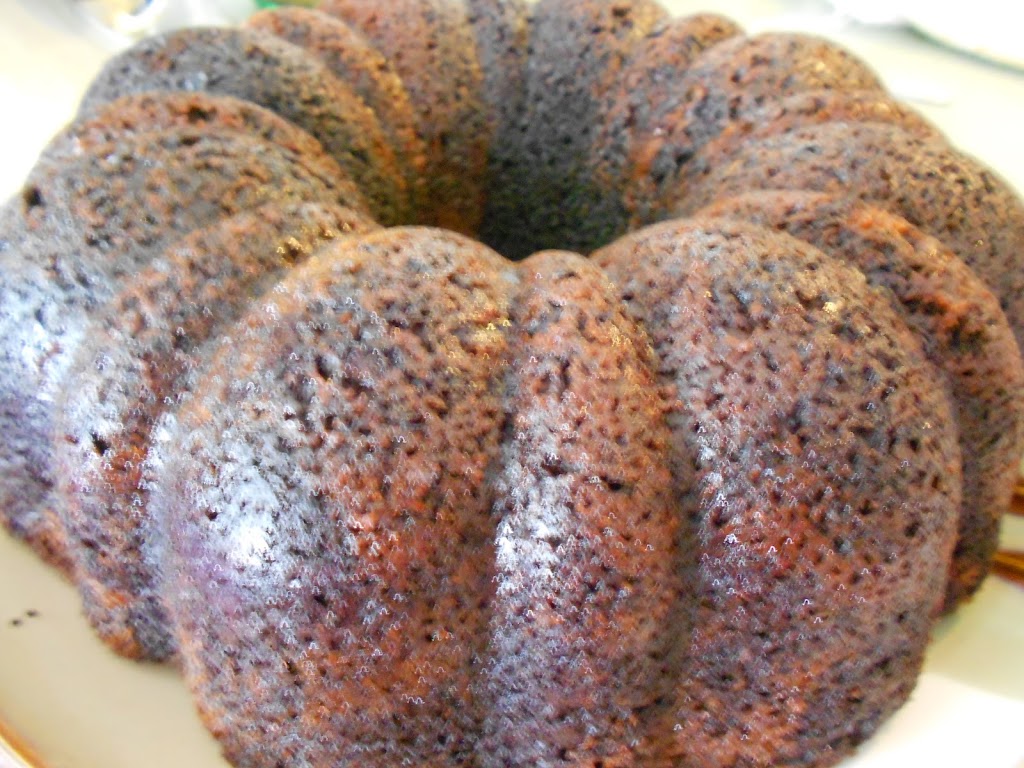
 When the brownies are done, they will look oh so chocolaty perfect like this! You will want to eat them now, but wait….we must add much more wonderfulness…take a deep breath and press on…

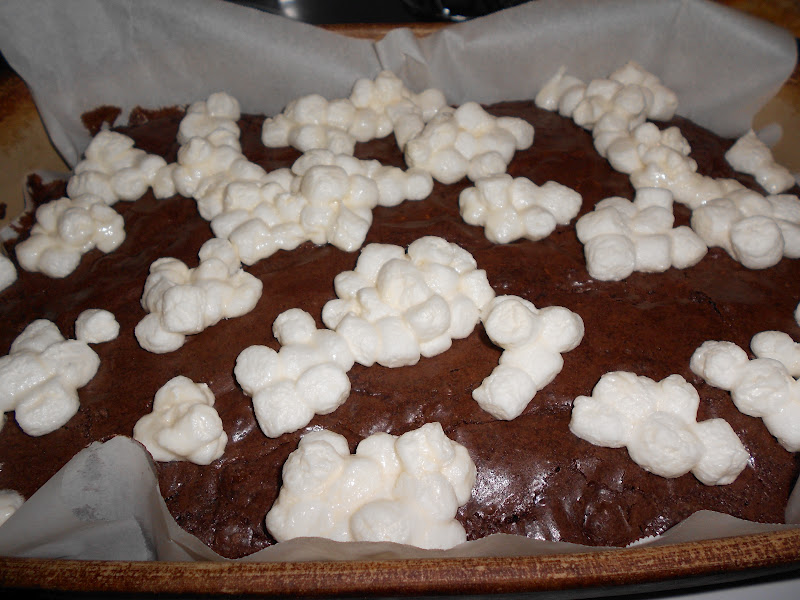
 You will next sprinkle your 2 cups of marshmallows over the top.  They will not look like mine…all sticky and lumpy because of the lovely Florida hot weather this week.  I really hate my marshmallows stuck together…it’s just not right…but we will cover them up soon with some lovely chocolate icing and all will be well with the world…

Pop them in the oven for a minute to melt them a bit….

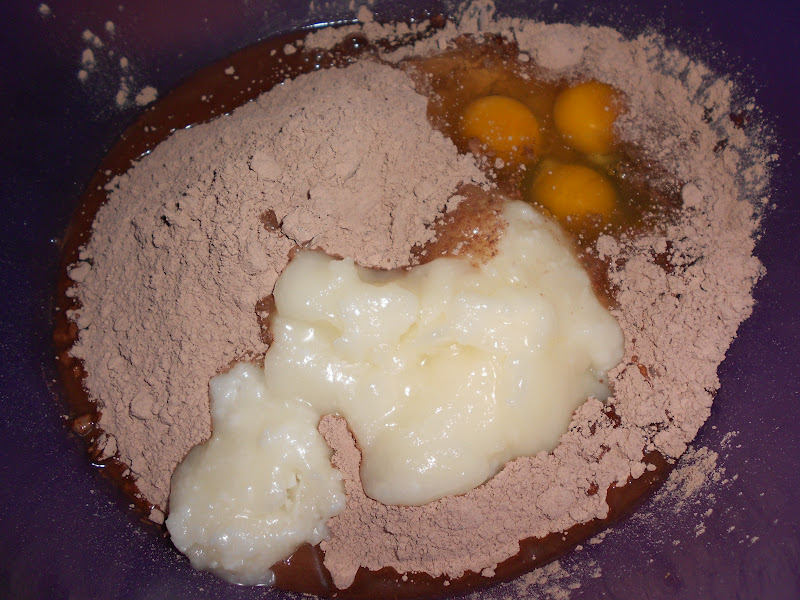
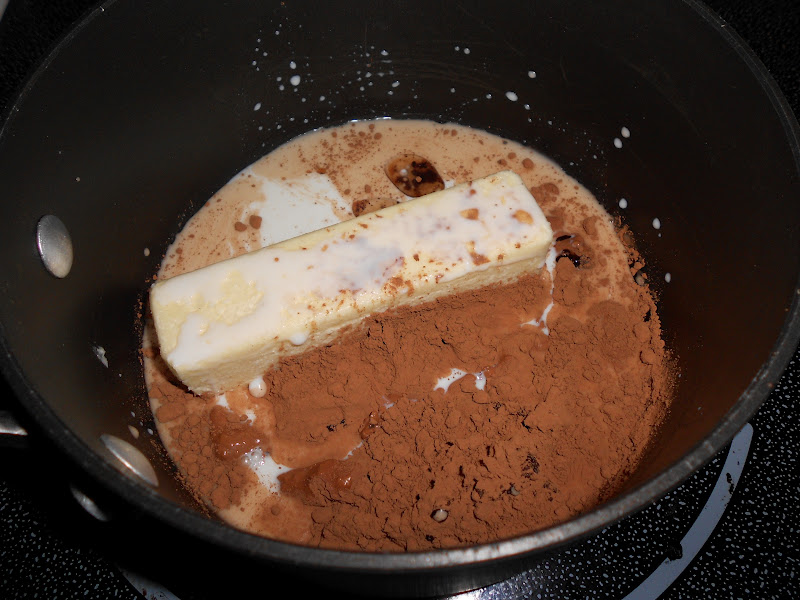
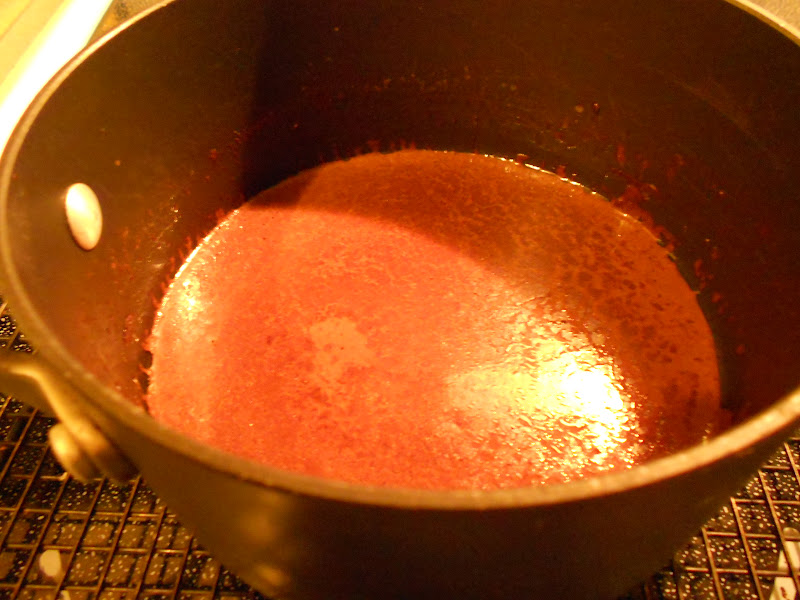
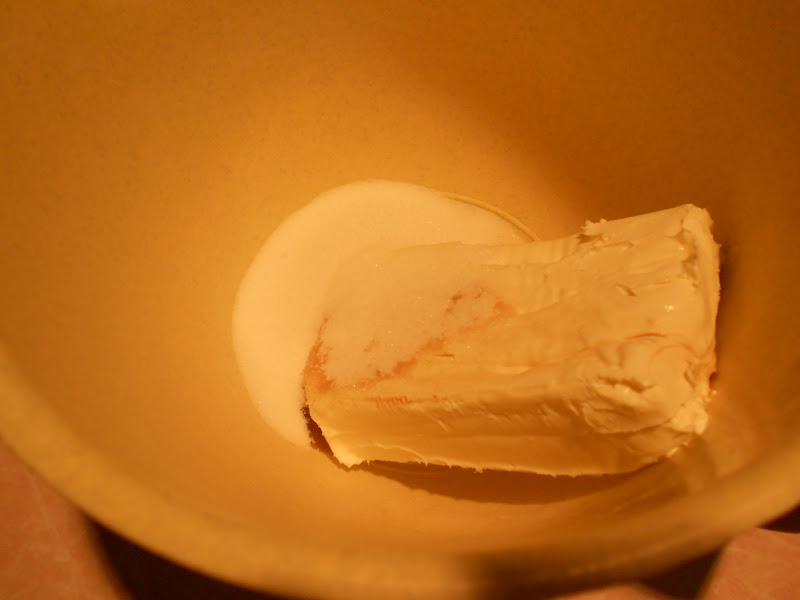
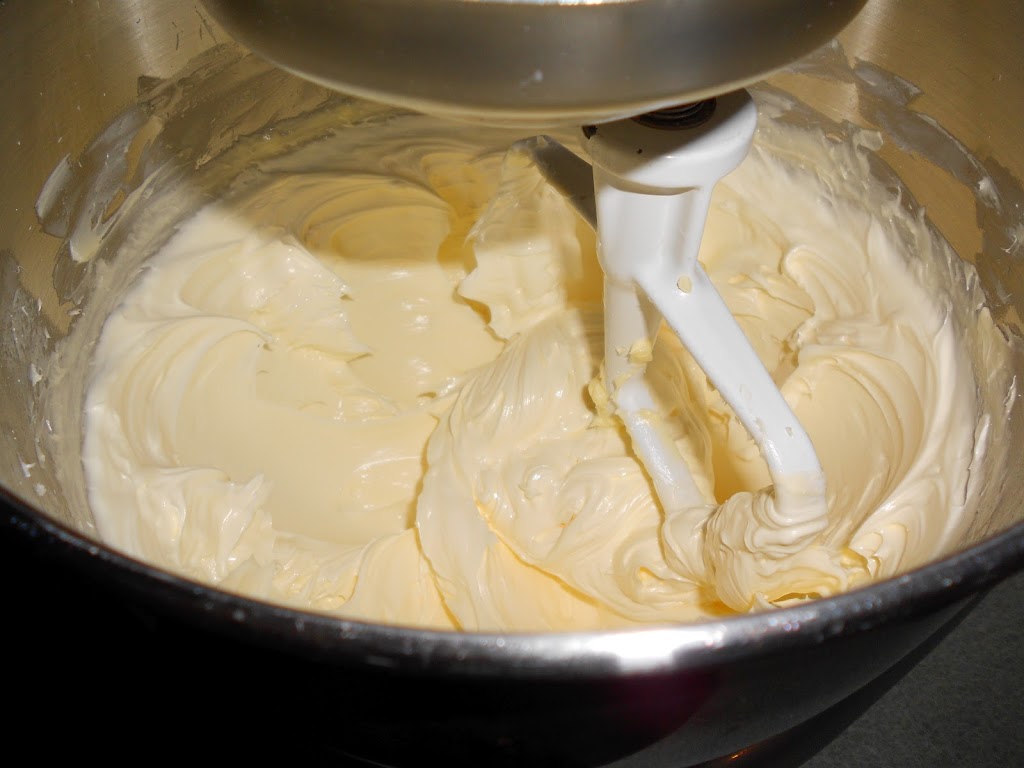
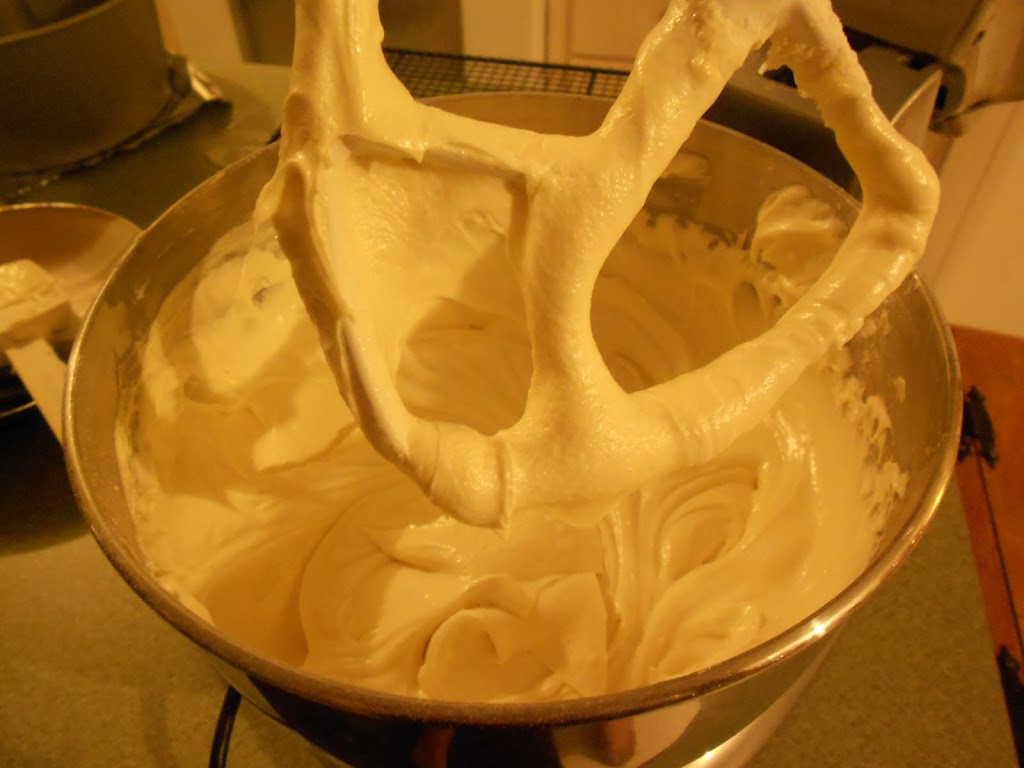
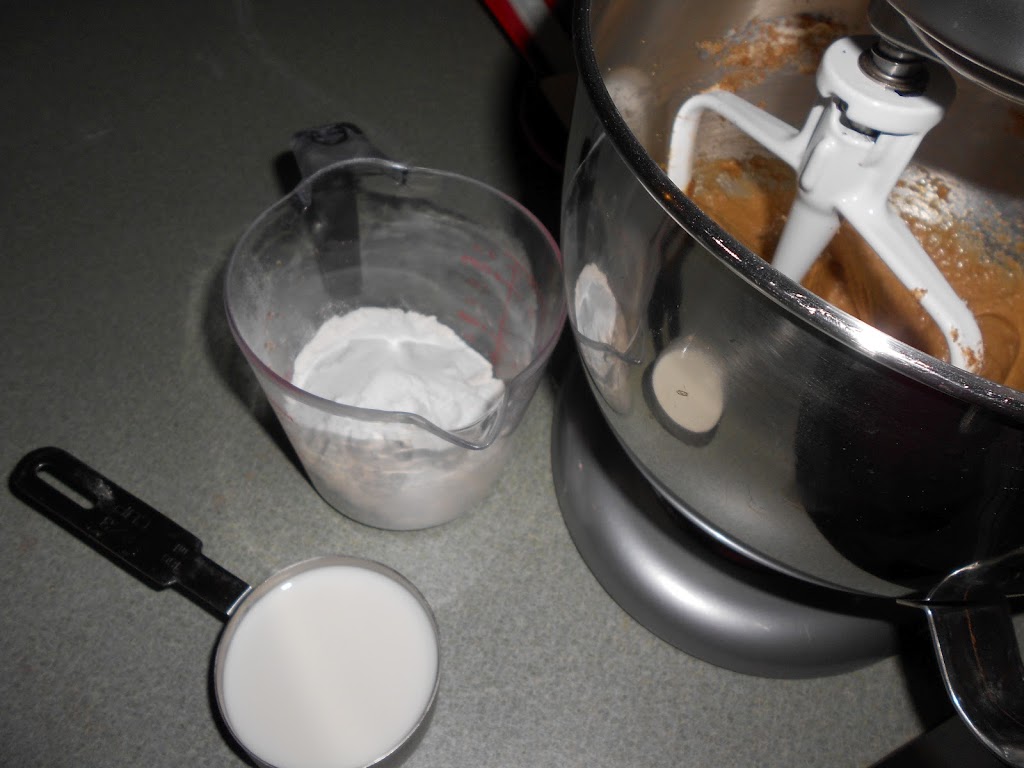
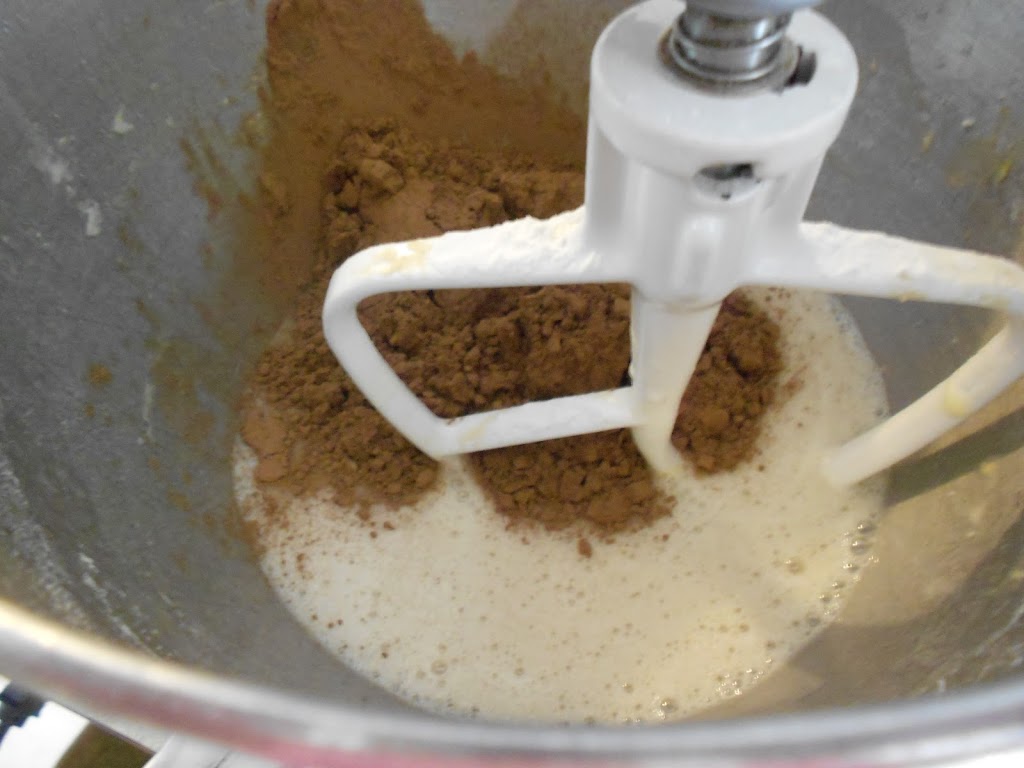
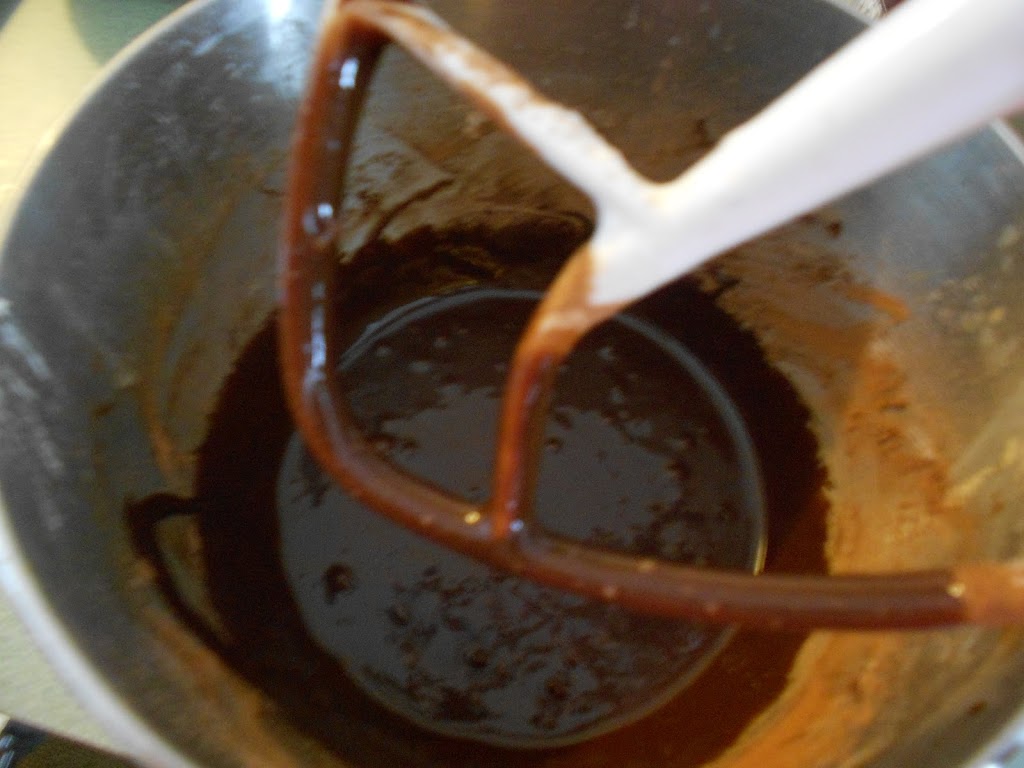
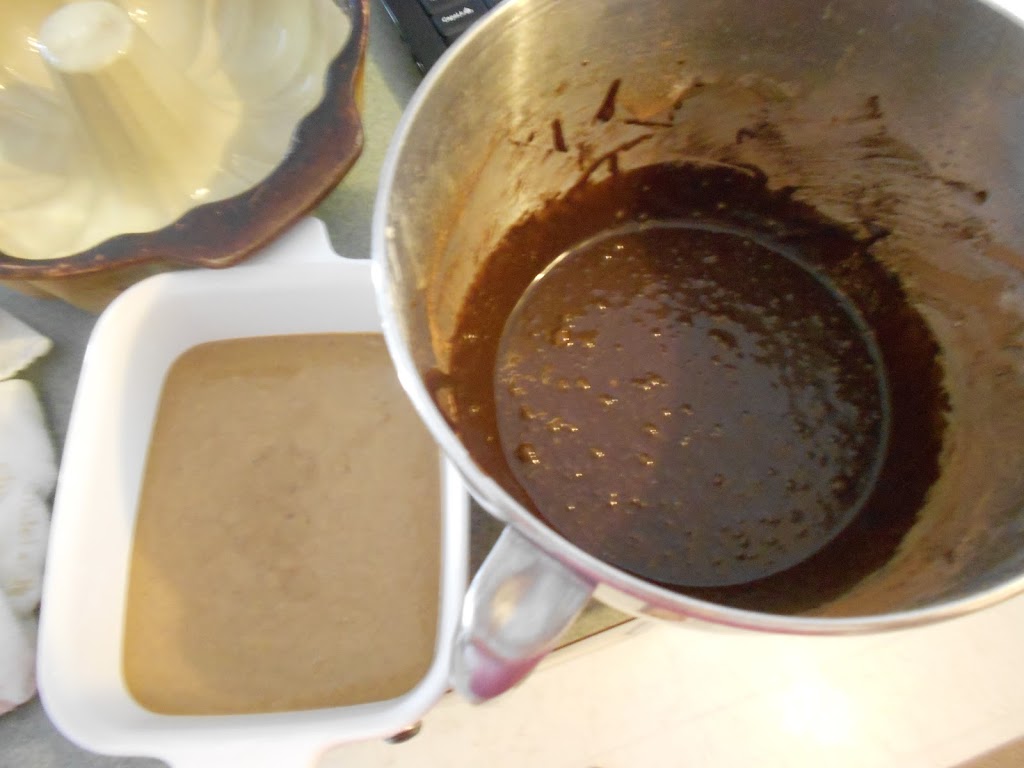
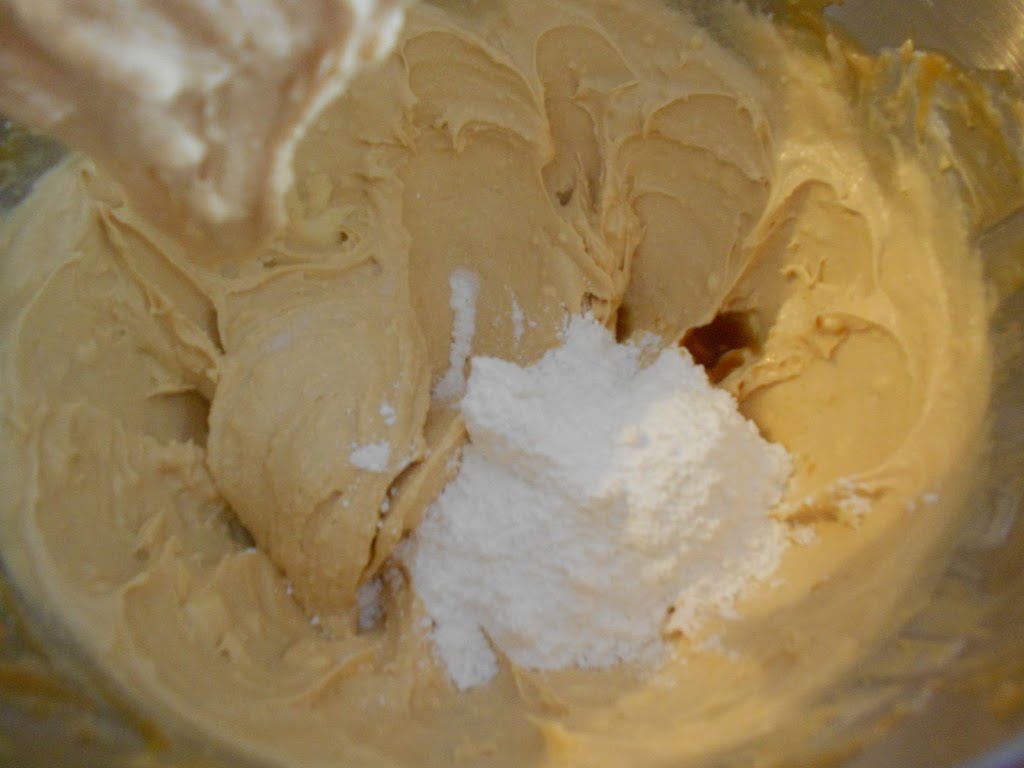
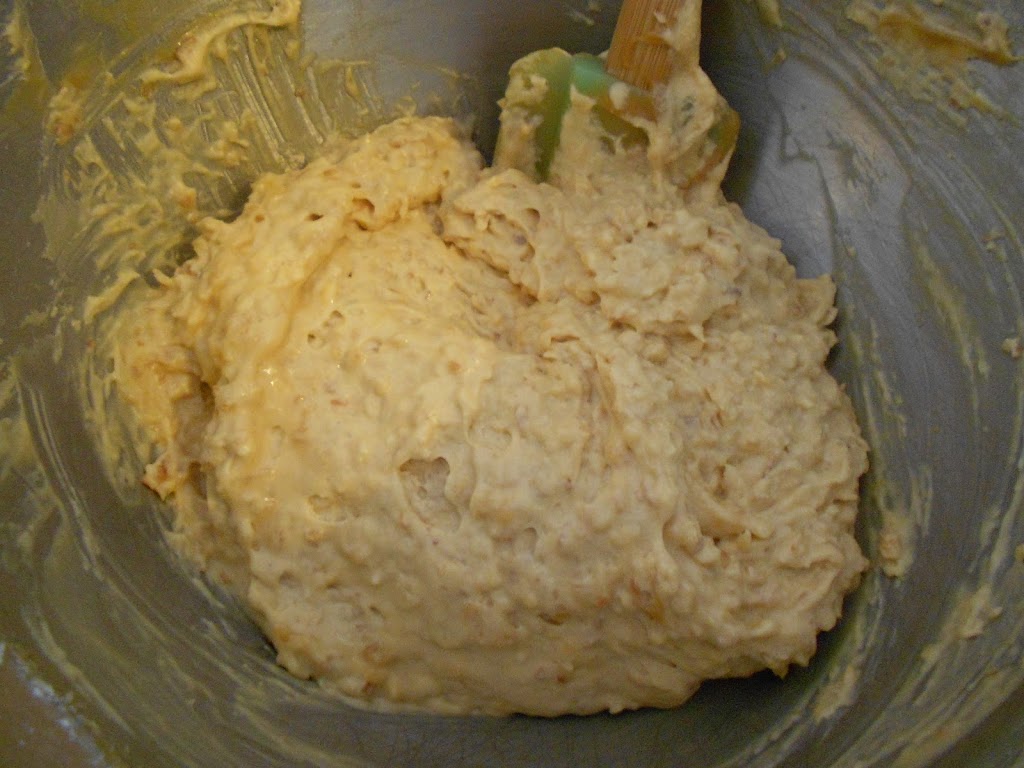
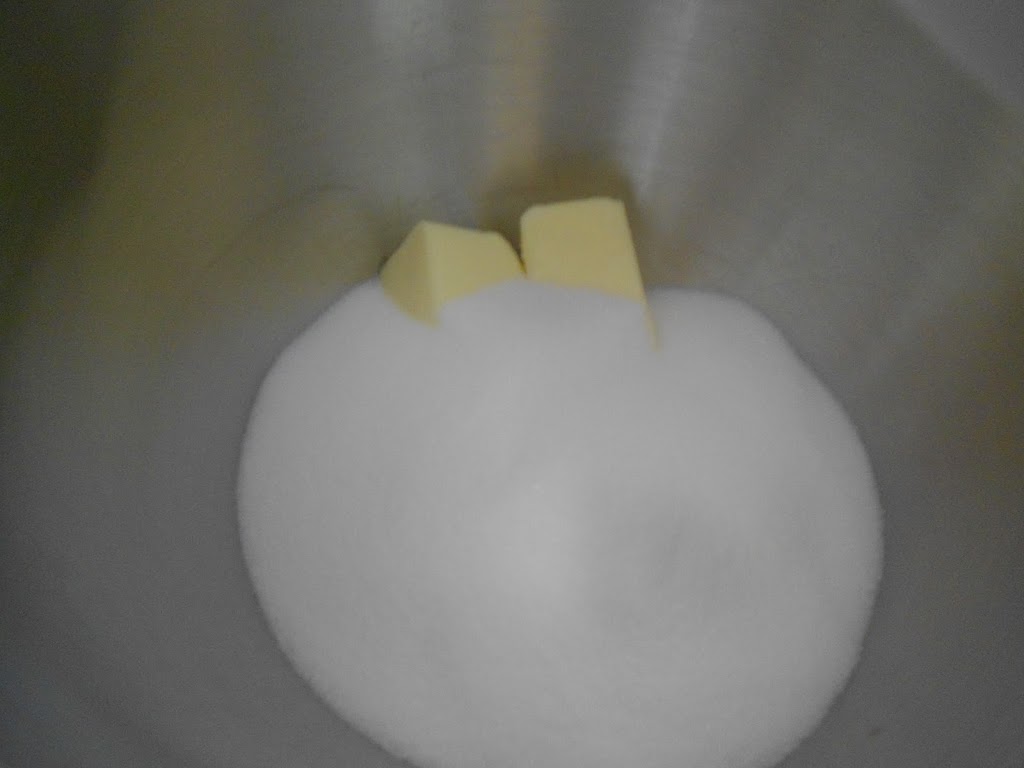
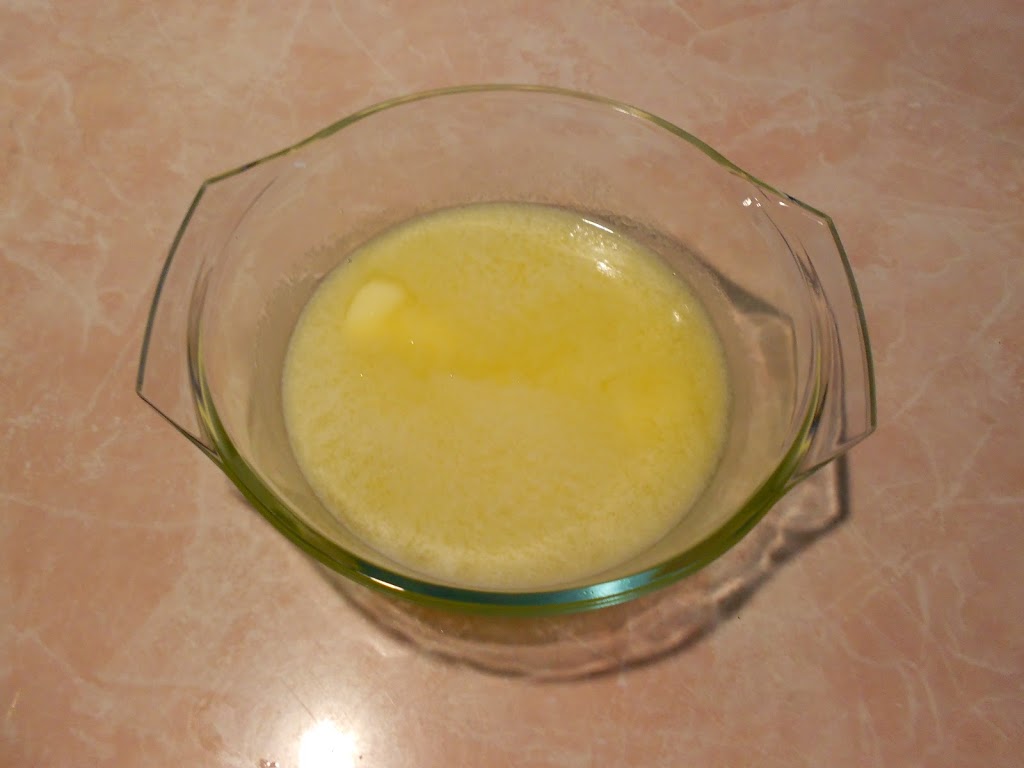
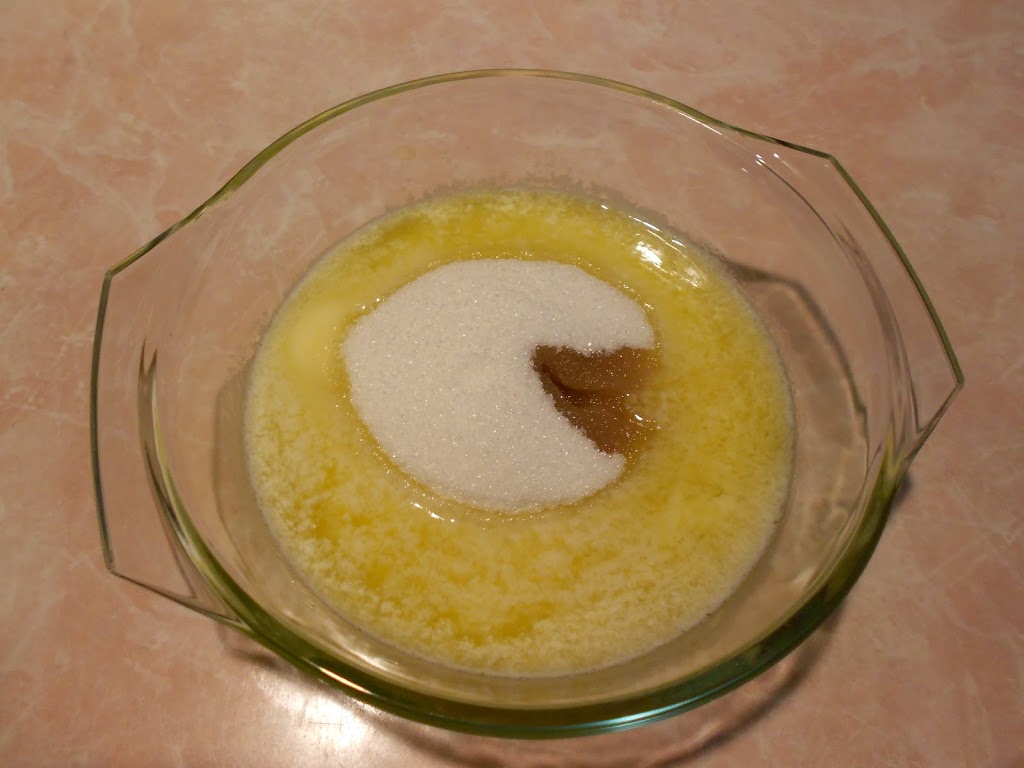
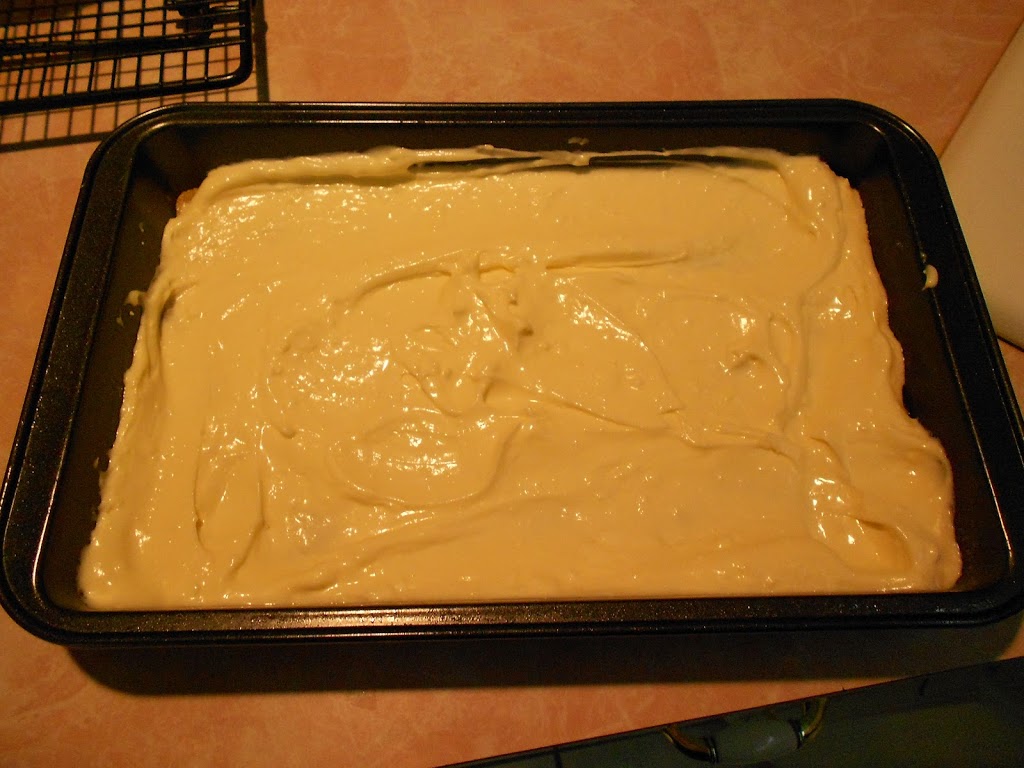
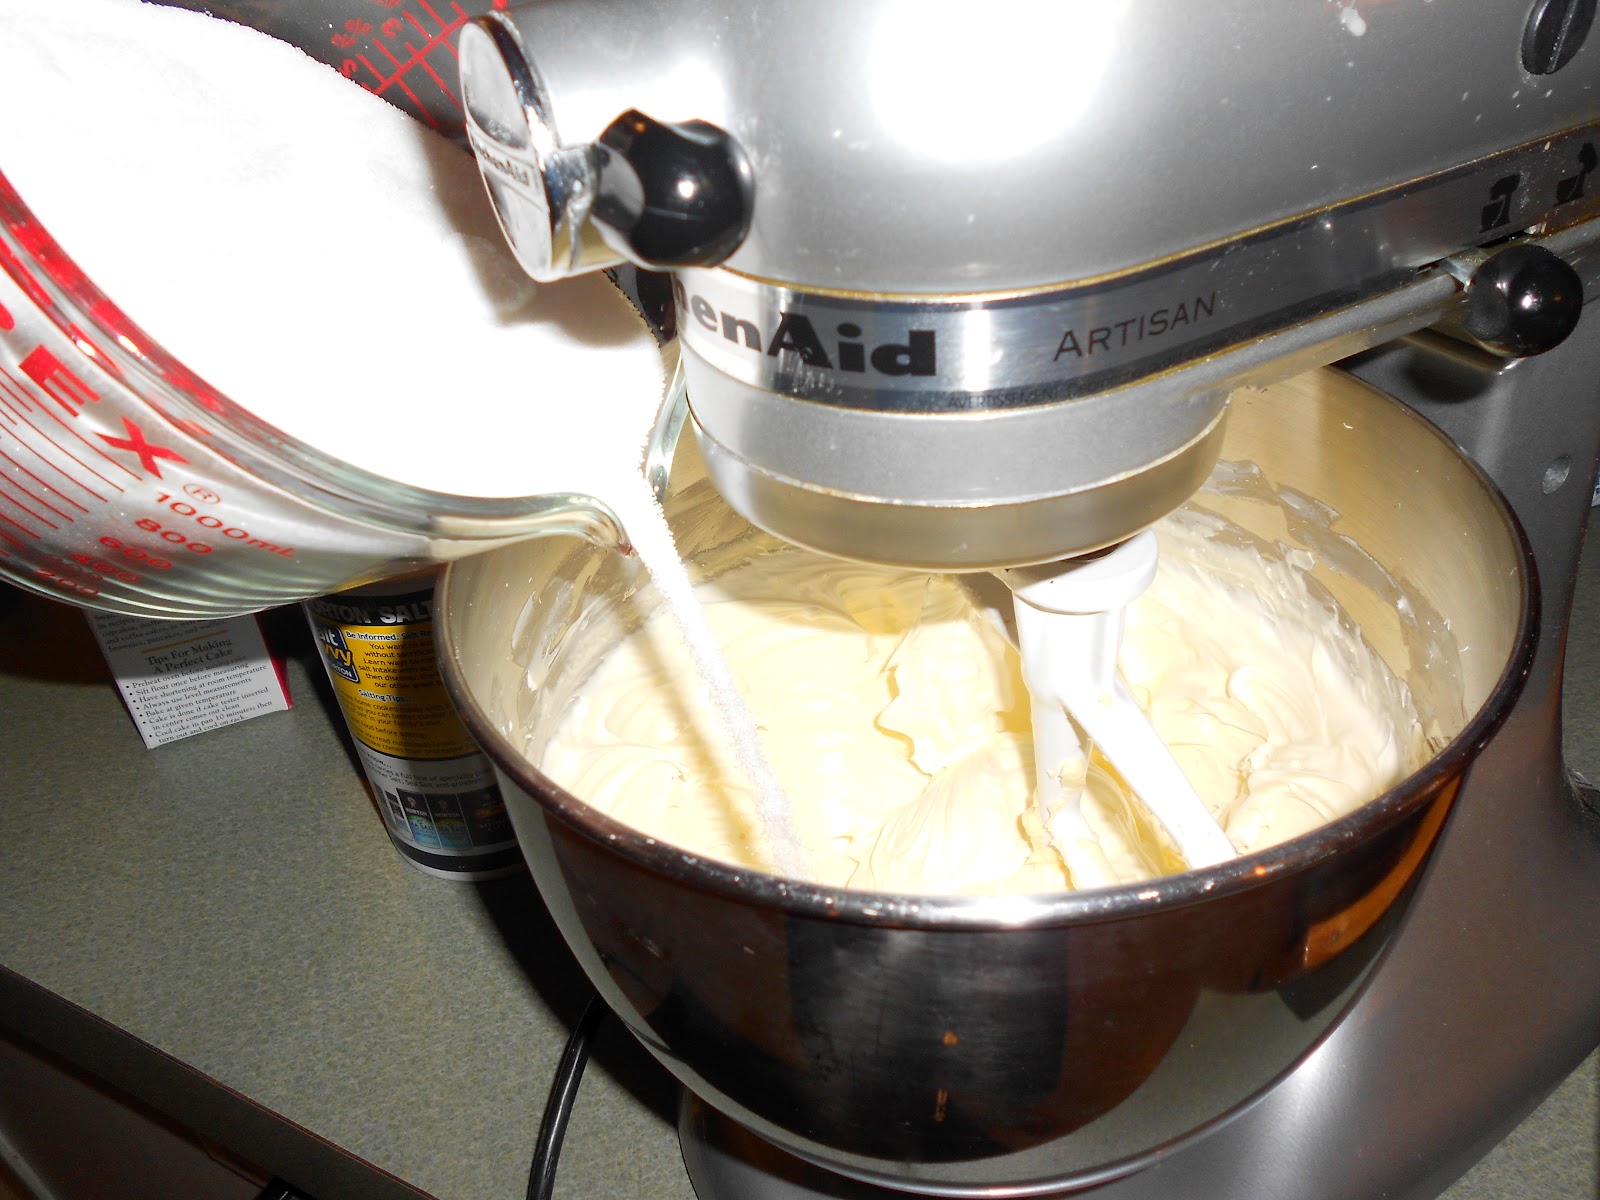
Meanwhile, the chocolate icing ingredients will look like this after stirring well…

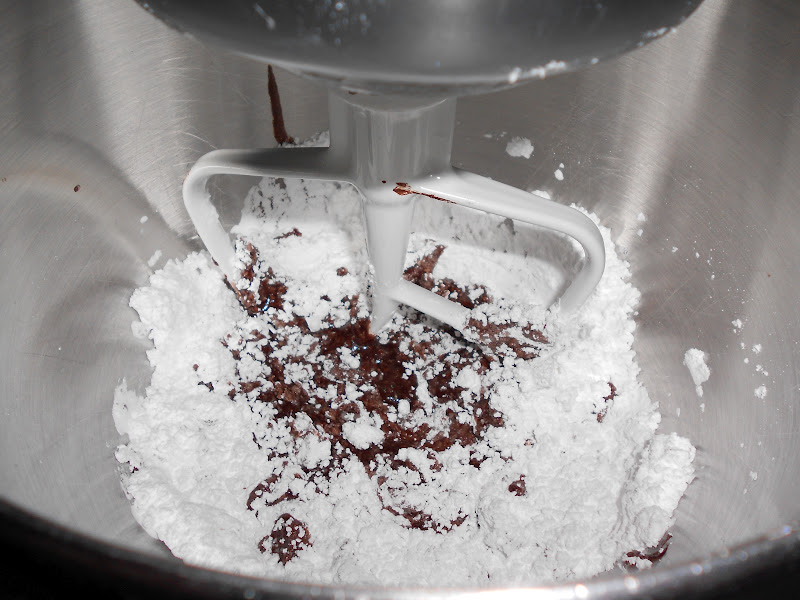
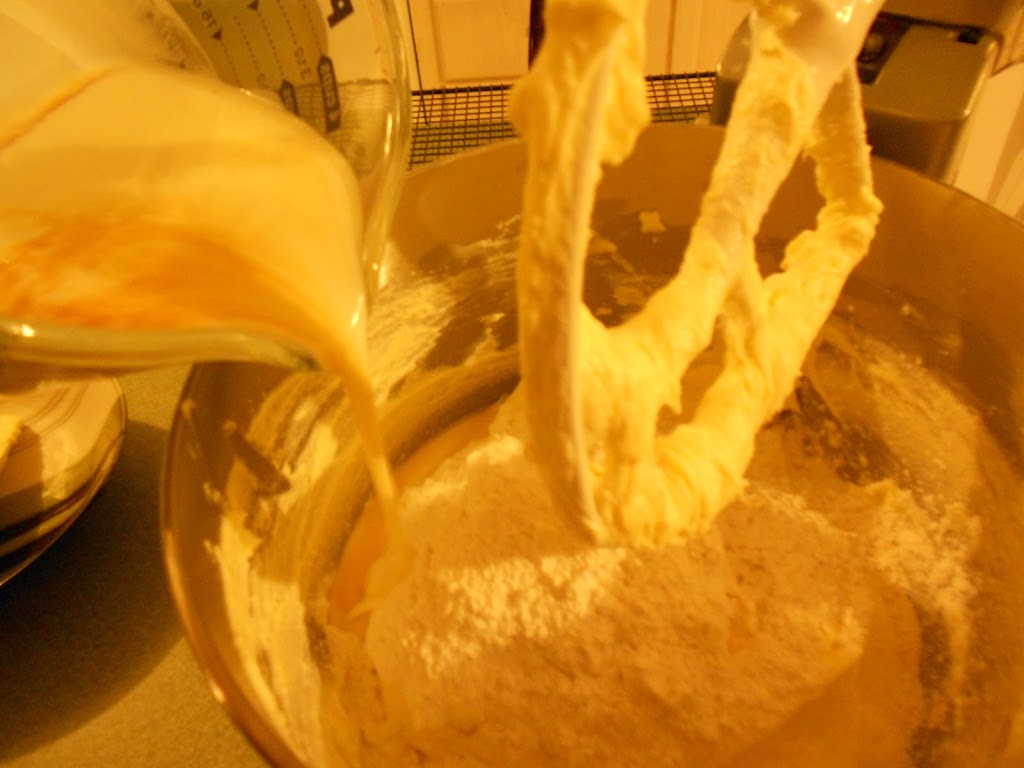
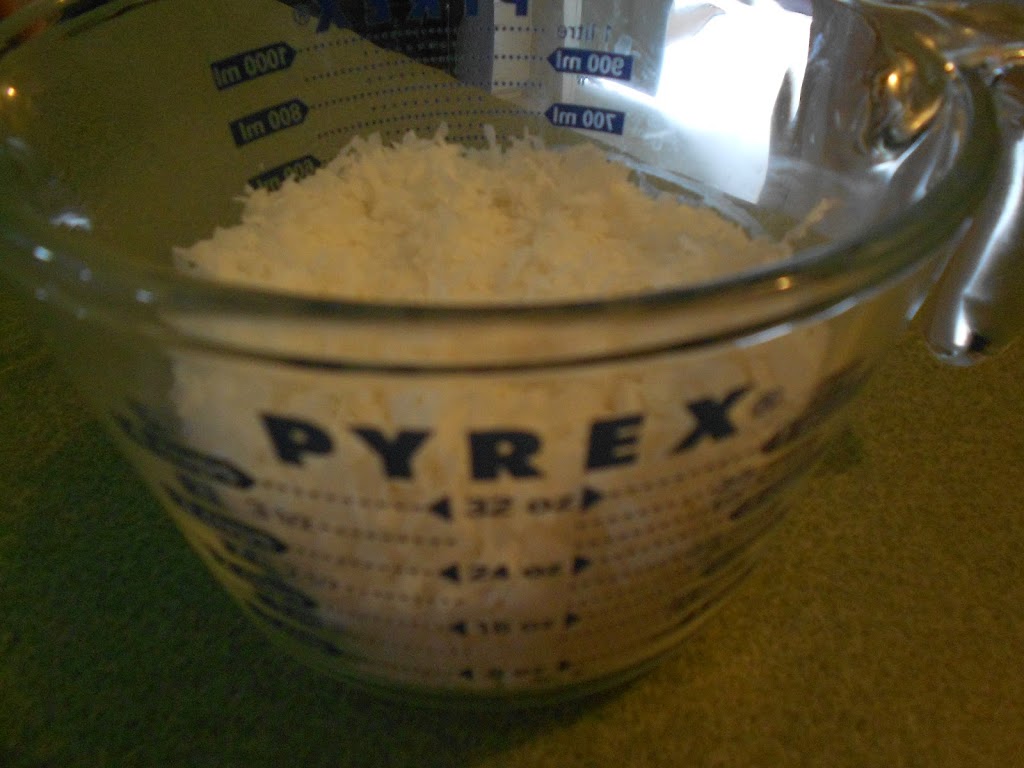
 Pour over the confectioner’s sugar…

Take the brownies out of the oven…the marshmallows will be a little softer and will have spread some…

And if your family likes nuts, sprinkle them on now.

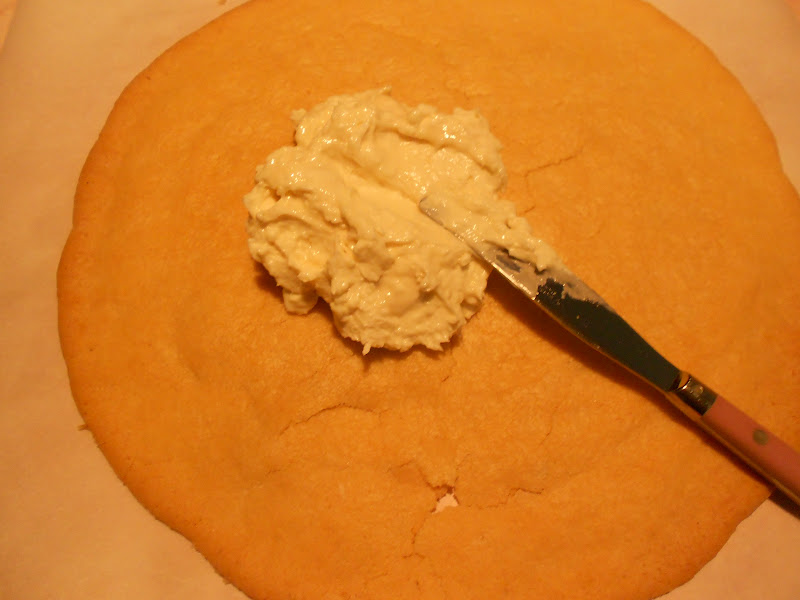
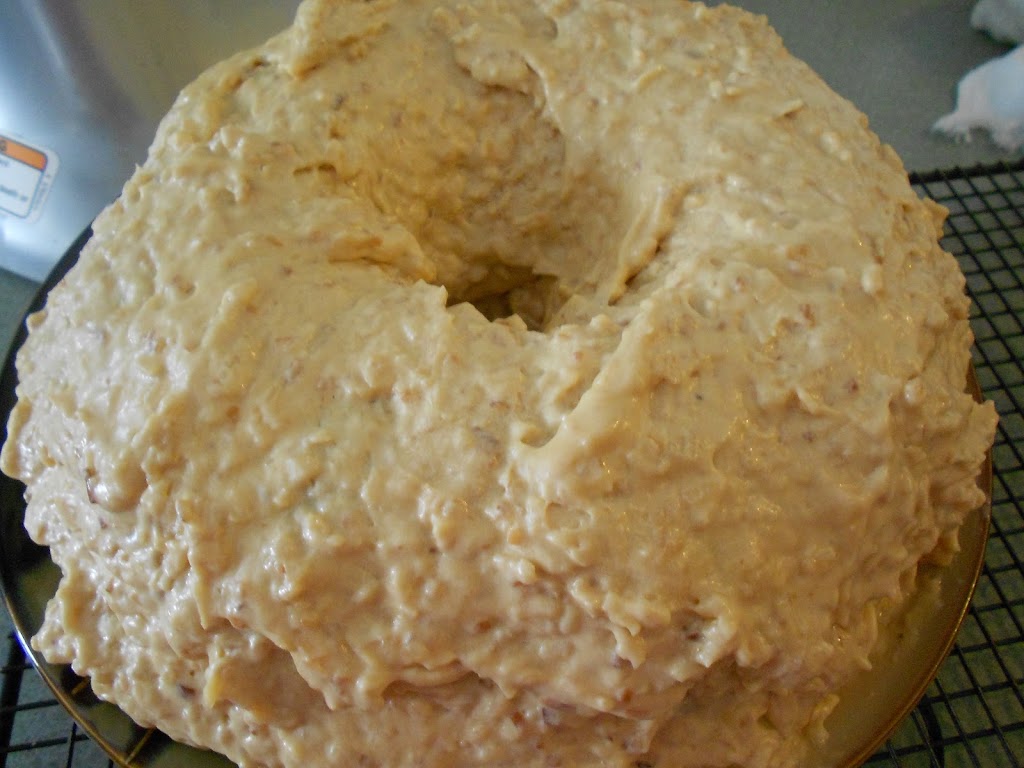
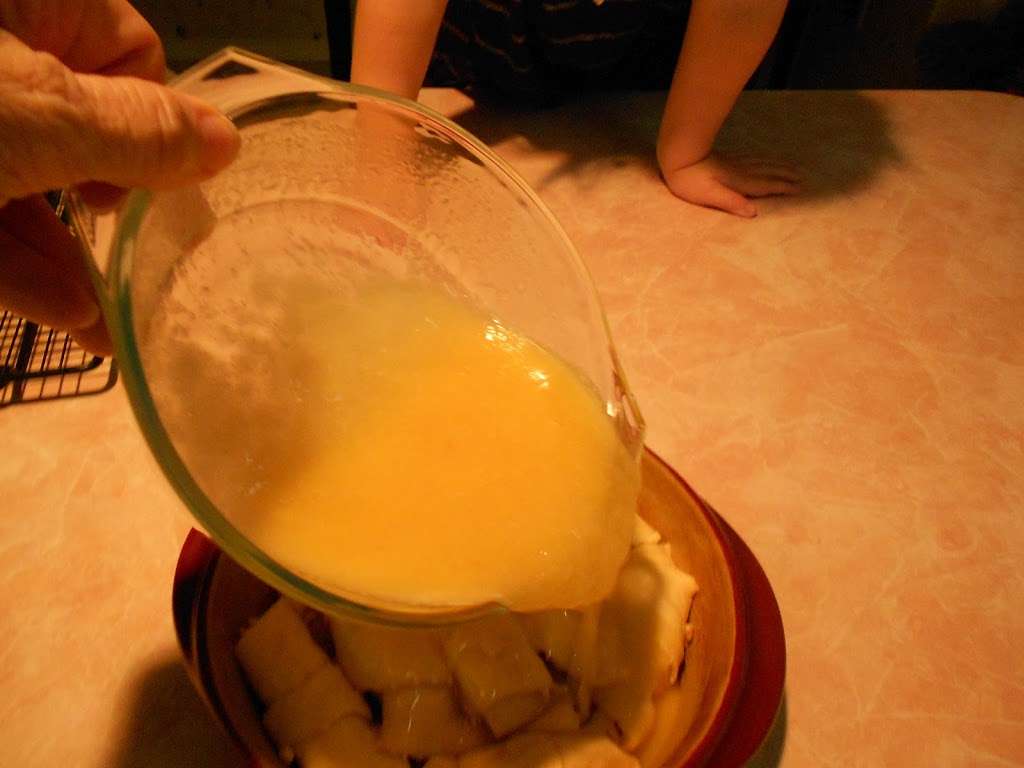
 Pour the icing over the brownies…..

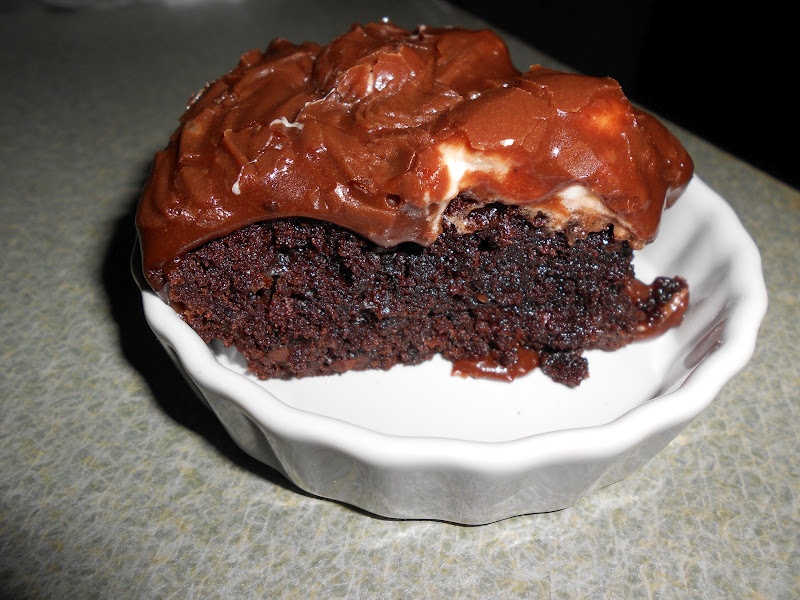
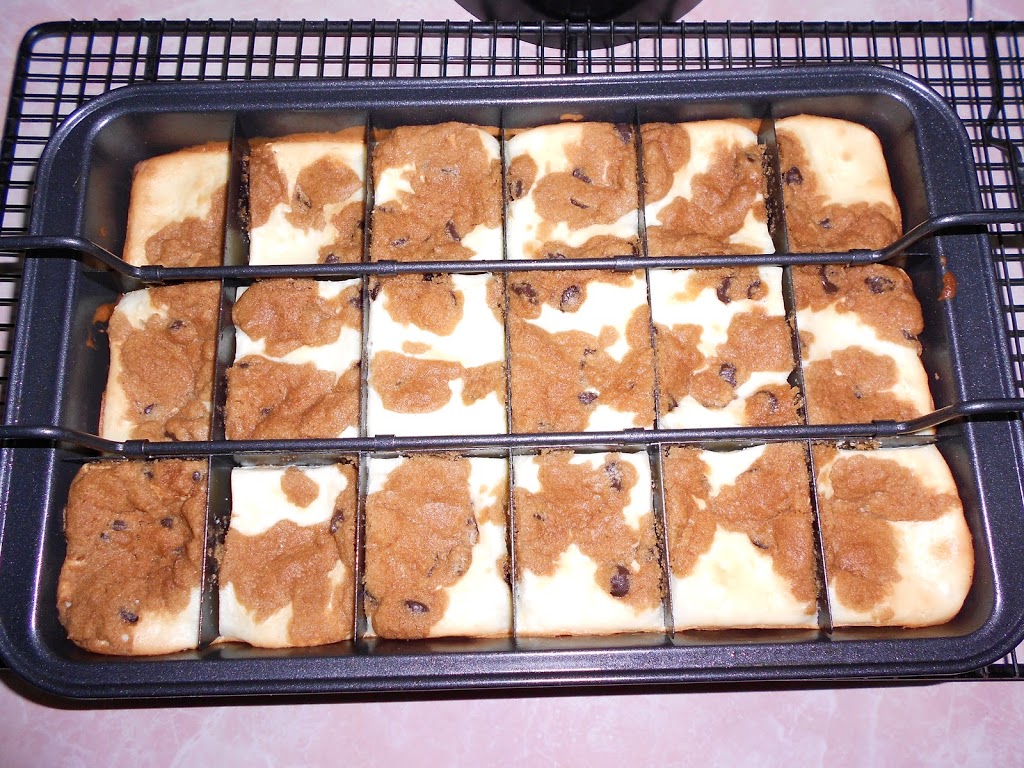
Wow…can you believe how wonderfully perfect they are even with those lumpy marshmallows!!!
It just proves chocolate can fix anything…just saying…


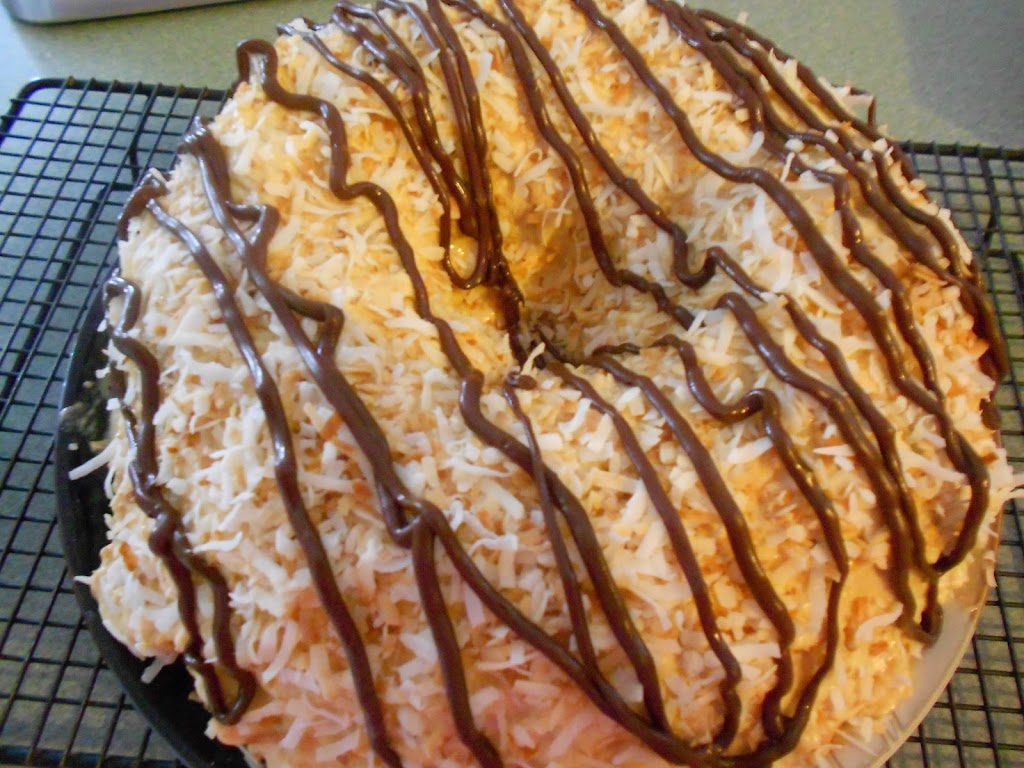
 Let it sit for a while or refrigerate to let everything come together perfectly!


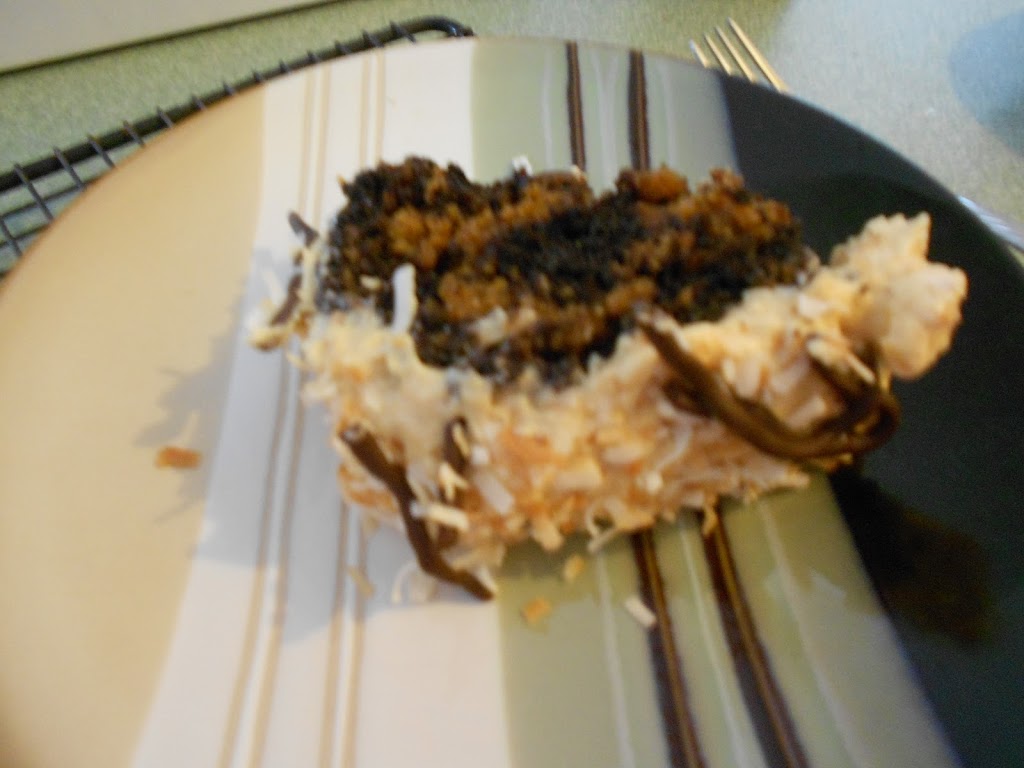
You can then cut a pretty piece and leave it on the counter for a loved one. 

Because of the hurricane, you will take a fork and the remaining pan of brownie goodness and retreat to  the closet.  Just keep reminding everyone that keeps checking on you what it will be like living with you without the air conditioning and they will leave you be…trust me…


Filed Under: Uncategorized

Cookie Fruit Pizza Recipe

May 13, 2012 by Lisa Pinney

Today, Mother’s Day 2012, I’m so very thankful for my children…
 
 being a Mom and having three amazing children 
 is such a wonderful blessing.
I’m thankful for such quality women in my son’s lives…
Paige and Amy are an answer of a lifetime of prayers 
for good women who will love my boys.
 
I’m thankful for my beautiful Mom…
she’s an amazing woman.  
I’m thankful for my wonderful granddaughter…
I love to hear her laugh!
And this little guy, my sweet grandson,  just warms my heart!
Hug your loved ones today and spend some time 
enjoying each other.  
  Family is one of the most precious gifts we’ve been given. 
I’m so very thankful for mine! 
Cookie Fruit Pizza
1 cup strawberries, sliced
1 cup blueberries
1 kiwi, sliced small
1 roll of sugar cookie dough
8 oz cream cheese
1/3 cup sugar
1/4 cup apple jelly
Open this yummy roll of cookie dough on a cutting board…
Slice the dough like you would if you were baking cookies…
Place the slices on your pizza pan and mush it all together to form a cookie pizza-like crust…
Bake 350 degrees for 20 minutes until 
the cookie is slightly brown. 
I thoroughly recommend a cute assistant 
to help you get the fruit toppings ready!
Make sure they can make funny faces…this helps pass the time while the cookie bakes! 
Next, combine the cream cheese, sugar and 1 tsp vanilla.
Mix well until creamy and combined. 
Cool the cookie completely. 
When cool, spread topping all over the cookie like so…
Yummy looking already…
Next, just place the sliced fruit all over the crust…
Warm the apple jelly in the microwave and brush over the fruit. 
Wowzers!!
This was a little creepy…just saying…
Ok, this is better!  
You can alter to recipe to include any of your 
favorite fruit and toppings.  
So quick and easy and fun to put together.  

Filed Under: Uncategorized

Fried Pies & Fireflies Signature Poundcake Recipe

April 30, 2012 by Lisa Pinney

 
I was in Walmart a while back–a place I desperately try to avoid–mainly because when I go in for a loaf of bread, 
the store takes over my mind and I come out with $150.00 worth of stuff that had never been on my original list!  
I’m sure no one else has EVER experienced this…
 
I was in my usual rush…running from home to work…
when I walked by the mens clothing section, and
a red windbreaker stopped me in my racks.  
You see, for so much of my life, my Daddy wore 
a red windbreaker throughout the fall and winter.  
I remember it even more vividly in the last  3 years of his life.  
He was diagnosed with a lung disease and I was constantly 
taking him to doctor appointments and to get lab work.  
He would always get very cold, so we finally decided we’d 
leave the red jacket in his van so we would always 
have it with us when he needed it.  
 
Daddy also liked Cardinals and they played often in the yard.
   After he passed away and I went back to work, 
there is a long hall in the building I worked in that 
had windows all the way down the corridor.  
For about 2 weeks after he was gone, and I walked down that hall, a cardinal would fly from window to window 
as I walked to the other end.  The little bird was always 
 a great comfort to me during that sad time.  
Well, in Walmart, I just stood there, holding onto the sleeve 
of that red jacket, tears streaming and remembering Daddy.  
I don’t know what we did with that jacket after he was gone, 
but at that moment, I wished I would have kept it.  
It took all I could do to let go of that sleeve and not buy it that day.
  Even though it was sad, I’m glad I was able to stop for a moment and remember.  Just like now when I see Cardinals playing I always smile and tell Daddy I love him.  
I’m so very glad God gives us little reminders of what’s 
precious in this hectic busy world.  
Take some time to reflect on some precious memories this week 
of ones you loved that aren’t here anymore.  
More importantly, spend some time with the ones you love that are here now–there are no guarantees in any of our lives.  
We need to cherish what and who is important now. 
That way we’ll have special times to look back on later.  
Sharing pictures of great memories with my family this past year…
Me, Paige and Daniel
Daniel, Paige and Amy


Granny and Kaia Laughing–Always! 
 Christopher and Kaia
 Chistopher, me, Daniel, Jessica and Kaia


Jessica, Amy and Baby Noah
Baby Noah and Me! 
 
Me, Noah and Kaia


Wanting to also share my signature pound cake recipe today. 
It turns out perfect every time and it oh, so delicious.  
It’s easy to bake and share with family and friends 
for any occasion. 


Fried Pies & Fireflies Signature Poundcake

3 cups cake flour
1/2 tsp salt
1/2 tsp baking powder
1 cup unsalted butter, softened
1/2 cup butter flavor Crisco
3 cups sugar
5 large eggs
1 cup buttermilk
1 tsp vanilla
1 tsp almond extract
1 tsp coconut extract


 Cream the butter and butter Crisco on high speed for 6 minutes.
 Reduce speed and add the sugar gradually.  


Add the eggs one at a time, beating well.
 
 
In small bowl, combine buttermilk and the extracts.
 
(Not sure why my text suddenly turmed colors and is underlined–but it’s 3:30 in the morning and it won’t stop, so we’re going with it–ok?)


Add the buttermilk mixture alternately with the mixture of flour, baking powder and salt.
 
(Ok, I think we’re going back to normalcy now…as if…) 


Isn’t this just yummy looking??  
I bet you can’t wait to lick the bowl!!! 
It’s my very favorite part!! 🙂


Anyway, get the paddle out of your mouth and 
pour the batter into a well greased and floured bundt pan. 


Bake 325 degrees for 45 minutes.  
Then cover lightly with foil and bake additional 45 minutes 
and test with wooden pick for doneness.  

Cool in pan 20 minutes and turn out of pan and then 
back over onto plate to cool.  


It will turn out perfect like this, your whole house will smell wonderful and your family will love you forever!  

(It’s extra yummy warm and spread with butter..just saying…:)

Filed Under: Uncategorized

Gimme “Samoa” Cake Recipe

April 21, 2012 by Castle8684

Well, if you have a few HOURS that you don’t have anything to do, please, please,please make this cake.  You won’t regret it!  Oh, my!  I don’t even want to know how many calories just one bite has in it, but as you’re eating it…you don’t even care!!!  Just crazy!  Jessica has officially banned it–just like the white crack donuts! 

 
First, before you go to bed, you need a can of Sweetened Condensed Milk….
and a crock pot—yes, a crock pot…
Set the can of the milk in the crock pot (after you peel off the label) and then cover the can with water…
Slap that lid right on there and set it for 7 hours on high…yes, that’s right…that’s how the magic begins…
 
Now, put on your jammies and have sweet dreams about the dessert your’e going to have tomorrow night!
(On a side note–who discovered this?? 
Did a can of sweetened condensed milk fall into someone’s crockpot full of water one night?) 
The next day, you open the can…and…ta-da!!! 
The magic of the crock pot has transformed a can of delicious sweetened condensed milk into a wonderful carmelly goo….
yes, wonderful carmelly goo..(carmelly is my word)
(Note:  you can stop here, get a spoon, lock yourself in the bathroom and eat this now or continue and have something really wonderful…
Note 2:  Next time, place 2 cans in the crock pot before
going to bed and you won’t have to choose
which option to take at this point)
These are my ingredients laying on their side because I forgot to turn the picture when I downloaded it….
I think I was distracted by the wonderful carmelly goo…..
This cake has 2 separate batters that you will make.
The ingredients for the first batter:
  • 1 stick of butter, softened
  • 1 cup of dark brown sugar
  • 2 eggs
  • 3/4 cup cake flour
  • 3/4 tsp baking powder
  • 1/2 tsp baking soda
  • 1/4 tsp salt
  • 1/2 cup whole milk
Cream the butter and brown sugar…
Crack the eggs and add them next
Add the flour, baking soda, baking powder and salt…
Add the milk next…
The first batter is complete!
The next batter’s ingredients are below. 
They’re perfectly right side up because I have gotten a hold of myself now…
Second Batter Ingredients:
  • 1 cup sugar
  • 3/4 cup + 2 T ap flour
  • 1/2 cup + 2 T cocoa powder
  • 3/4 tsp baking powder
  • 1/2 tsp baking soda
  • 1 egg
  • 1/4 cup oil
  • 1/2 tsp salt
  • 1 tsp vanilla
  • 1/2 cup boiling water
  • 1/2 cup milk
This is the can of cocoa I left out of my ingredient picture…maybe I’m not quite right yet…

Cream the egg and sugar
Yum…
Add the dry ingredients
Add the vanilla
Next, add the hot water
And cocoa
Mmmmm….
Now, the 2 batters are side by side and ready to go in the bundt pan to create the masterpiece…
Just take spoonfuls of the batter and just alternate the 2 batters until it’s all in the pan like this…beautiful!
Bake 350 degrees for 50 minutes. 

No time for a break though…you now have to make the frosting!

While the cake is baking, you’ll need to toast 2 1/2 cups coconut.
You can toast it in the oven, but I am banned from doing that because I ALWAYS burn the first batch I try to toast. 
I put it in the oven and remember I need to put the clothes in the dryer, the dog has to be let out, I need to mail the power bill,
oh, look…a butterfly ….
and next the smell of really burnt coconut permeates the house! 
 So…I’m toasting it in a frying pan so that I will have to stand and keep stirring it…I’m not allowed to do anything but that!
After minutes of stirring, it lookes perfect like this…
Put in a bowl to cool while you’re making the frosting. 
Frosting ingredients:
  • 1 can of sweetened condensed milk–the one you have turned into the wonderful carmelly goo
  • 1/2 cup confectioners sugar
  • 2 T vanilla extract
  • 2 sticks butter, softened
  • 1/2 tsp salt
  • 1 cup toasted coconut
  • topping 1 1/2 cups toasted coconut
Blend the 2 sticks of butter with the wonderful can of carmelly goo….wow!! 
Here’s where the calorie counting and exercise this week all go out the window…..
Next add the confectioners sugar and vanilla…
Throw in the 1 cup of toasted coconut and you’re perfect frosting to top this incredible cake is complete!

Take the cake out of the oven and let cool for 10 minutes. 
Turn out onto a plate and it’s beautiful like this!
Frost the cake with the amazing frosting….
Cover the cake next with the remaining toasted coconut…oh, no…you’re not done yet…are you kidding! 
It needs a hint of chocolate!
I melted 1/2 cups of chocolate chips and placed it in a sandwich baggie…snipped the end off and made lovely chocolate lines across the cake….ahh…yes…
Next cut the first piece that you will have today…oh, yes, just the FIRST piece you will have today…
I took a piece to my friend at work and he emailed me that it was perfection and he was under his desking licking the plate…just wait, you’ll see…

Filed Under: Uncategorized

Sweet Tea Pie Recipe

April 10, 2012 by Castle8684

Iced Sweet Tea….aaahhh…isn’t’ the sound of that just refreshing?

If you’re from the South, there’s nothing like it…anywhere!


Doesn’t this picture of it look wonderful! My favorite little restaurant by the bay in
Fairhope, AL serves it this way with orange wedges. Love it! They have me addicted!
(Remember the Cutie addiction phase…hmm..maybe there’s a connection…)

My children’s friends growing up called it “sugar water”, but drank it by the gallons

 when they were at our house.
My sweet Kaia always says, “Grandma, I want some sweet teef.” 🙂
I have cut down on the sugar, some, but not to the point where it’s “semi-sweet”–ugh!…
I have had this served to me and would have just rather had water!

The first time I visited Jessica in Los Angeles, she warned me,

“Mom, they do not make “sweet tea” out here. They do not even know what “sweet tea” is. (She was kindly trying to say, “Mom, don’t embarrass me, please.”)

Of course, the first place we eat, I was asked what I would like to drink.

“Do you have sweet tea?” I replied.

The young man behind the counter looked at me as if I had just landed from another planet. I don’t think I’ll ever forget the bewildered look on his face as he was looking from me

to my daughter nervously.

“No, Mom, they don’t”, Jessica strongly reminded me.

Well, I’m thinking if someone would just give someone the recipe for sweet tea in

Los Angeles, there would be many less grumpy people there and they would not be as inclined to constantly honk their horns at each other.   Just saying….

Anyway, I started all this to tell you that this week, someone this week

has introduced me to “Sweet Tea Pie”!
Are you kidding–sweet tea and pie combined?
Absolutely the most wondrous southern invention I’ve come across in a long time!I’m sharing the recipe below..bake one today…sit on the porch
and savor that sweet southern flavor.
Wave and smile at people as they drive by. It just might make their day–and yours too 🙂

Hmm…I might even try sending one to that little deli in Los Angeles.

I believe it might change their perspective on things!
Sweet Tea Pie 

2 sticks butter, soft
1 1/2 cups sugar
8 large egg yolks
3/4 cup strong brewed tea, cooled (I used Lipton)
1 tsp grated lemon zest
1 TBSP fresh lemon juice
2 TBSP all-purpose flour
1 1/2 tsp cornmeal
1/2 tsp salt
Unbaked pie shell (I use Pillsbury)

Preheat oven to 350 degrees.

Beat butter and sugar at medium speed until light and fluffy.

Add the yolks one at a time beating well.
Slowly add the tea.
Add lemon zest and the lemon juice.
Scrape down the sides of the bowl with a rubber spatula.
Add the flour, cornmeal and salt and mix well.

Pour the mixture into crust and bake about 45 minutes, until set.

Cool completely on a wire rack and then chill 2 hours before serving.

Filed Under: Uncategorized

Iron Skillet Pineapple Upside Down Cake Recipe

March 31, 2012 by Castle8684

We have a new addition! A brand new “grand puppy” 🙂
Jessica is back home for a while and because none of us enjoys sleeping in,and relaxing,
we now have a Great Dane– Husky Mix added to the household!
He’s really rather sweet and funny and loves Jessica to death.
The first time I baby-sat for her, he looked for her all over the house and then the yard.
He was sure he had left “his girl” somewhere 🙂
He did calm down and finally accept me as the surrogate for a while.
When she came in though we had fallen asleep on the couch.
That was a big “no-no”.
There is a rule that he cannot get on the couch because, I was informed, when he weighs 150 pound
and is 7 feet tall, that will not be a good thing.
He also cannot have “people food”.
Poor baby! He will never know how good these Southern delicacies are!
I told her I think there are just too many rules and parents just over-react 🙂
It was just like when Jessica, Kaia and I were in the truck the other day and Kaia asked
if she could roll down her window.
“Of course you can my sweet baby”, I said.
Jessica looks at me and said, “You never let us roll our windows down.”
Oh, how things change when you’re a Grandma to precious grandchildren and floppy eared puppies. 🙂
Apollo
Grandma, Kaia and Noah
Sharing our favorite Pineapple Upside Down Cake recipe today!
Iron Skillet Pineapple Upside Down Cake
1 stick butter
1 1/2 c dark brown sugar
8 oz pineapple rings, drained and juice reserved
Maraschino cherries
1 box Duncan Hines Pineapple Cake Mix
1 tsp vanilla butternut flavoring
Preheat oven to 350 degrees.  Place stick of butter in large iron skillet.  This is the main reason that I believe this cake is so delicious–the iron skillet.
My Mom and Granny cooked their upside down cakes this way.
Set skillet  in oven to melt the stick of butter.
When melted, add the brown sugar and stir until smooth.
Drain Marachino cherries. Don’t they look wonderful and yummy?
What I love about this recipe is that you place all the cherries in the skillet that you want for the cake AND THEN….you can eat the remainder….whether there are 3 or 33 left!!
  (Does anyone love these cherries as much as I do?) 🙂
  The only thing that was sad today was that there was only 1 left…sigh….
(note to self—buy more Marachino cherries…)
  Open pineapples and drain, reserving juice.    Place pineapples in the brown sugar mixture in skillet.  Place maraschino cherries in and around pineapples.
Mix cake mix as directed on box but substitute the reserved pineapple juice for the water
 (adding water to make up the difference if needed).
Add remaining ingredients to cake mix and pour over fruit in skillet.
Place in oven and bake 40-45 min until done. Let sit in skillet on cooling rack for about 30 minutes. This gives the cake time to soak up all the wonderful gooey butter and brown sugar mixture.
It’s considered a crime if a drop of it is wasted!
  Then turn the cake out onto plate and enjoy!

Filed Under: Uncategorized

Apple Dumplings Recipe

March 17, 2012 by Castle8684

Kaia and I want to share our Apple Dumplings recipe that
we made last week.  It’s quick and oh, so delicious (especially topped with a scoop of vanilla ice cream!)

Apple Dumplings

2 apples of your choice
1 can crescent rolls
1 stick of butter
1 tsp vanilla
1/2 cup sugar
12 oz Mountain Dew
2 tsp cinnamon

Peel and cut apples into wedges.

Wrap each wedge in a crescent triangle.

Place crescents in baking dish.

Melt butter and stir in sugar.

Pour over crescents in pan.

Next pour Mountain Dew over the top and sprinkle with the cinnamon.

Bake 350 degrees 40 minutes.  Top with ice cream and enjoy!

Filed Under: Uncategorized

Chocolate Chip Cookie Dough Cheesecake Bars Recipe

February 29, 2012 by Castle8684

Grandchildren have got to be the sweetest thing God has ever created!  I am blessed to be able to live in the same town as mine.  I can’t believe that Kaia is 3 1/2 now and I just wish she would just stay this perfect age for at least the next 5 years!  Time goes by too fast as you get older.

Kaia and I have sleep-overs at Granny’s house quite a bit.  Before I came to pick her up the other morning, her Daddy woke her up to remind her to be very good for me and Granny.

“But Daddy,” she said, “they don’t get mad at me over there.”

So precious –(and oh, so true!)

You won’t understand this yet, unless you are a grandparent.  Something changes in you when they arrive that enables you not to sweat the small stuff anymore.  And these little people that your wonderful children created—these perfect, magical beings, far surpass anything that is going on in your daily routine.

There’s nothing like seeing the world through their eyes.

I love you so much, my Kaia.  I hope we have many years of sleepovers, popcorn in bed at night, rearranging the rocks in Granny’s fountains and hearing you ask for brownies for breakfast!

A couple of Saturdays ago, we celebrated my son, Christopher’s 26th birthday.  He is a son that has always made me so proud!  He’s also such an awesome son, husband and daddy.  The recipe below is what he requested for his birthday dessert and it was so easy and incredible!!

Chocolate Chip Cookie Dough Cheesecake Bars

1 pkg (8oz) cream cheese, softened
1/2 cup sugar
1 egg
1 roll (15oz) chocolate chip cookie dough

Directions:
Preheat oven to 350 degrees.  With mixer, beat cream cheese, sugar and egg until smooth.  In ungreased 9 or 8 inch square pan, press 1/2 the roll of cookie dough.  Spread cream cheese mixture over the dough.  Crumble and place the remaining 1/2 roll  of cookie dough over the cream cheese mixture.

Bake 35 to 40 minutes or until golden brown and firm to the touch.  Cool in pan 30 min.  Refrigerate at least 2 hours or until well chilled.  Cut into bars and store in refrigerator.

The yummy cast of characters…

Aww…Grandma’s helper!  🙂

Add the egg and cream cheese to the mixing bowl…
Get your adorable helper to add the sugar….
Watch the gooey goodness go round and round….
Cut the cookie dough in half
Mush half of the dough into your pan (yes..mush is a technical cooking term..)
Important:  Don’t eat the other half of the cookie dough–you will need it later!
It will soon look like this…
Spread the ooey gooey goodness over the cookie dough
until it looks like this…
Break up the remaining cookie dough and place on top
Bake until it looks like this–(if you don’t have this handy-dandy pan that cuts the cookie into squares for you–it’s ok 🙂  just cool and cut the old fashioned way!
Enjoy!!

Filed Under: Uncategorized

  • « Go to Previous Page
  • Go to page 1
  • Interim pages omitted …
  • Go to page 8
  • Go to page 9
  • Go to page 10

Primary Sidebar

Welcome, Y’all!

Fried Pies & Fireflies started in 2011 as a way for southern cook, Lisa Cook, to share her recipes with family and friends. Let's dig deeper →

Feature Your Favorites

Chocolate Chip Cookie Dough Cheesecake Bars Recipe

Chocolate Chip Cookie Dough Cheesecake Bars Recipe

Apple Dumplings Recipe

Apple Dumplings Recipe

Iron Skillet Pineapple Upside Down Cake Recipe

Iron Skillet Pineapple Upside Down Cake Recipe

Sweet Tea Pie Recipe

Sweet Tea Pie Recipe

Give Me "Samoa" Cake Recipe

Gimme “Samoa” Cake Recipe

Fried Pies & Fireflies Signature Poundcake Recipe

Fried Pies & Fireflies Signature Poundcake Recipe

Cookie Fruit Pizza Recipe

Cookie Fruit Pizza Recipe

Copyright © 2023 · Foodie Pro Theme on Genesis Framework · WordPress · Log in