
[ingredients]
[method]
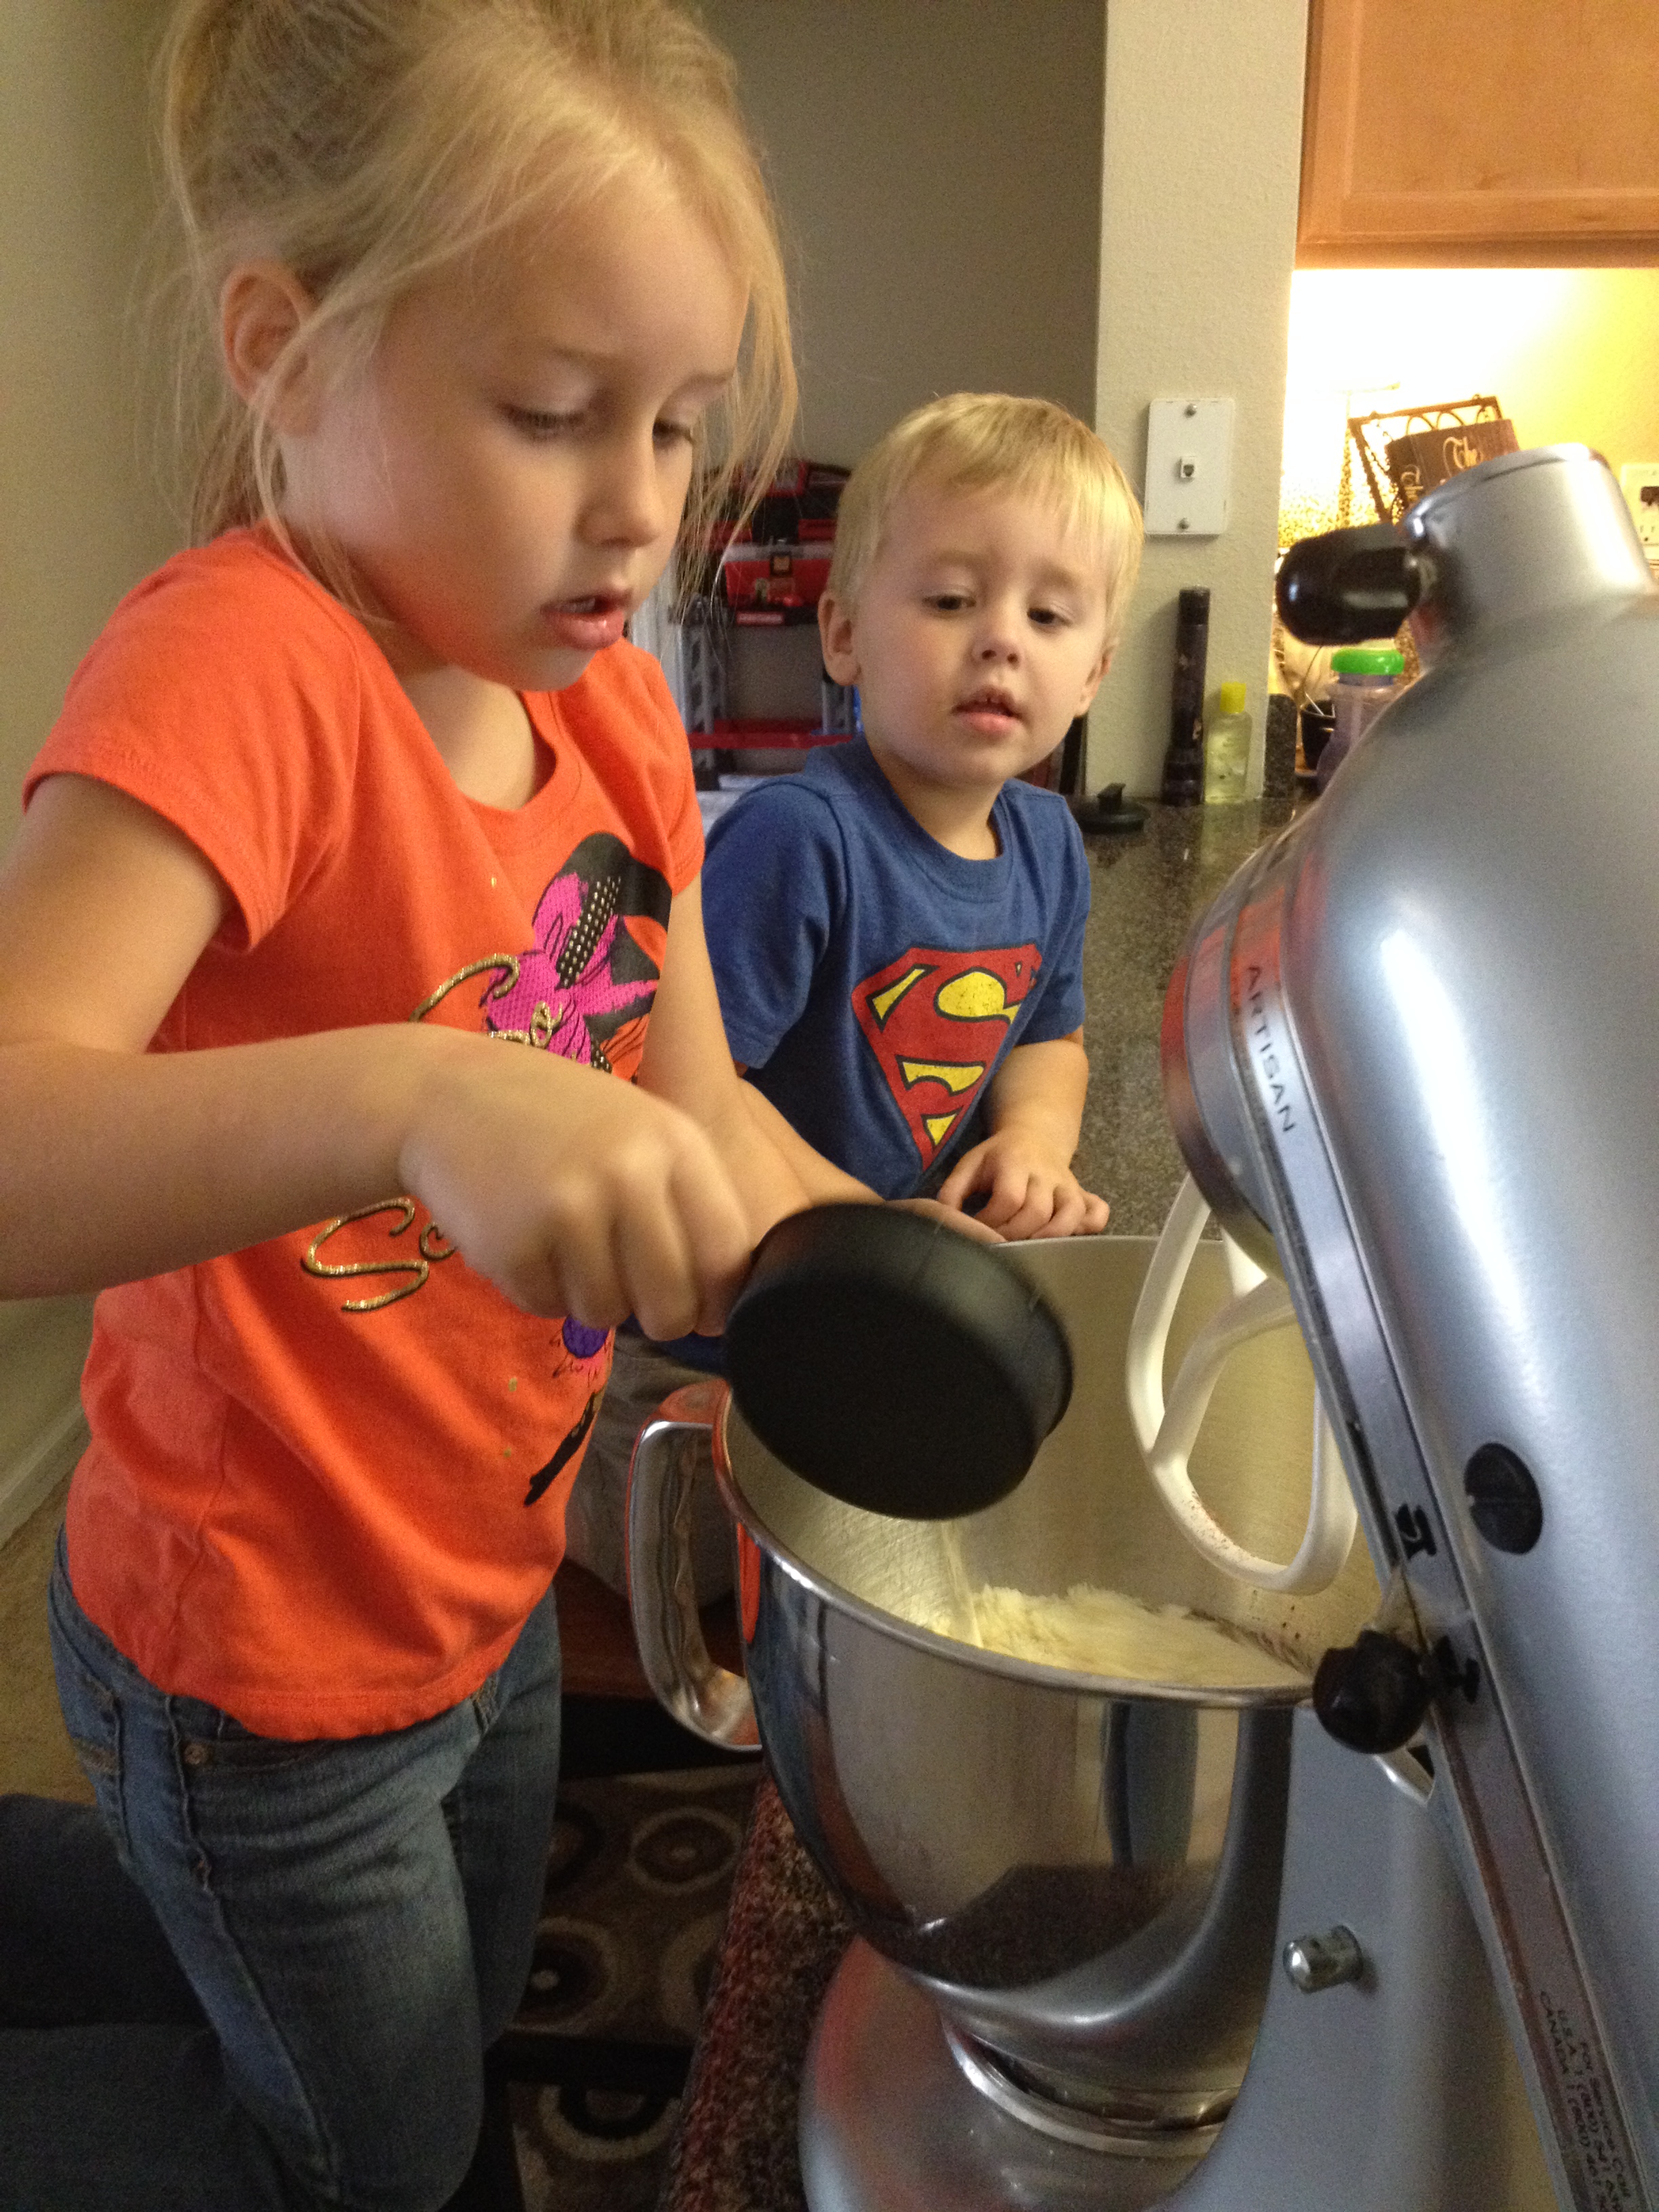
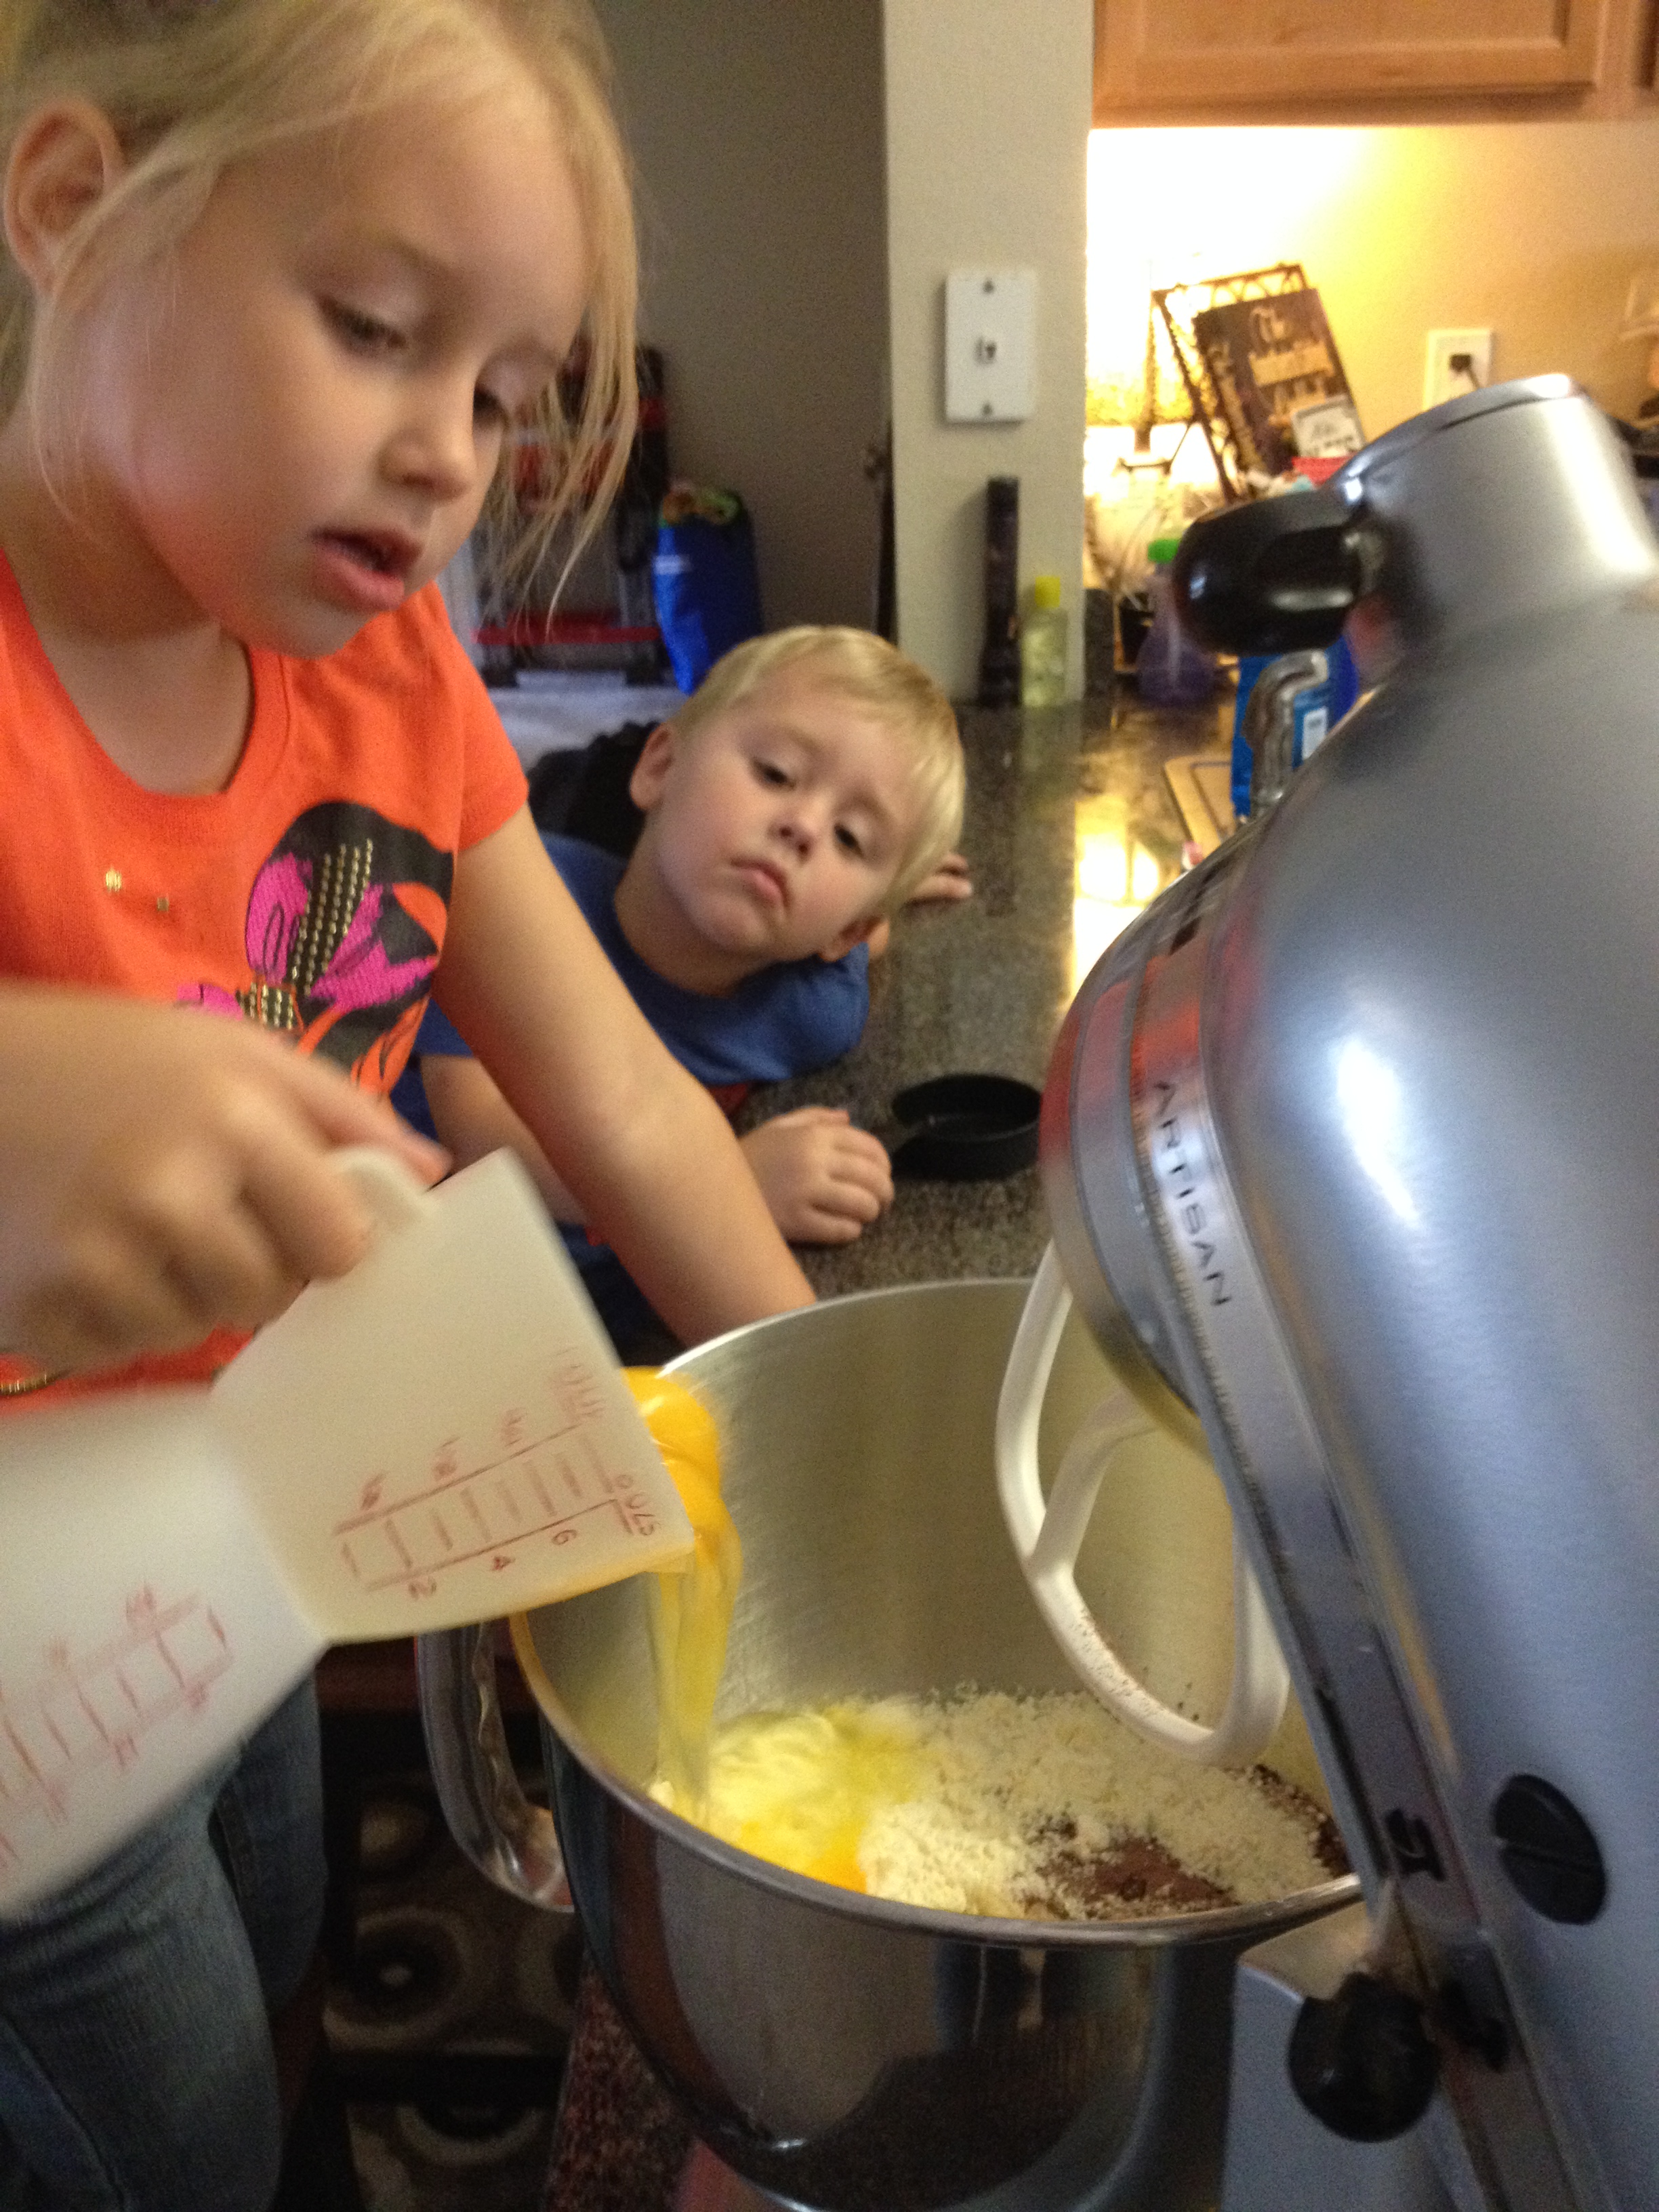
And here we begin!
Mix the cake mix as directed on package…


If you are ever in need of cake pops in the Pensacola area…you should visit my friend, Meghan’s site Sweet Meegz!
She makes the prettiest and tastiest cake pops ever! Her cakes are always awesome!
She can fashion anything out of fondant ….
she also told me I could do the cake pops without a breakdown!
Thank you, Meghan! 🙂
https://www.facebook.com/sweetmeegz5
Kaia’s Creepy Monster Eye Cake Pops Recipe
Ingredients
- 1 box cake mix of your choice–We used the only one I had on hand…the Duncan Hines Marble…and we just threw the little chocolate packet in with the cake mix
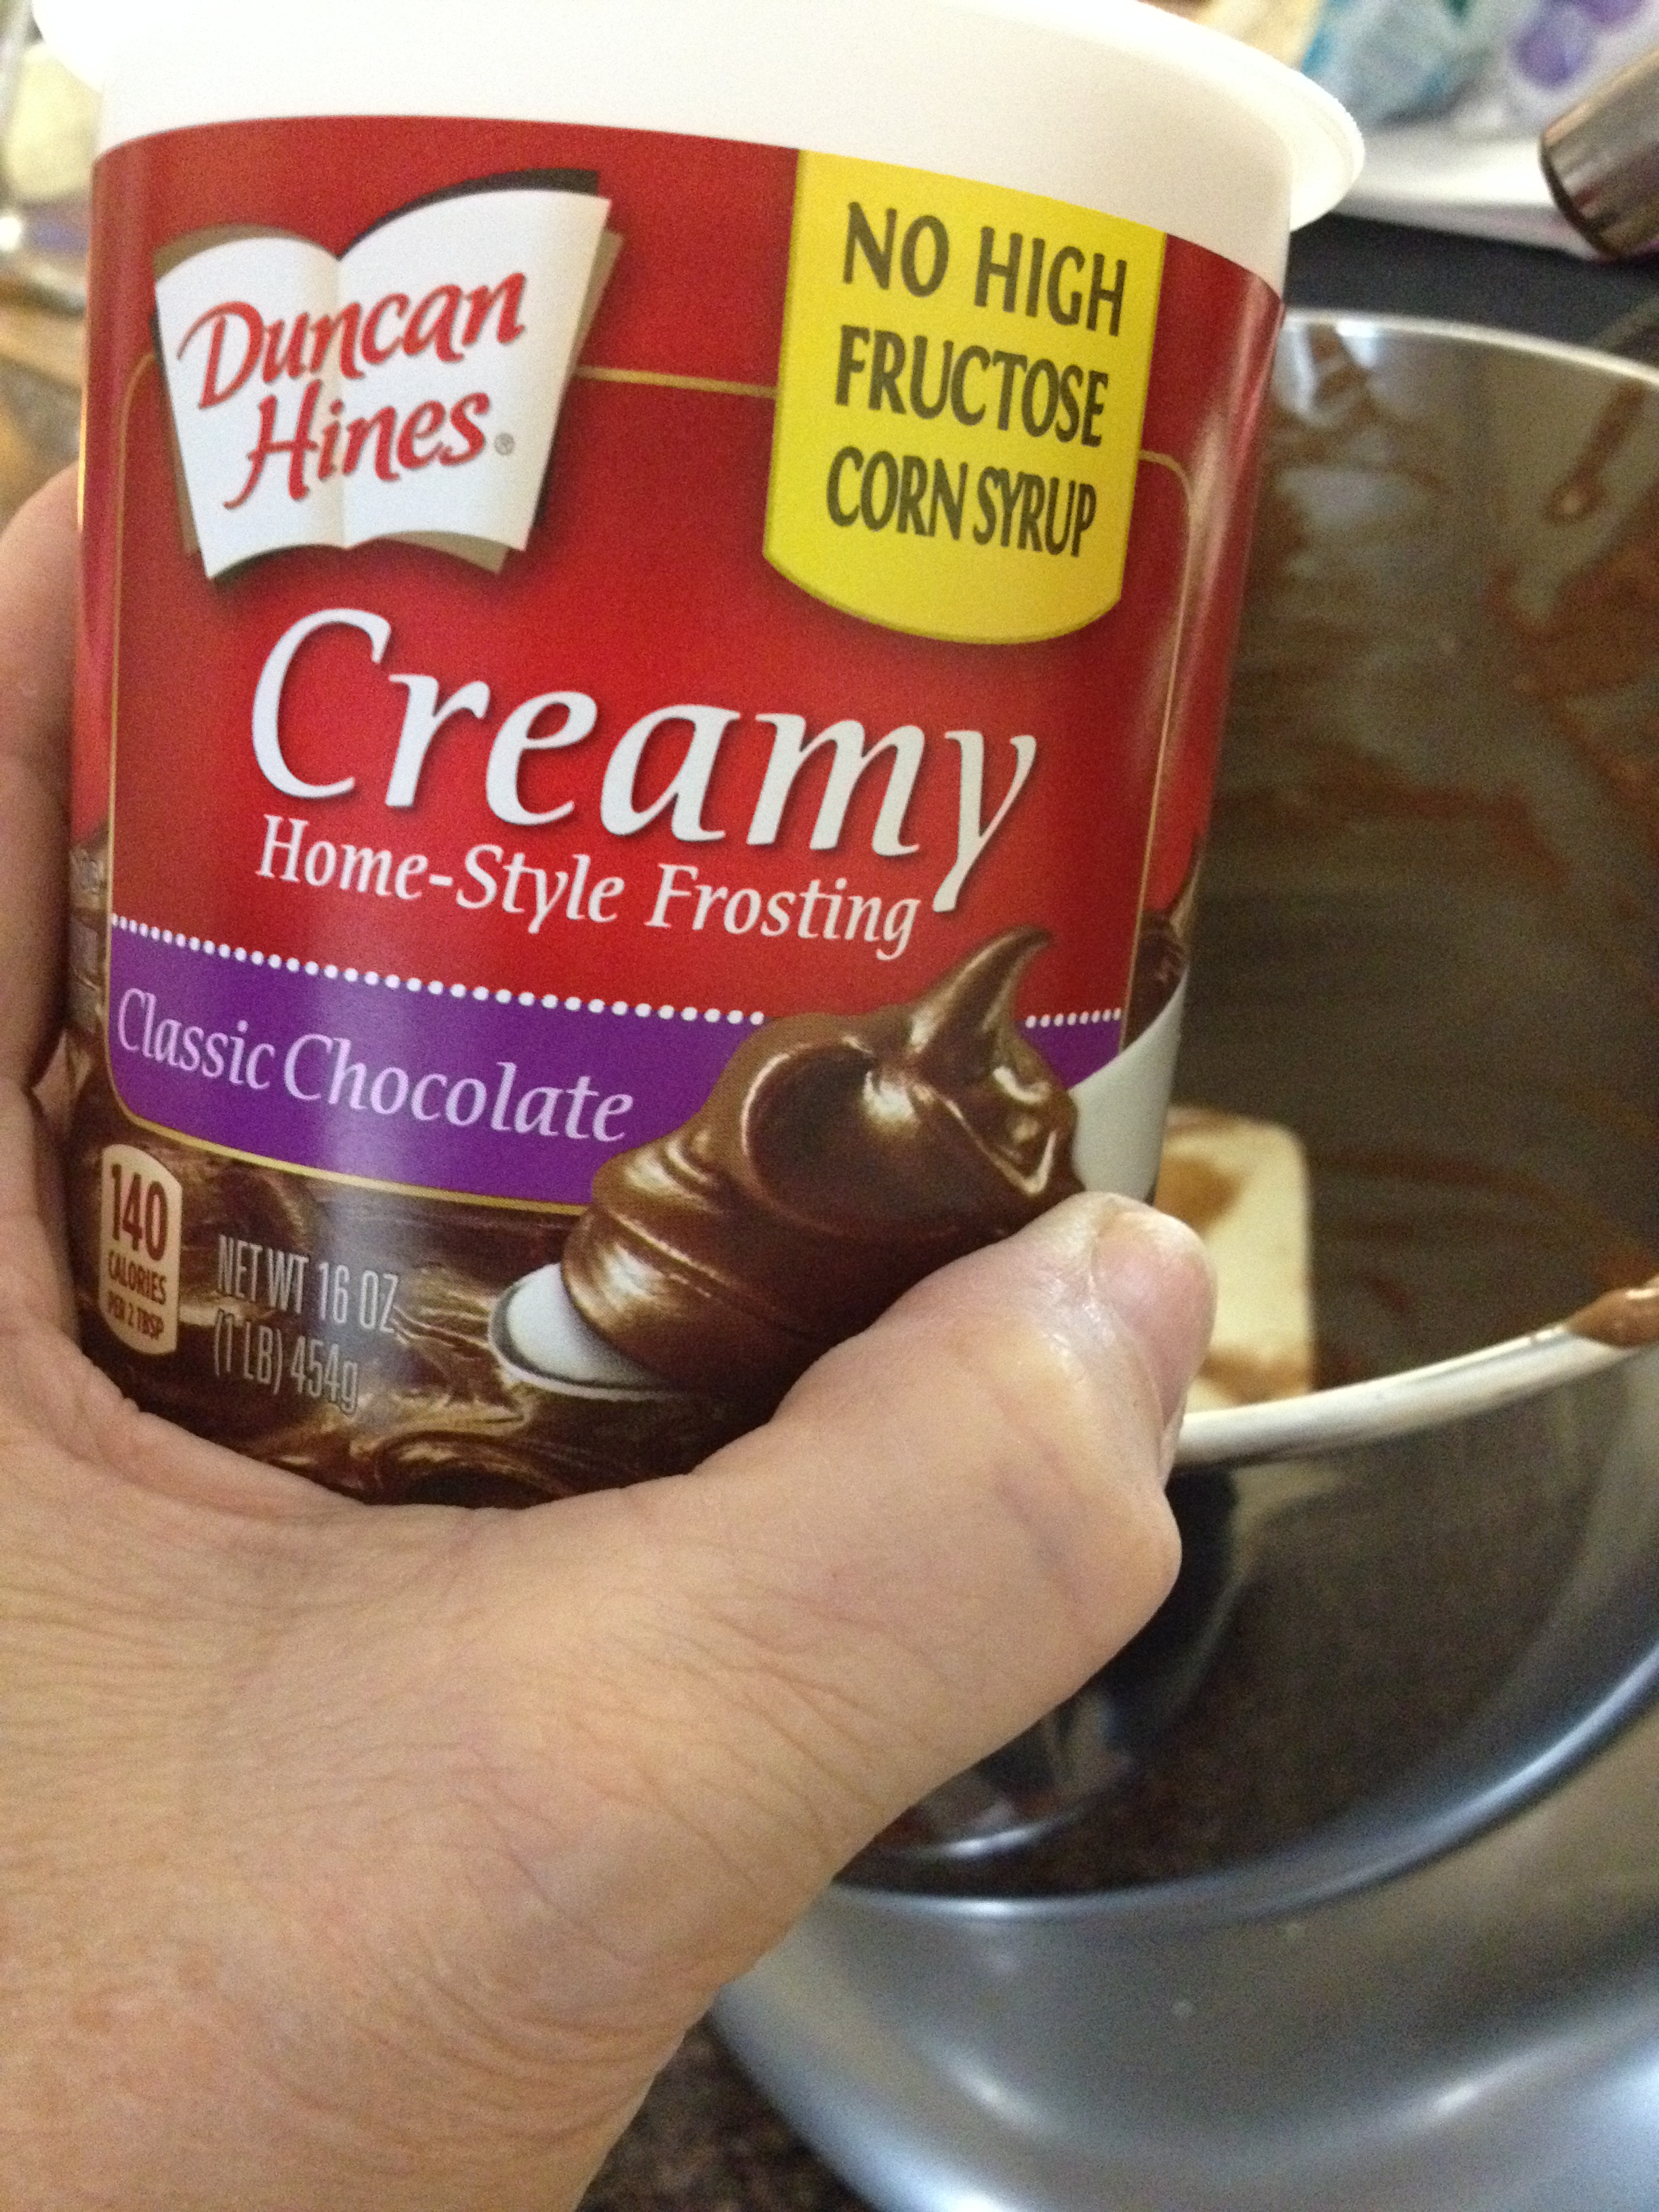
- 1 container of already prepared frosting…we used Duncan Hines Classic Chocolate for this recipe
- 2 packages of your color of choice of Wilton Candy Melts
- 1/4 cup mini chocolate chips
Instructions
For cakes, add the ingredients as on the cake box. Mix well.
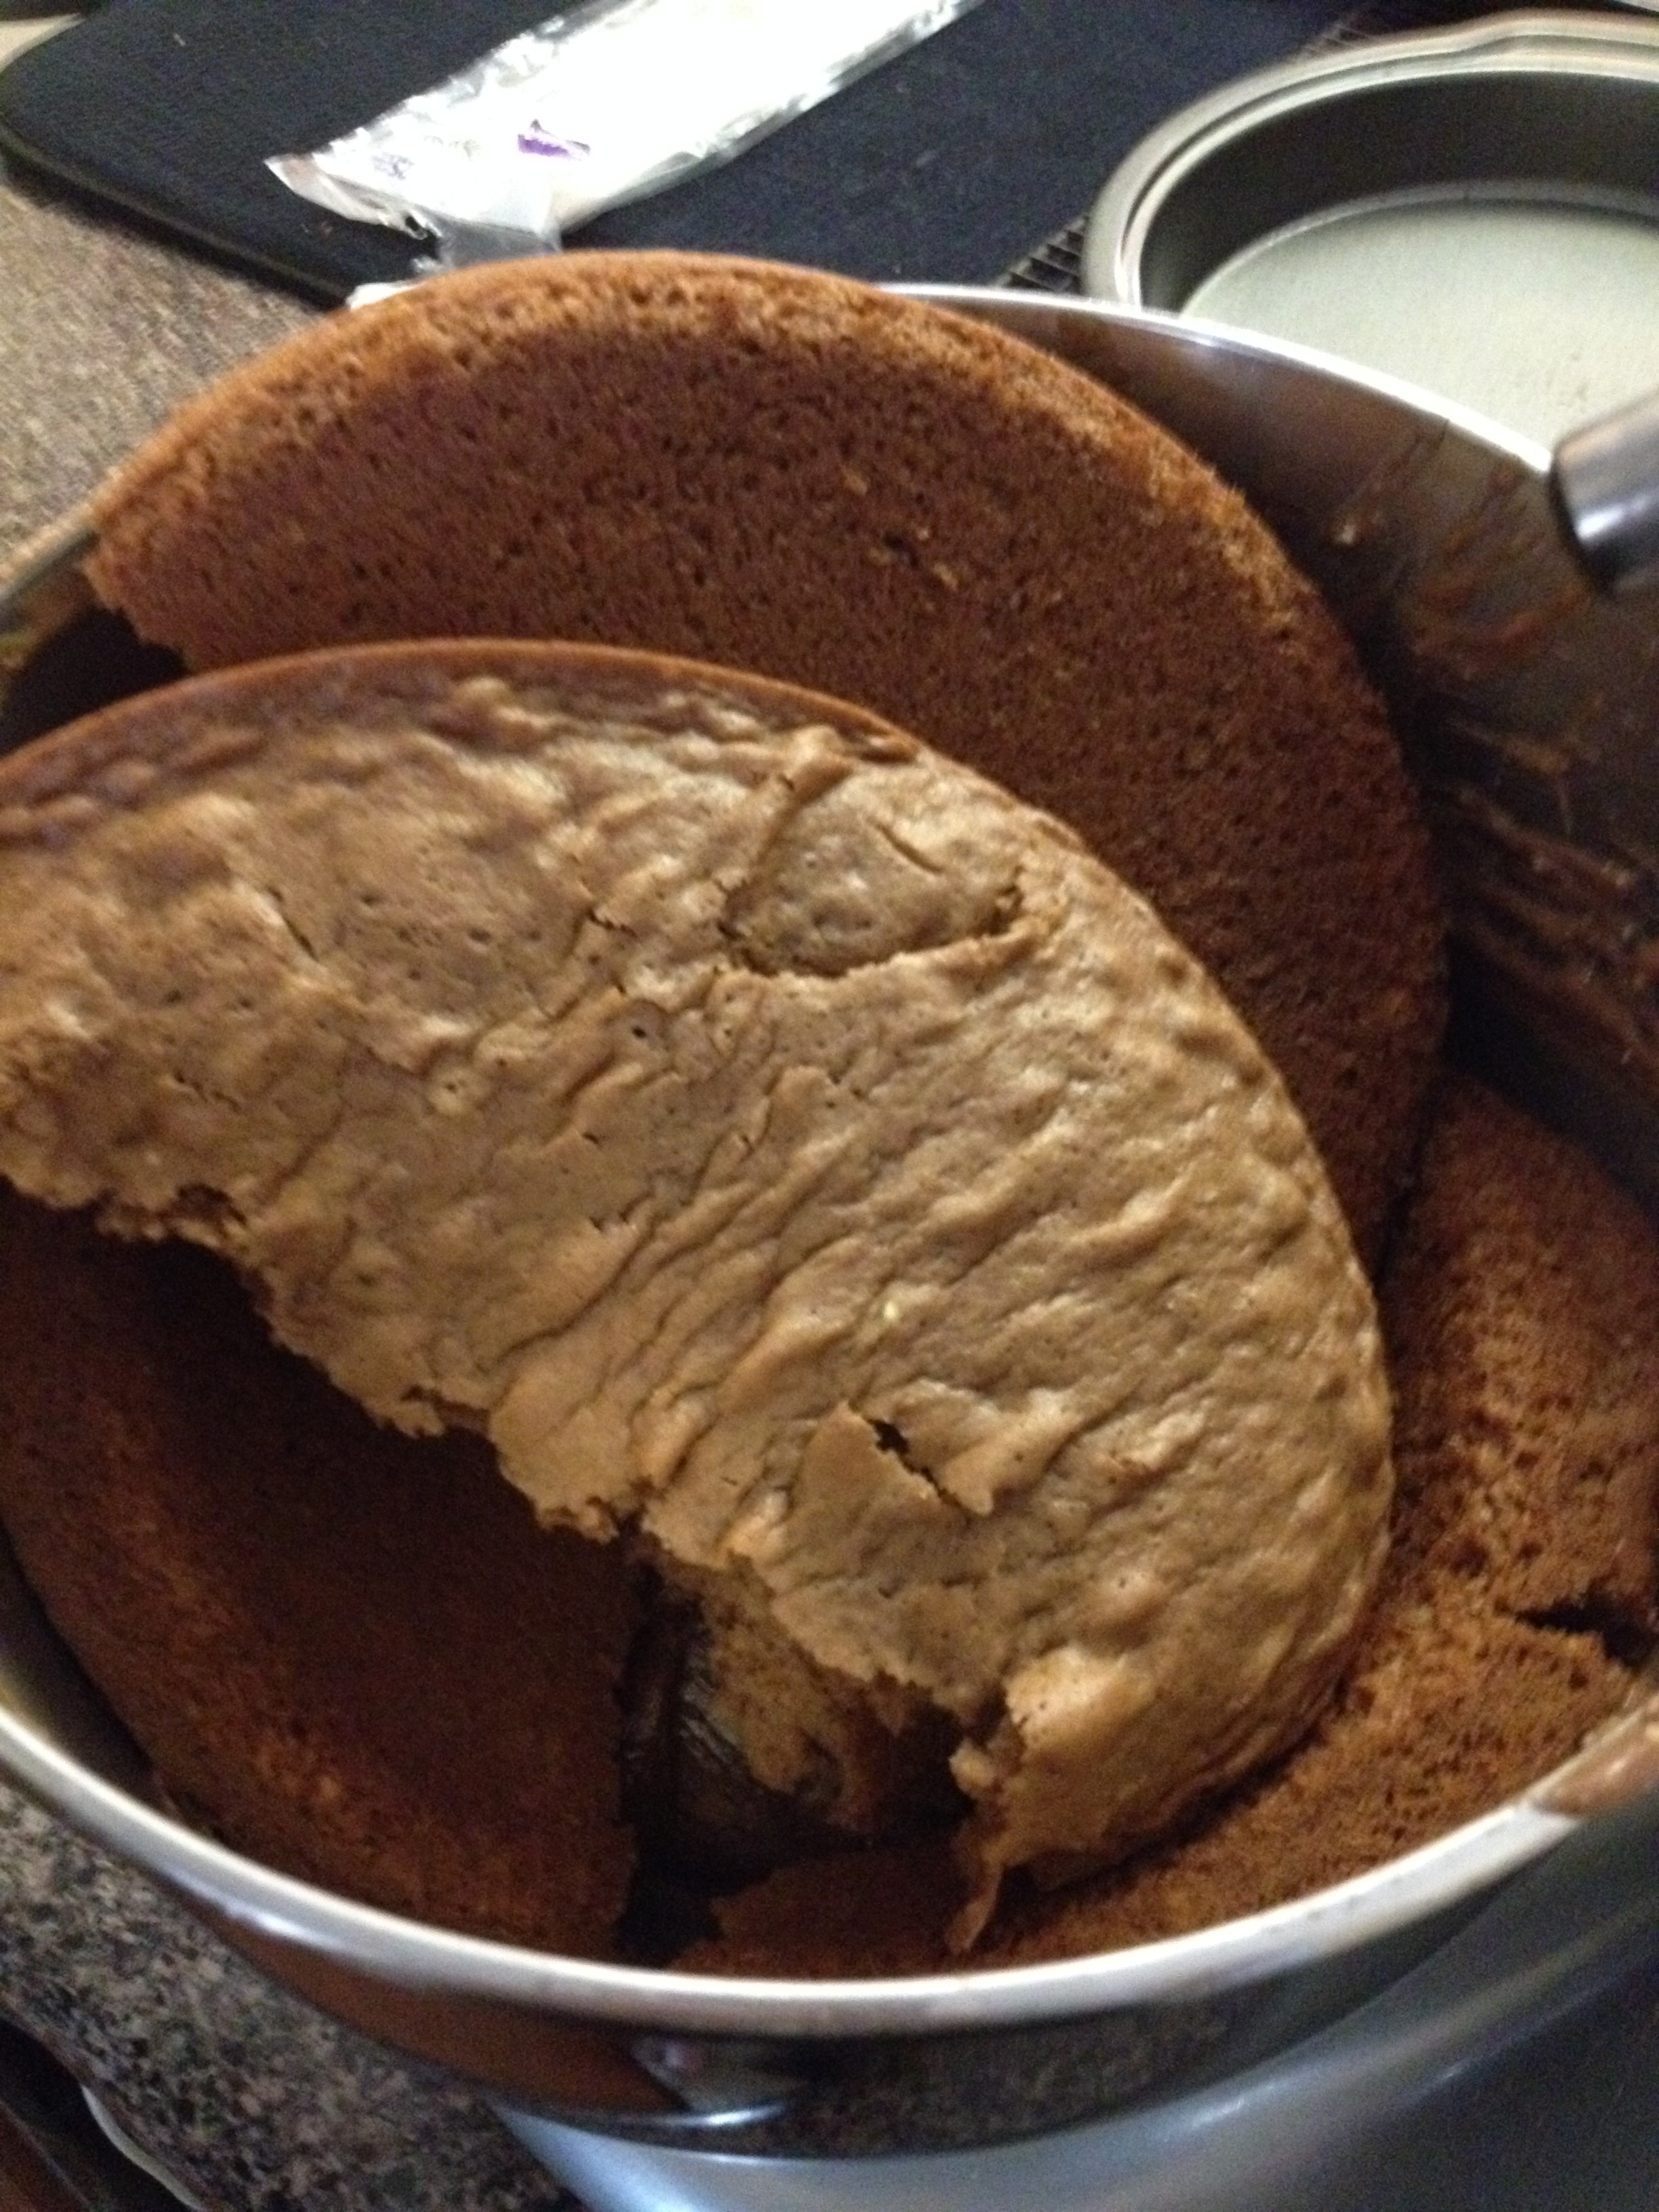
You can bake the cake in a sheet pan or in 2–9 inch round pans for the time posted on the box. When done, cool a bit on a wire rack.
Next, dump the cake back into your mixing bowl and add the 2-3 TBSP of frosting. Mix it until it’s all combined and you can form a cake ball. If you need more frosting, add it 1 TBSP at a time.
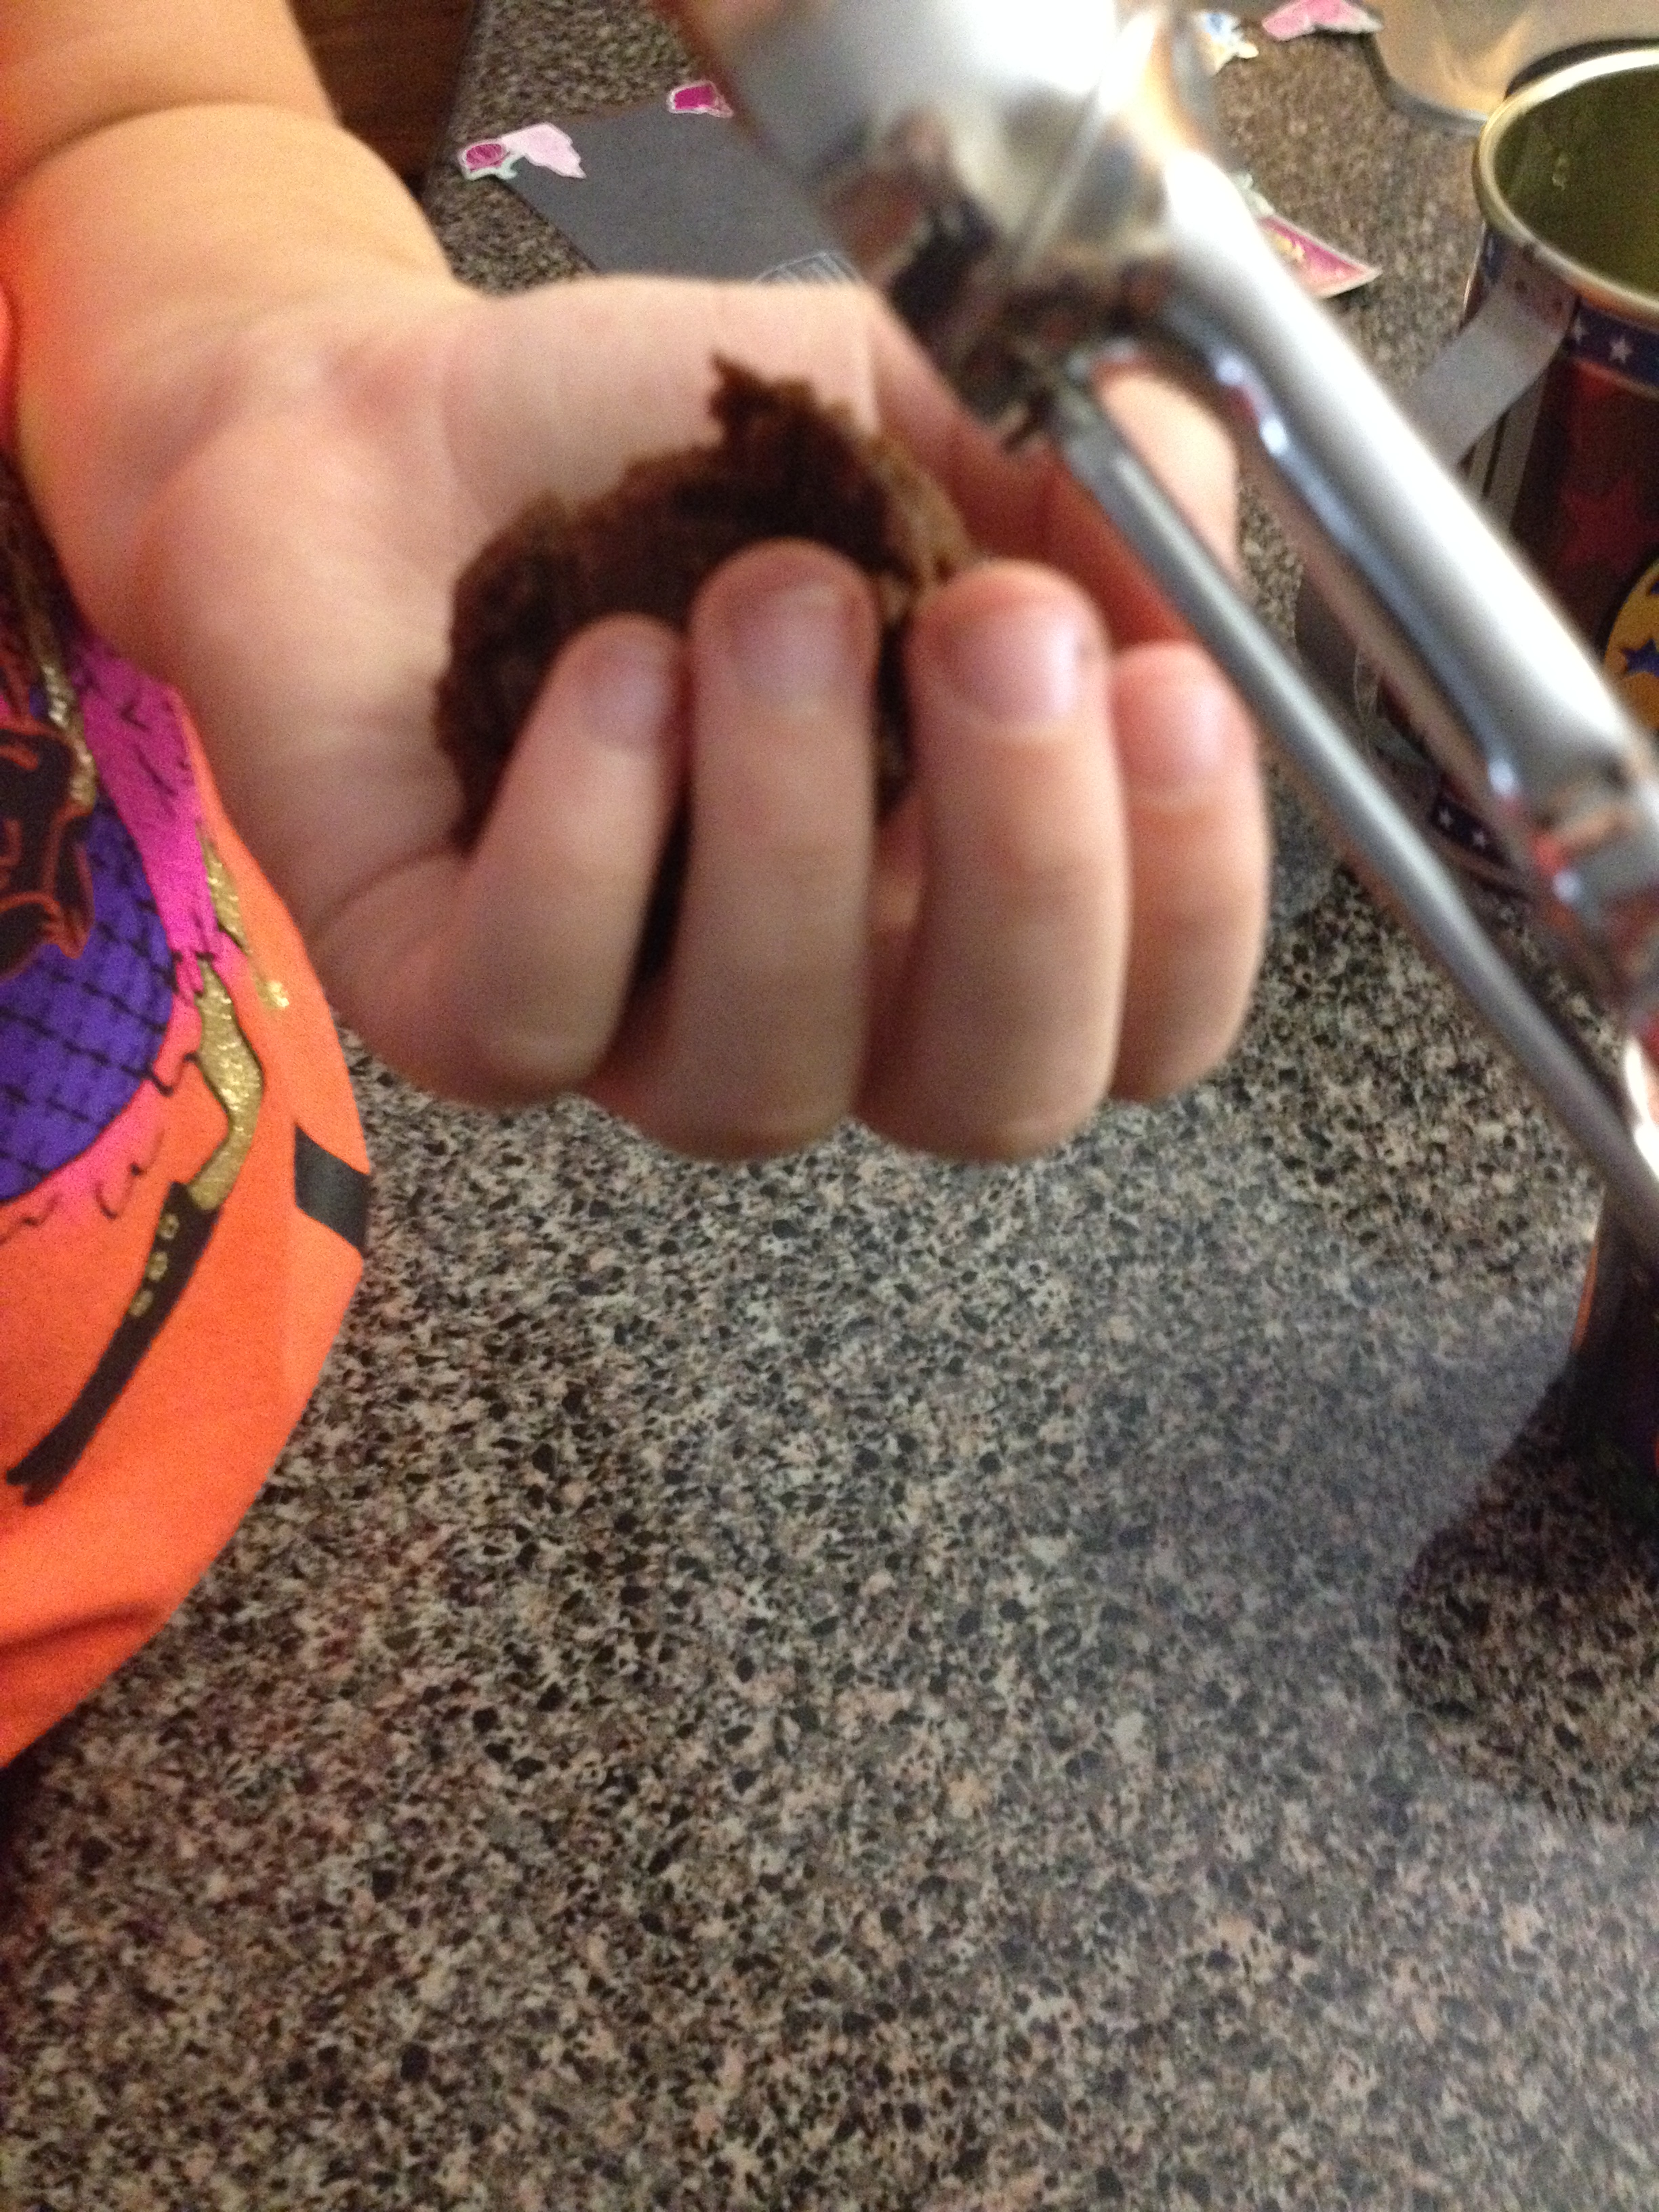
Then taking a small scoop, put a good size amount in your hand and very lightly roll it into a ball.
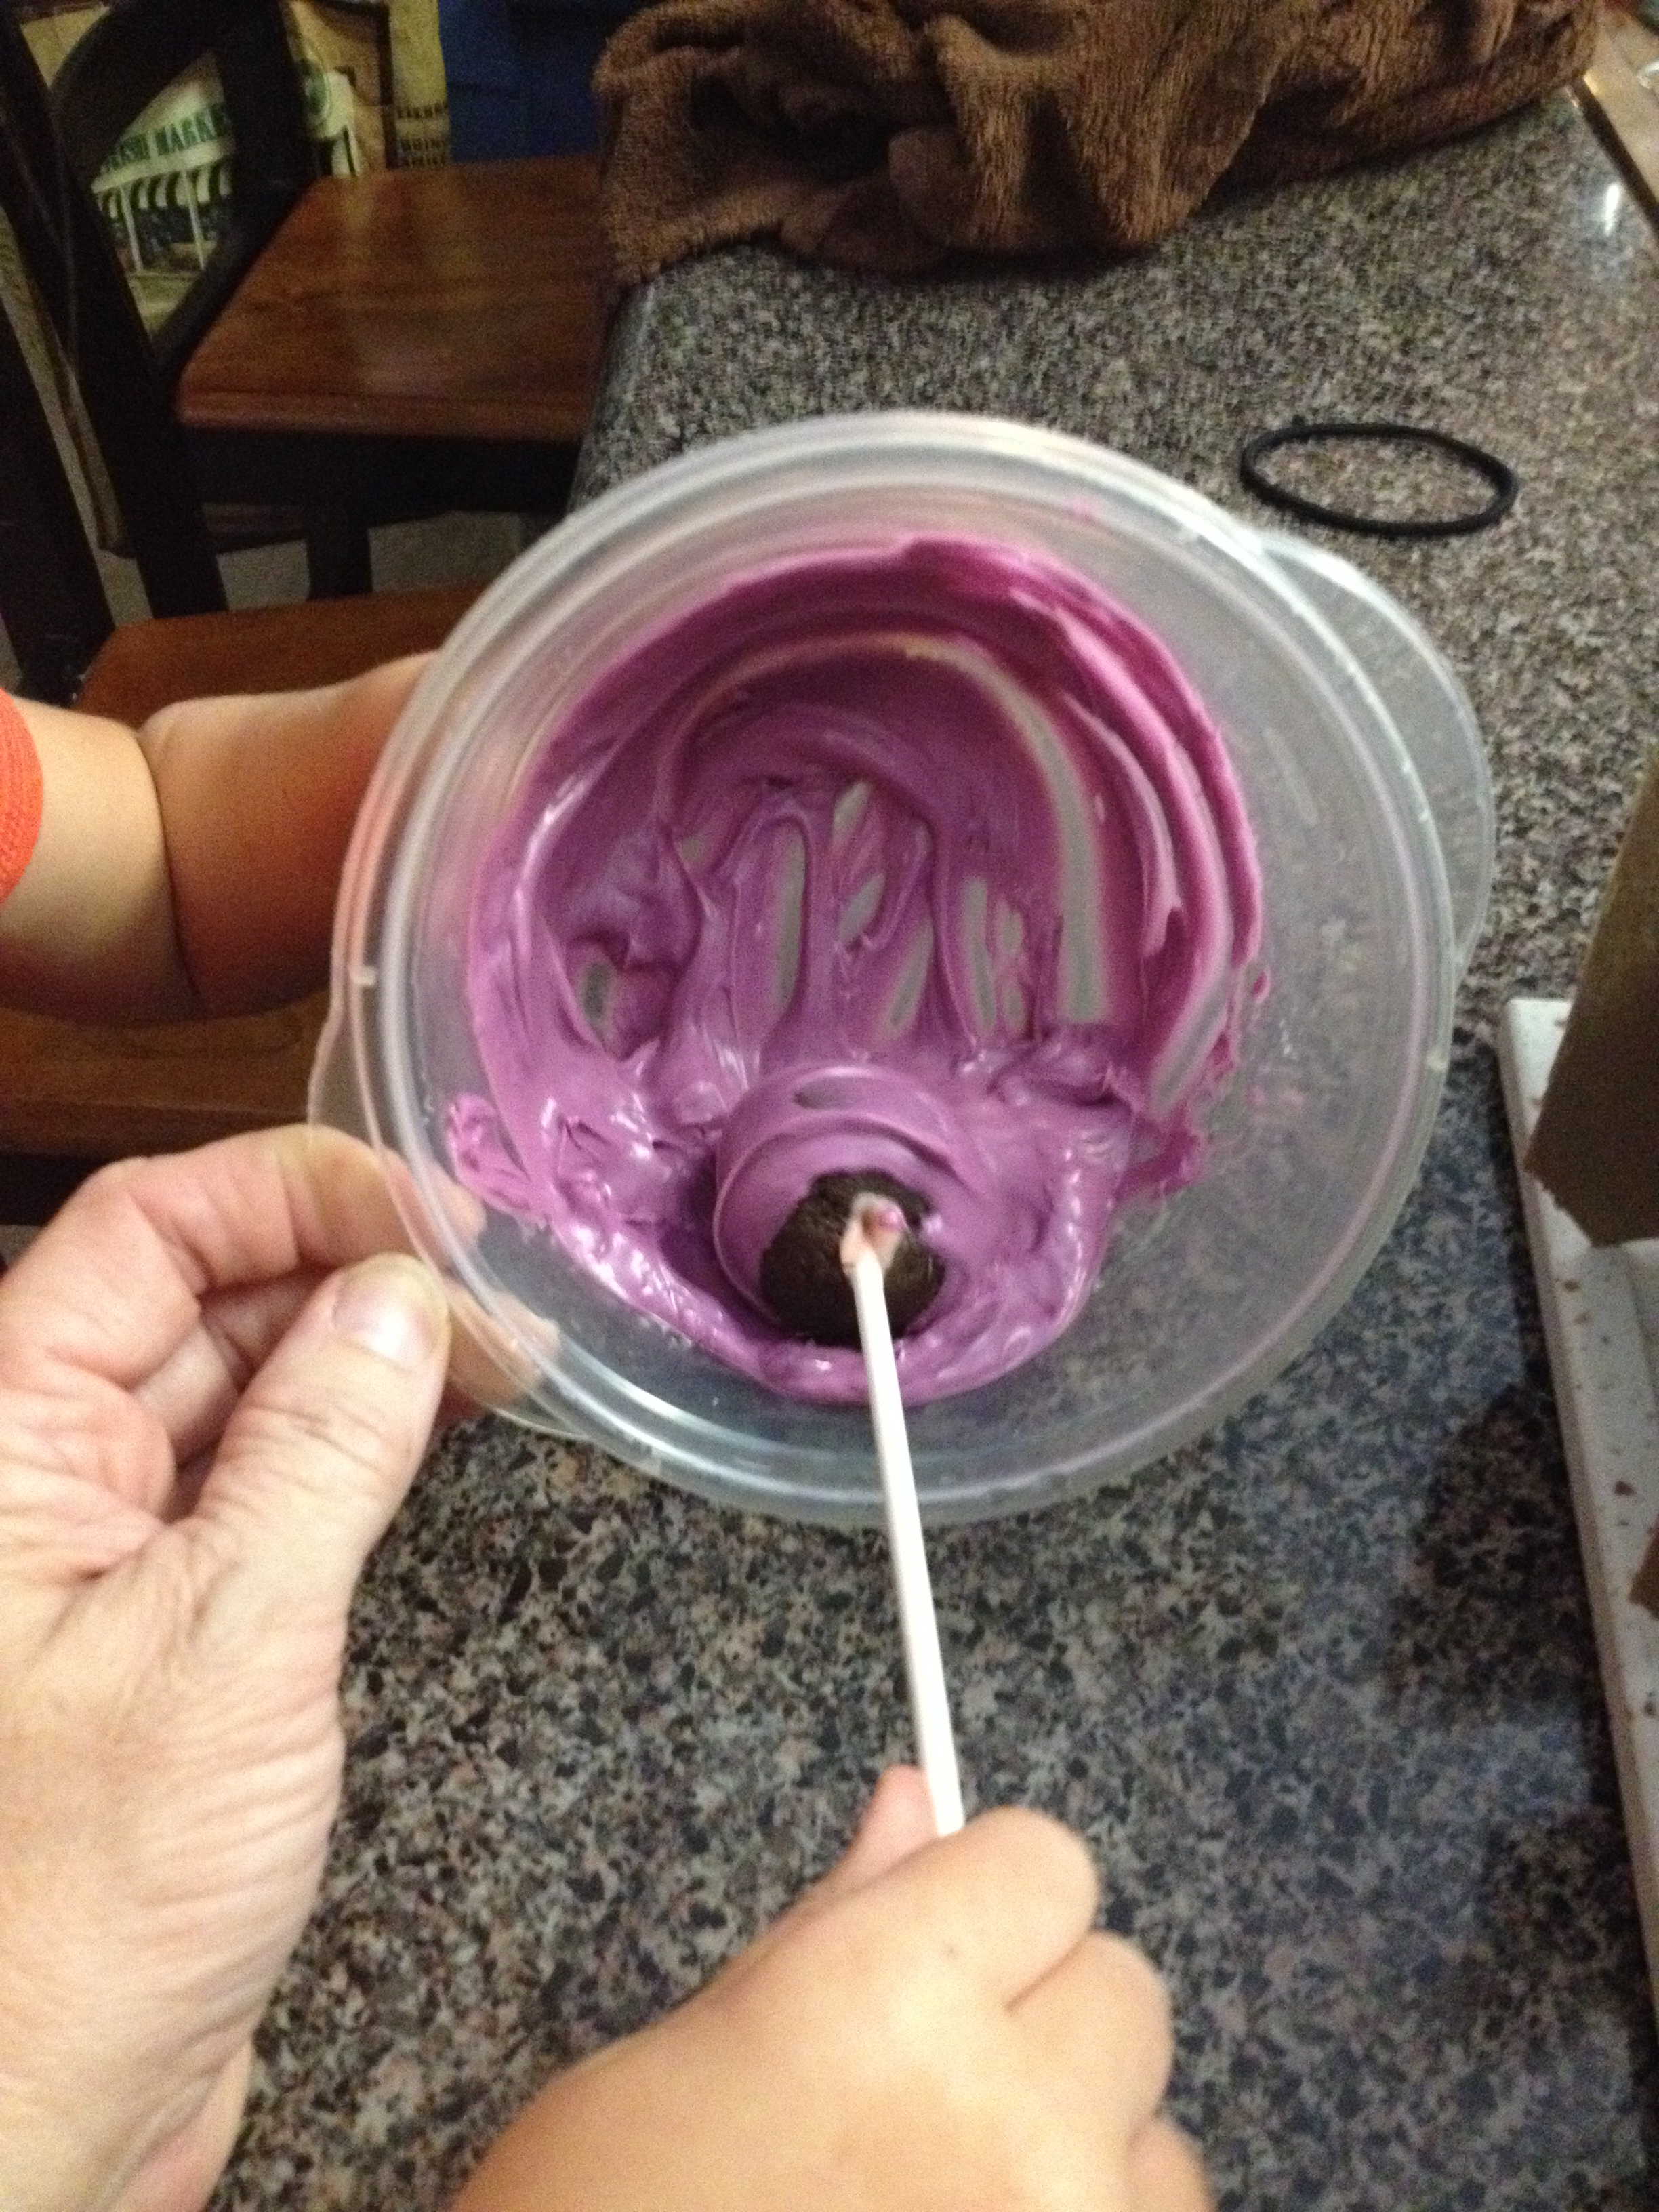
Take about 1/2 cup candy melts, any color, and melt them–you’ll need this to secure your cake pop sticks to the cake pop.
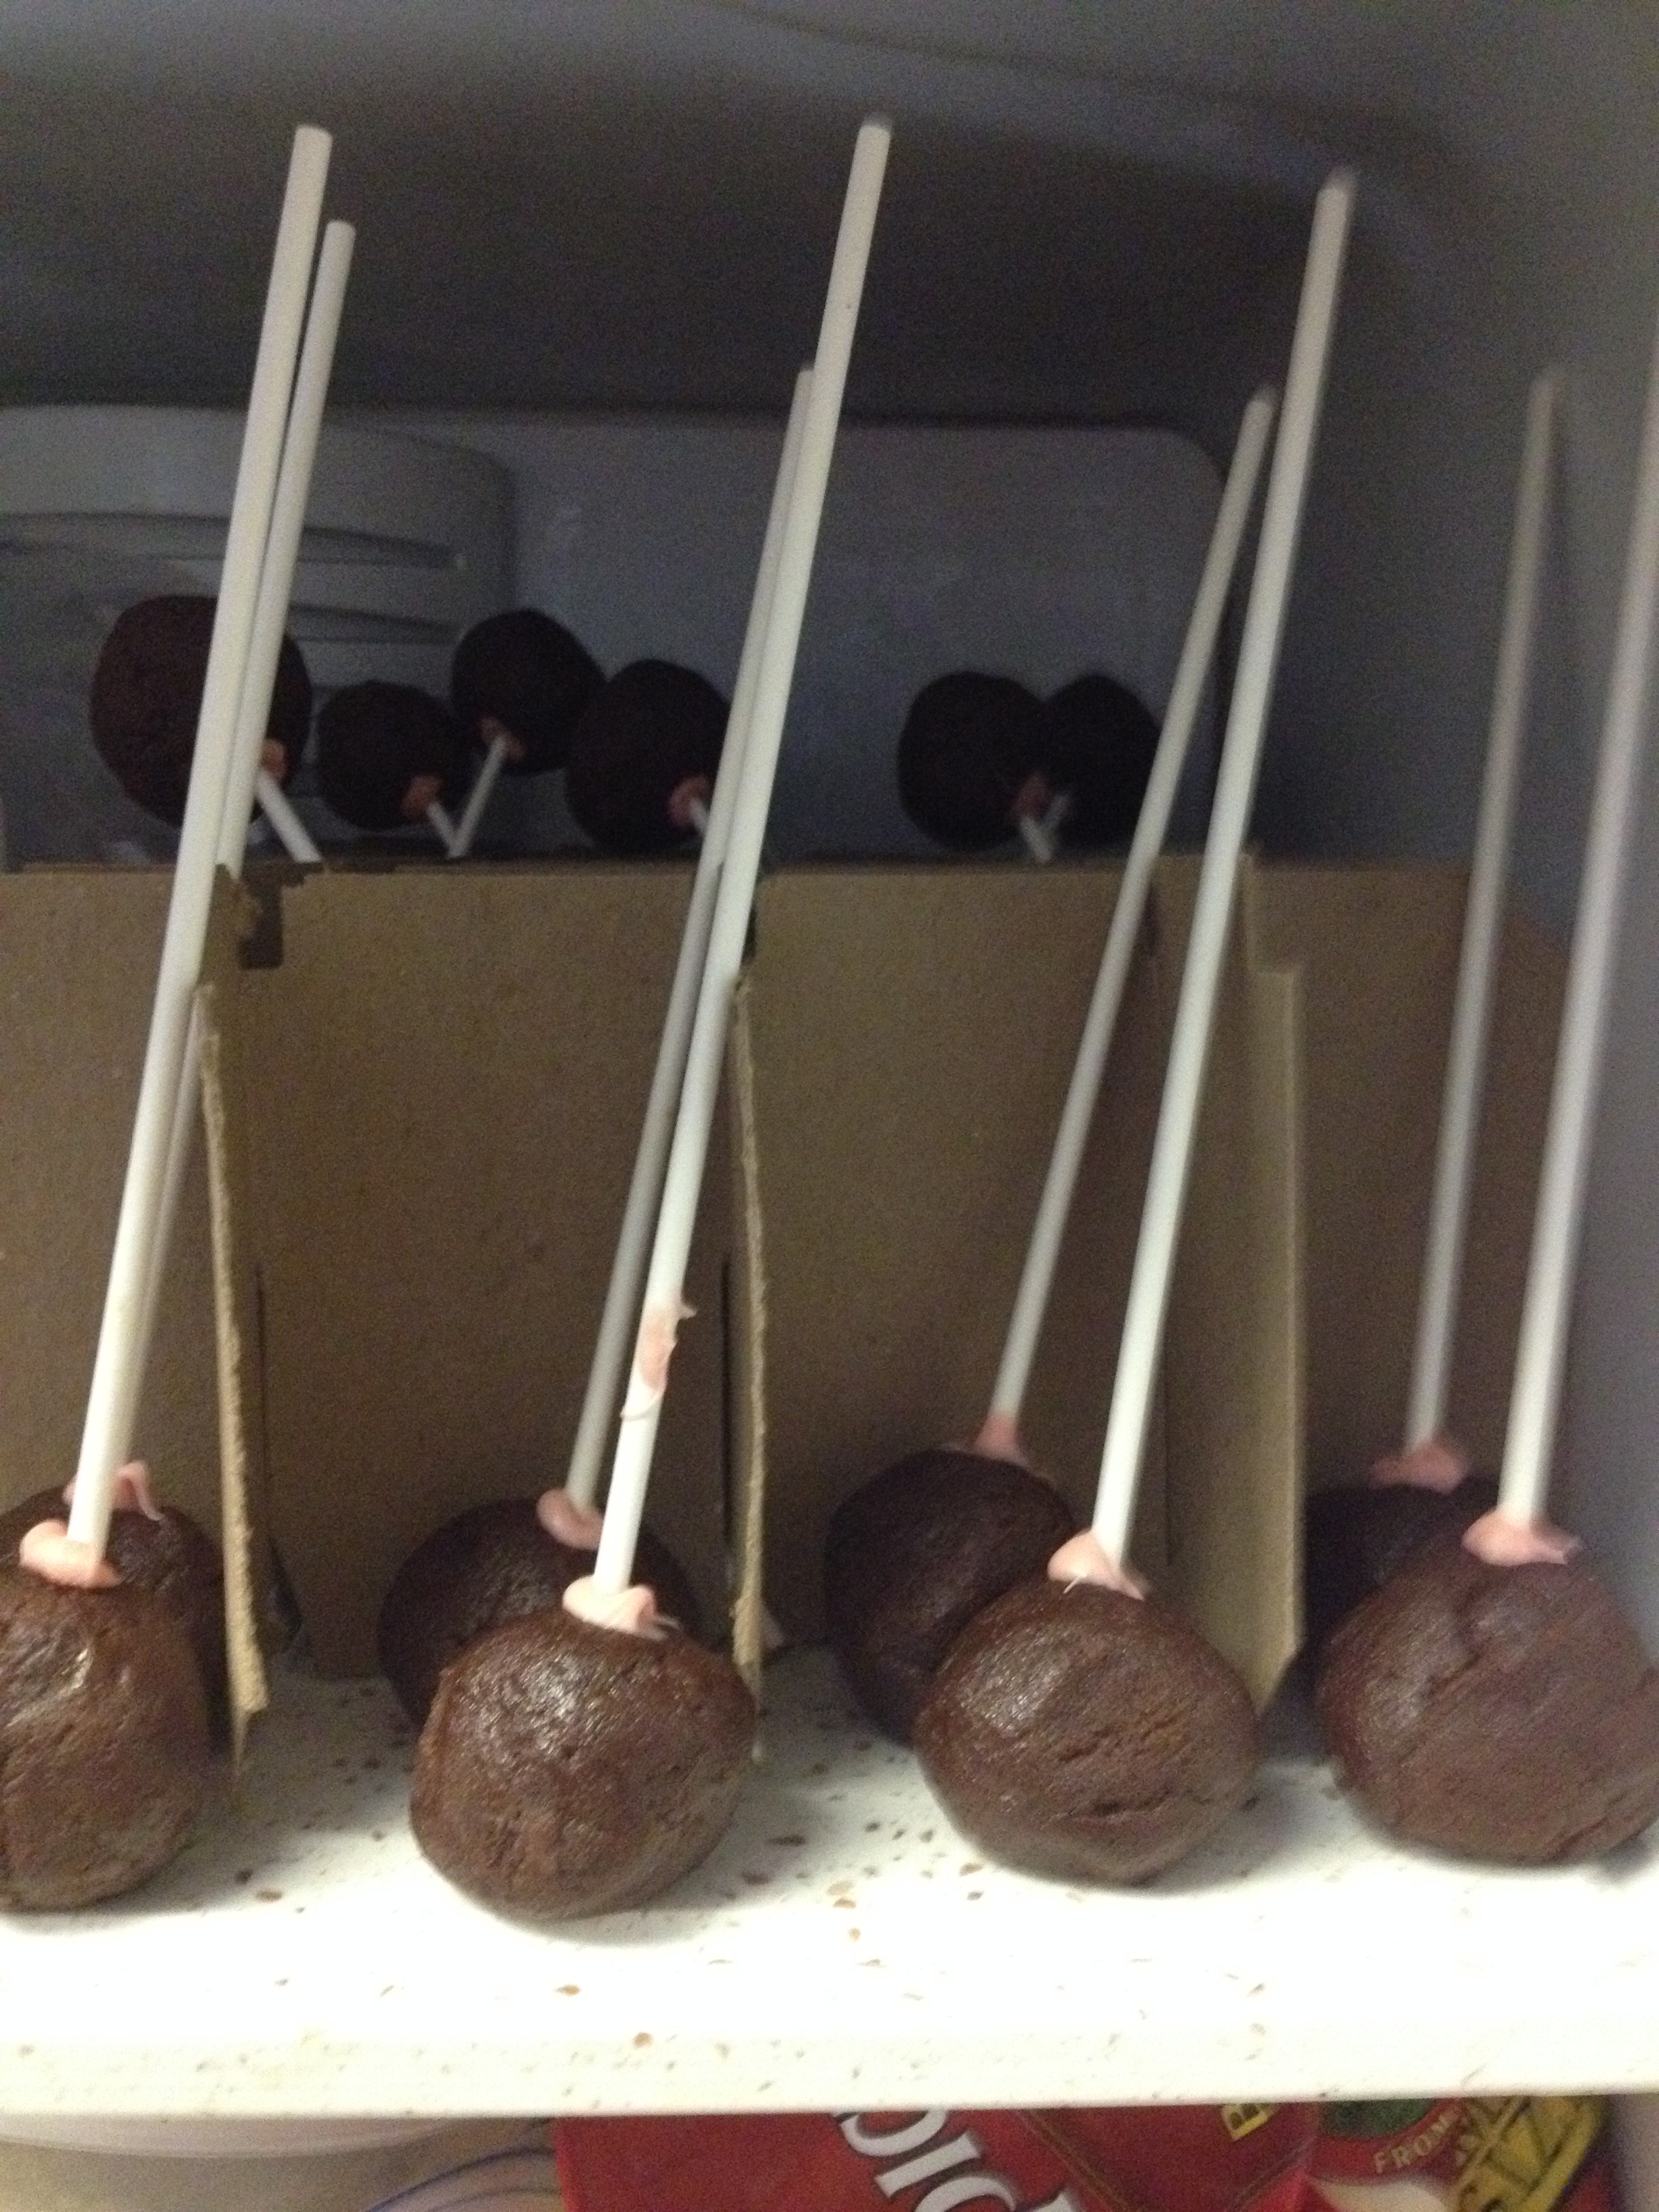
Dip the stick in the melted candy, gently push it in the cake pop…about middle way—pushing too far will cause the stick to come through the cake pop.
If you’re lucky enough to have a cake pop holder…or Styrofoam board, you can then push the stick in, one by one, until all are done and then freeze them until they are good and cold through and through…about 45 minutes to an hour.
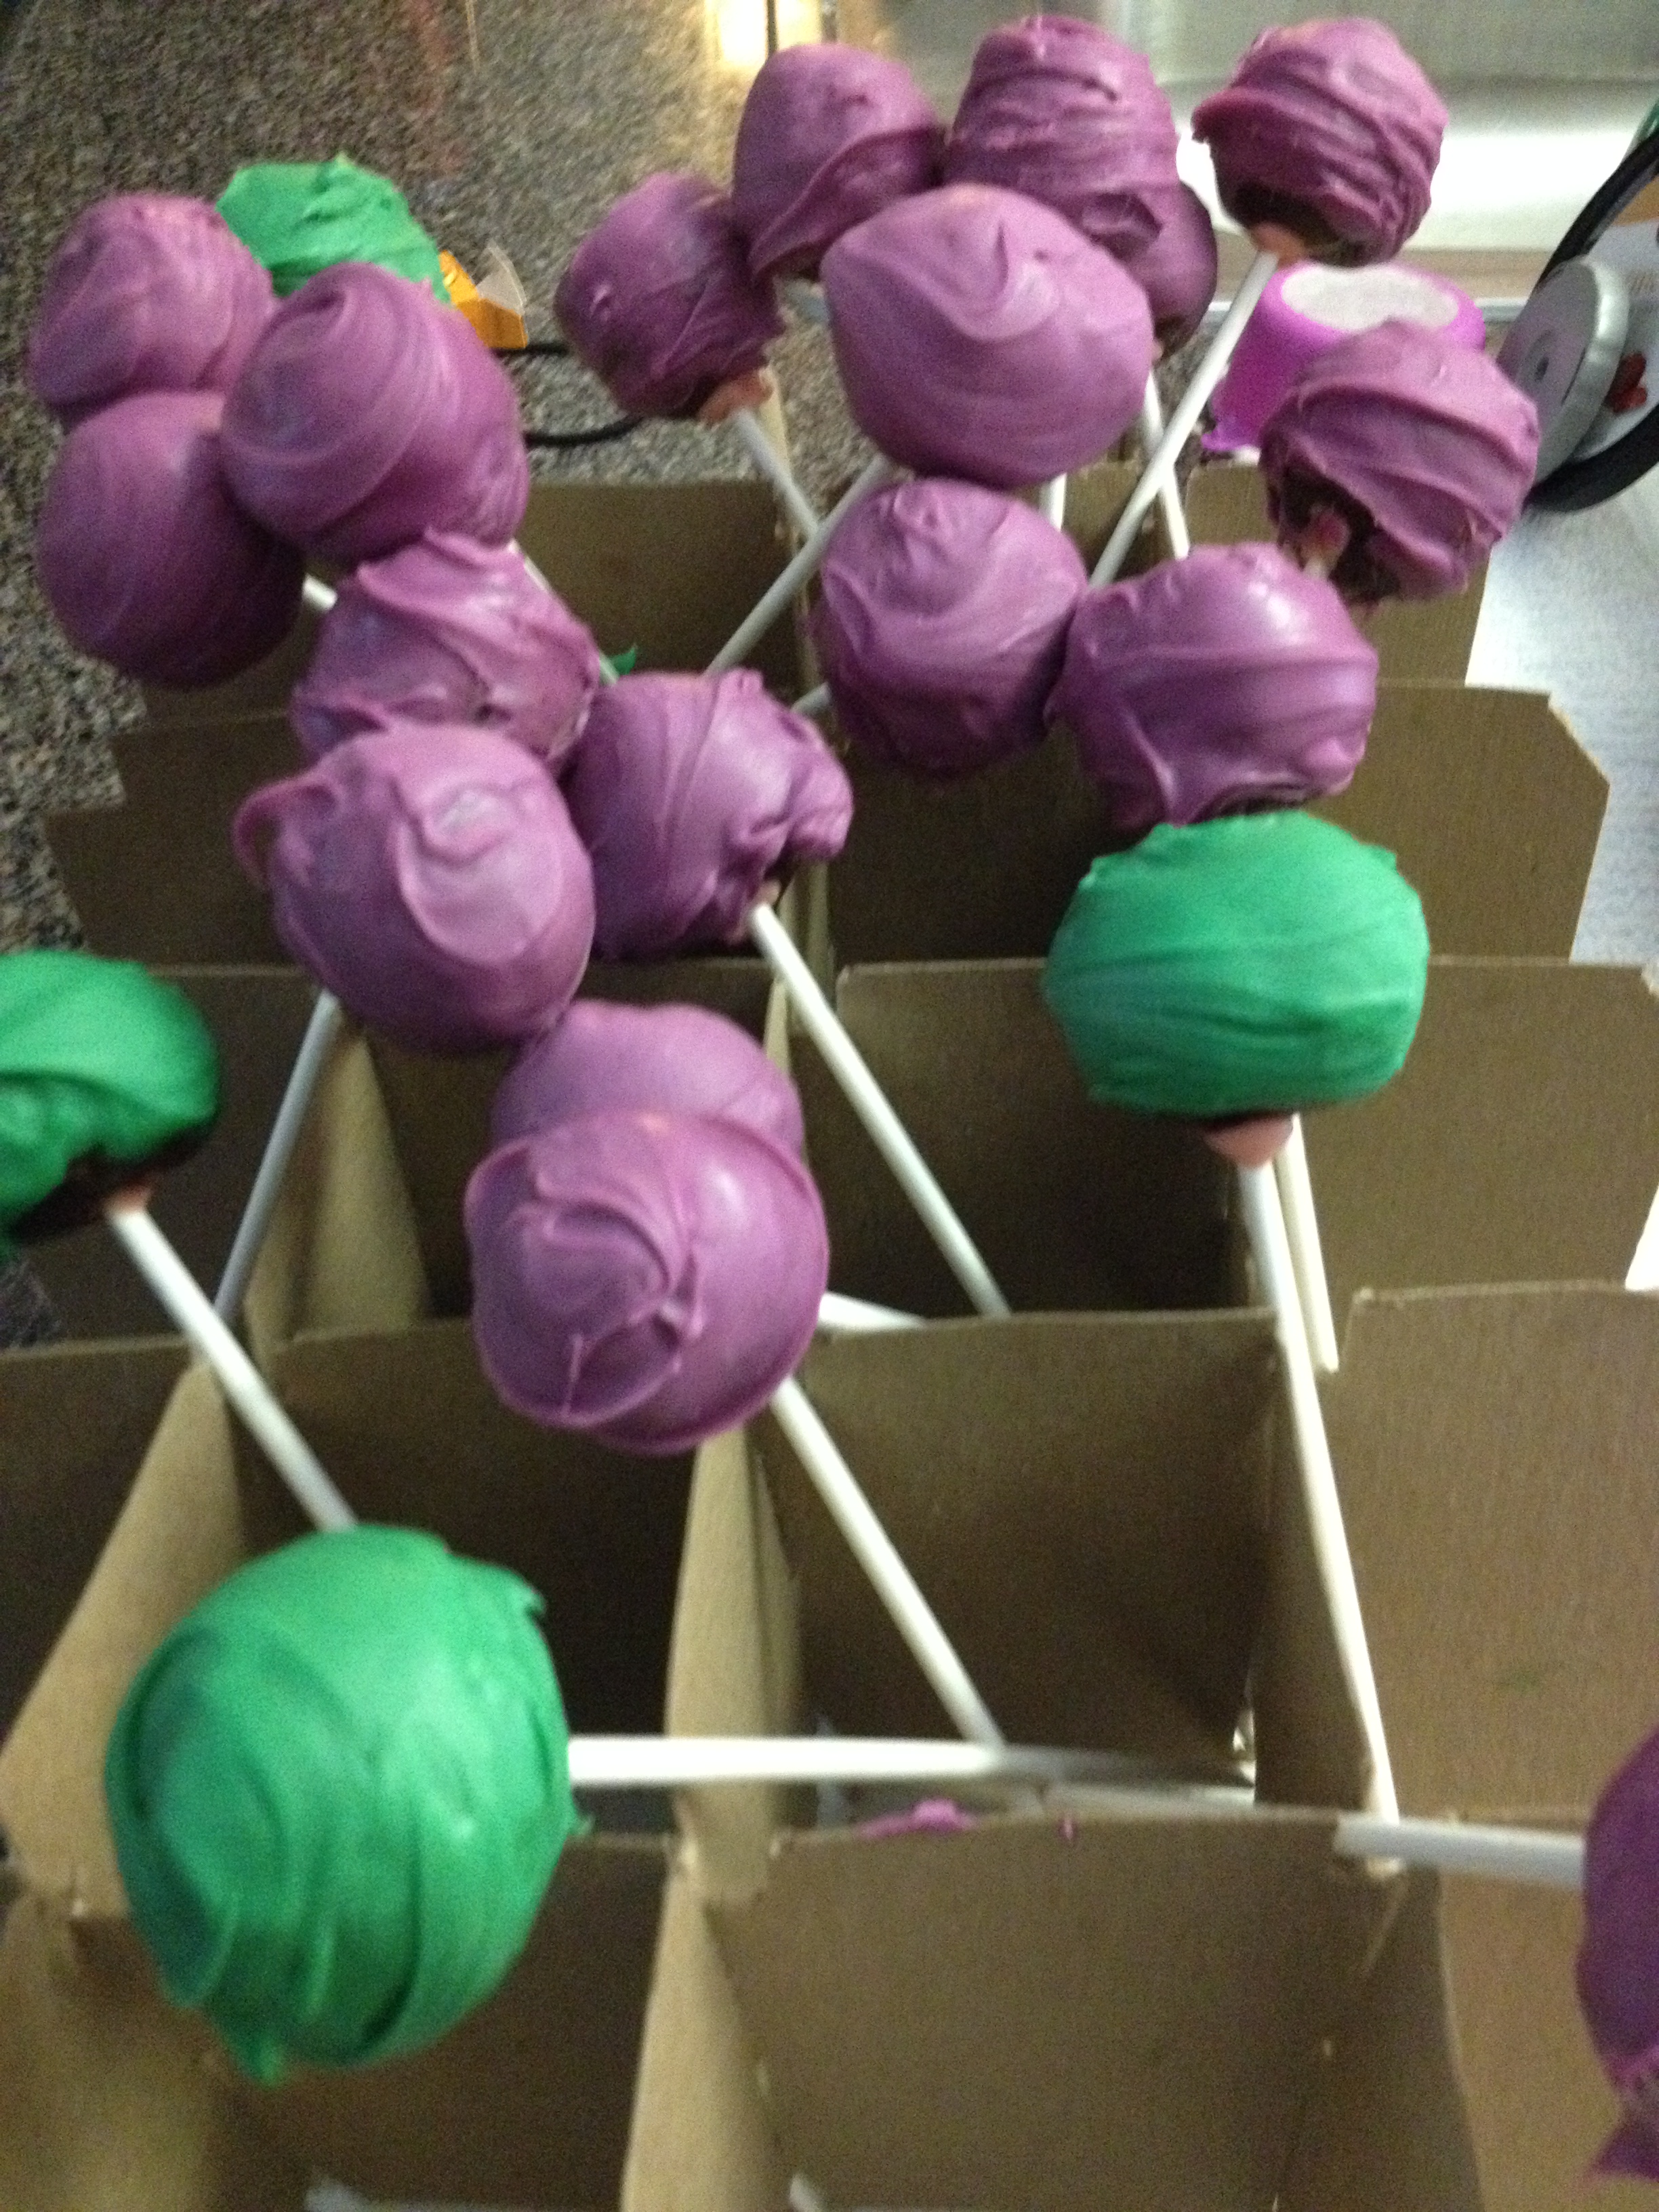
When frozen, melt the color of candy melt that you’re going to use to dip the cake pop.
Working gently and quickly, swirl the cake pop in the melted candy until you get it all covered as you want it. Put them back in the freezer to firm up.
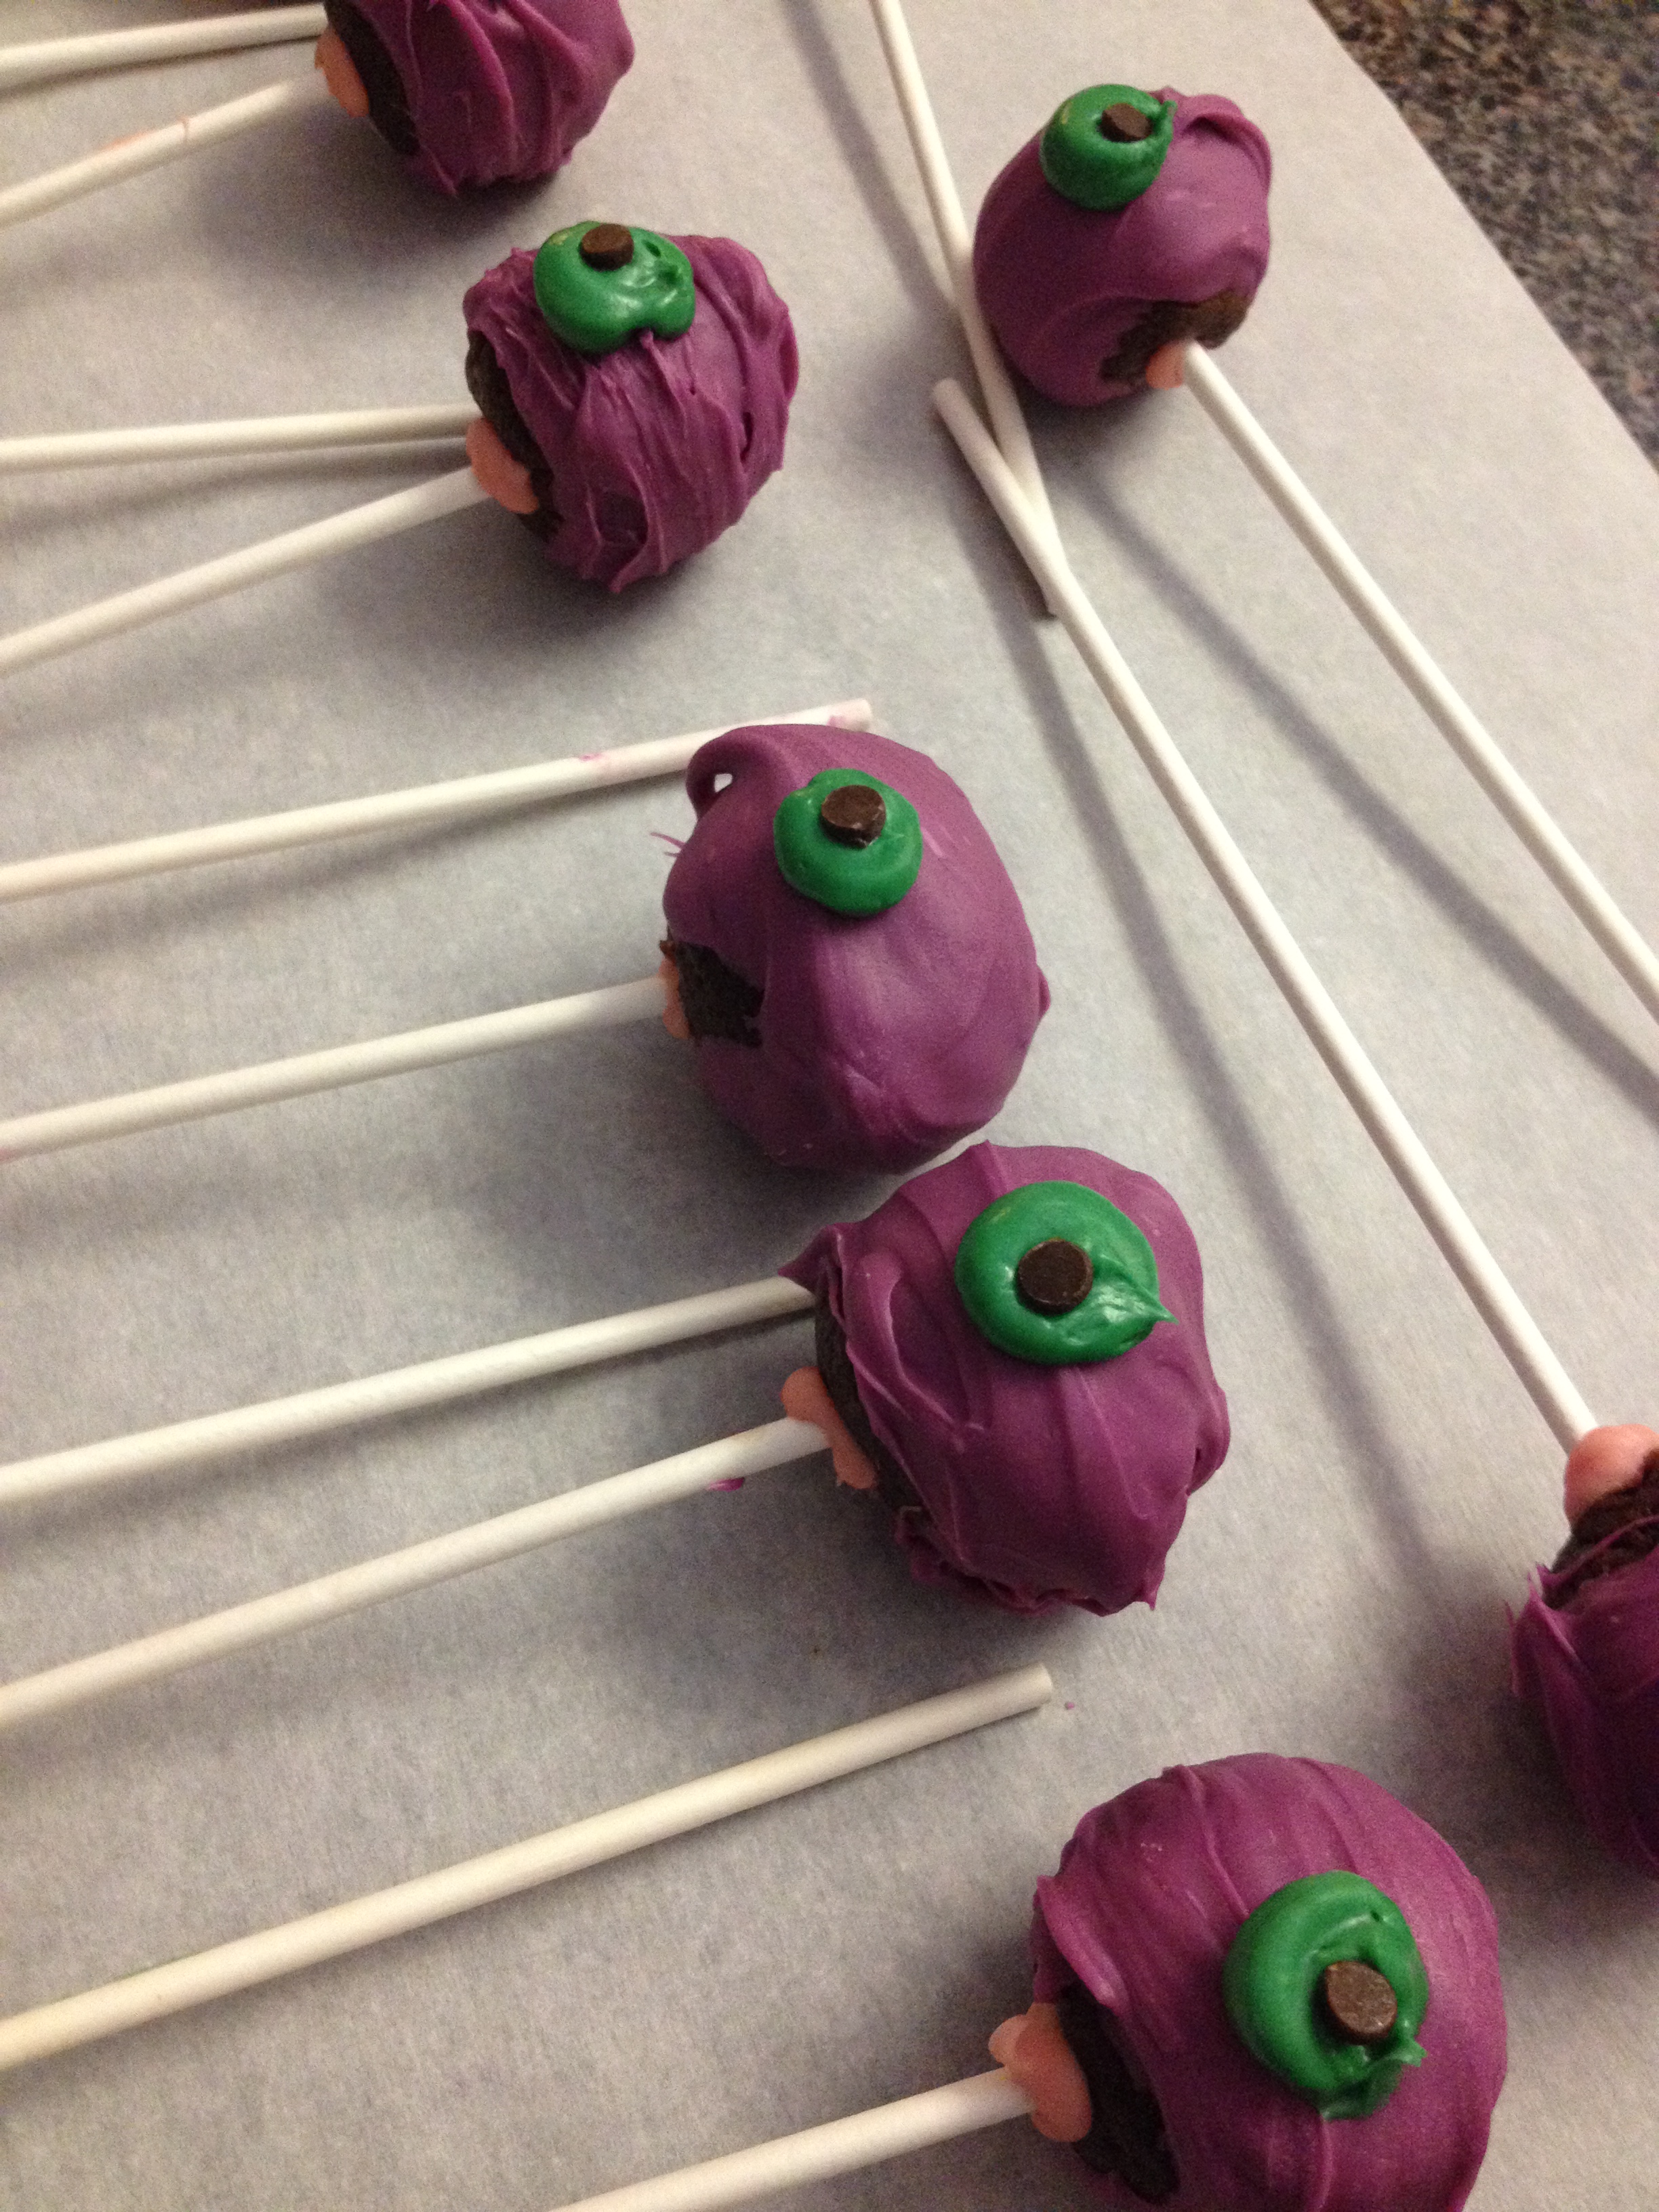
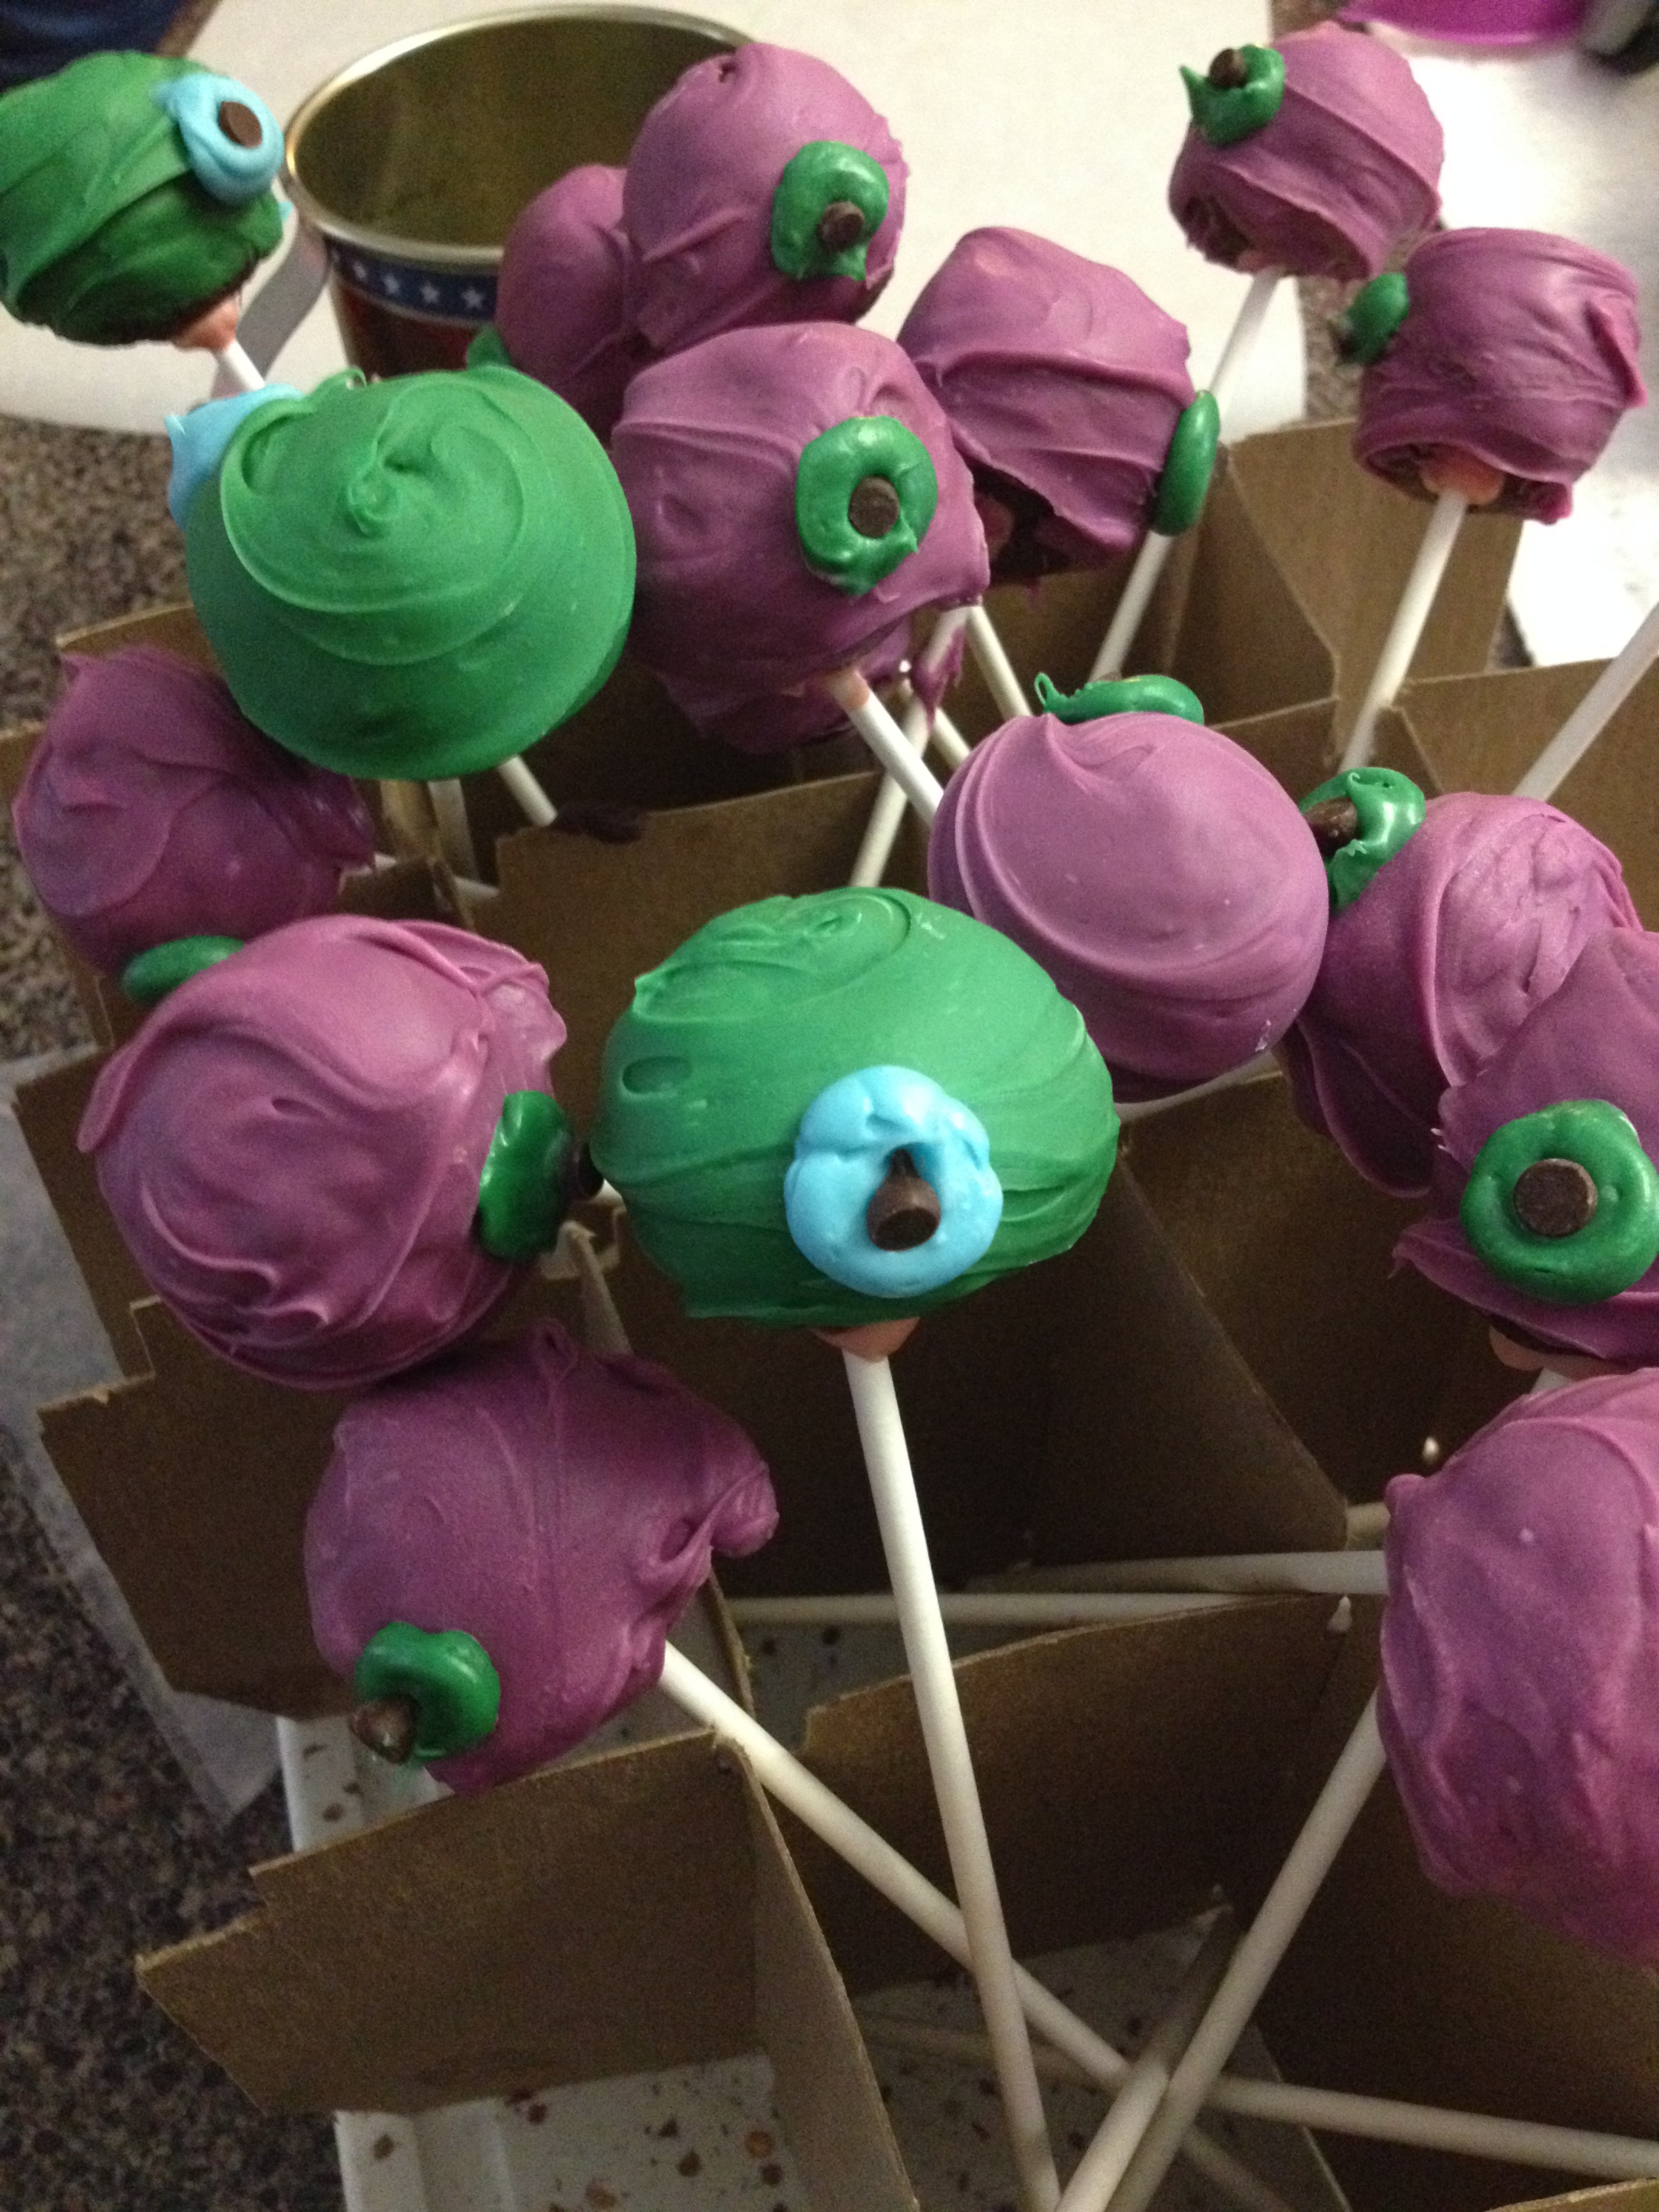
Kaia and I then chose the color for the Monster eye…melted that chocolate and put it in our piping bag…gave each cake pop a blob…then Kaia took a mini chocolate chip and pressed it into each one for the pupil.
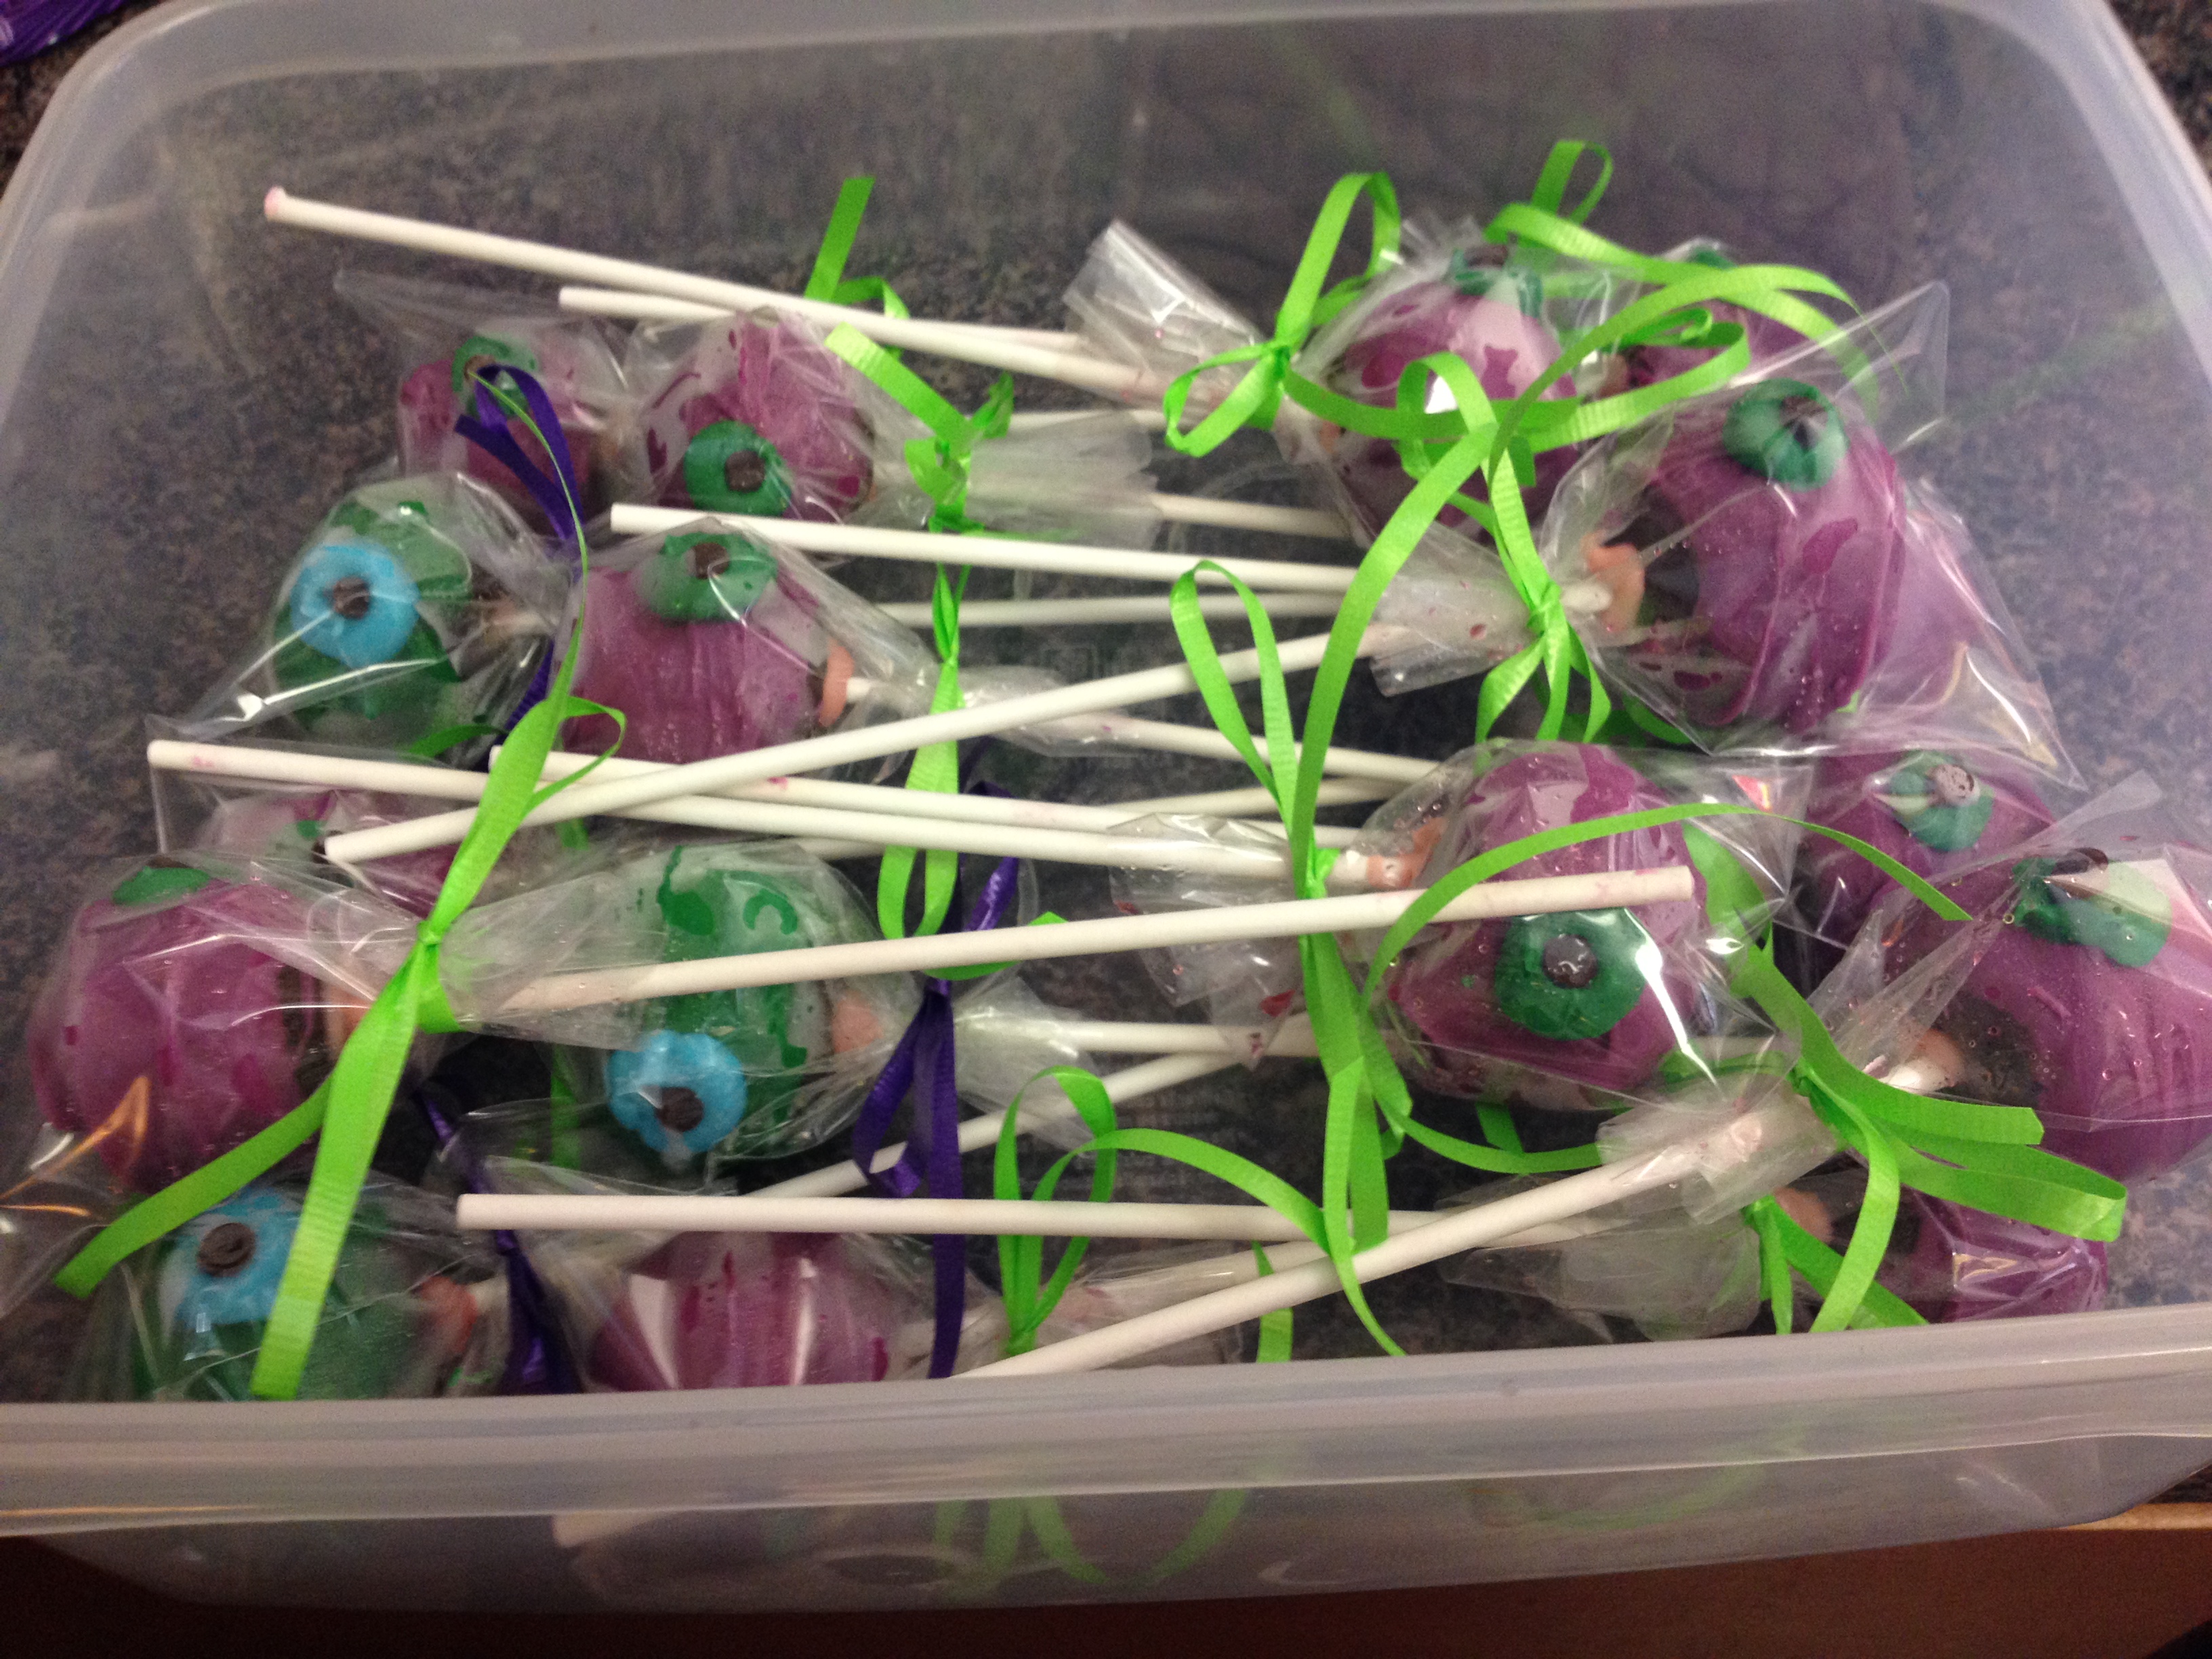
We again let them firm up a bit and they were ready to be packaged and trimmed for the party!